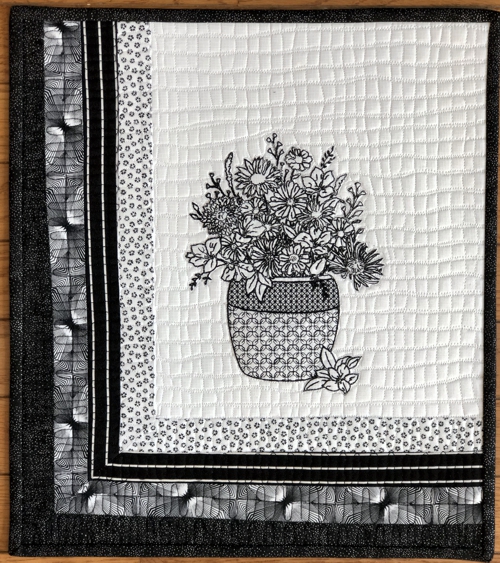
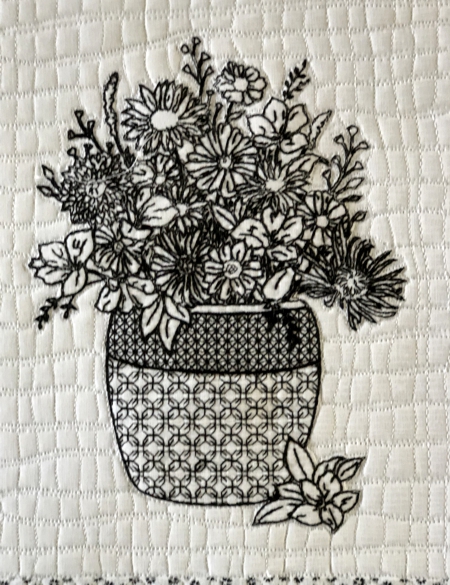
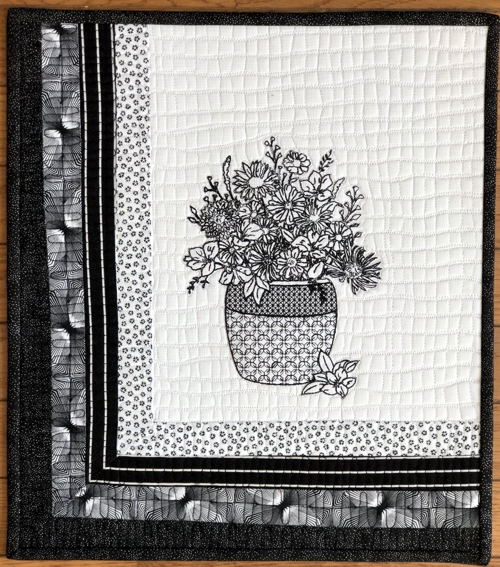
This small quilt is easy to put together and the sharp contrast of black and white makes it really stand out. We used the one-color design Bouquet for a mega hoop.
The finished size of the quilt is about 14 1/2" x 16".
|
|
|
You will need :
- black embroidery thread, either polyester or rayon,
- white cotton fabric for the central part 10 1/2" x 12 1/2",
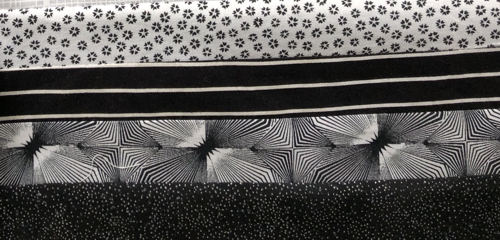
- 4 black-and-white patterned fabrics (you'll need 1 1/2" wide strips the length of the width of the fabric, so 40-42"); scraps are fine,
- light-weight cut-away embroidery stabilizer,
- low-loft batting,
- fabric for the backing and binding,
- quilter's ruler,
- rotary cutter,
- scissors,
- pins,
- iron,
- quilting threads (black and white).
|
Cutting:
|
For the central part, out of white fabric, cut a piece measuring 10 1/2" x 12 1/2".
Out of the patterned fabrics each, cut strips measuring 1 1/2" x 35".
Out of one of the patterned fabrics, cut 2 strips 2 1/2" and the length of the width of the fabric for the binding.
|
Assembly:
|
Note: Seam allowance is 1/4", press the seam immediately after you make it.
|
Sew all the 1 1/2" strips together along the long sides. Press the seams and cut the new strip into 2 strips: 15" and 20" long.
|
|
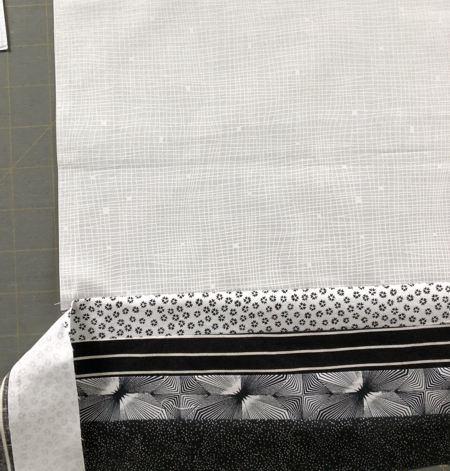
Sew the shorter strip to the lower edge of the central part: align the short edge of the strip with the right edge of the central part and the long edge of the strip with the lower edge of the central part. The strip will protrude beyond the central part. Stitch along the long edge of the strip finishing 1/4" from the end of the central part.
|
|
Sew the longer strip to the left edge of the central part in the same way - one short edge of the strip aligned with the upper edge of the central part, another end protrudes beyond the left edge of the central part. Stop stitching 1/4" before the lower edge of the central part.
|
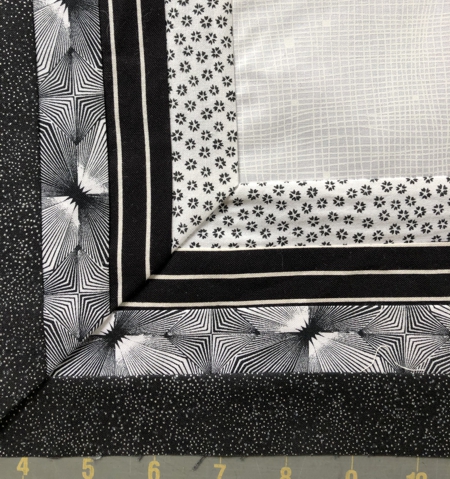
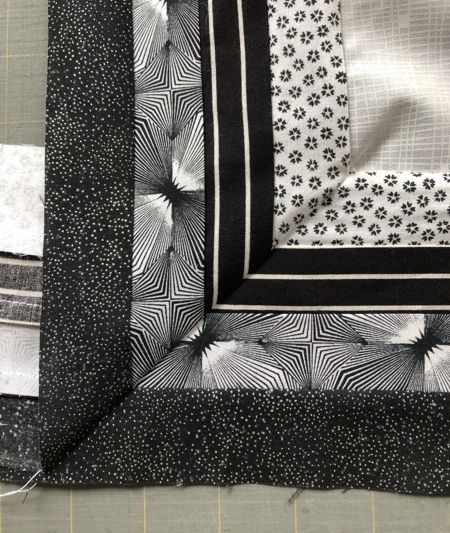
Fold the protruded end of the longer border so that the strips on on both borders make a 45 degree corner. Press.
|
|
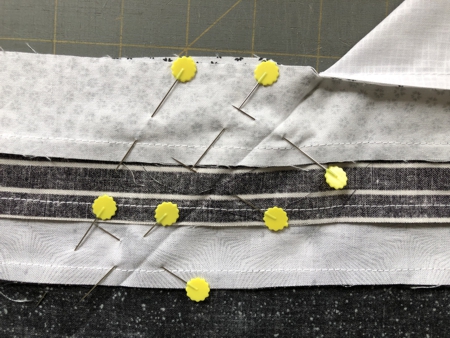
Turn face down, carefully unfold the corner and pin both borders together.
|
|
Topstitch along the creased line.
|

|
Fold and check that the strips did not move.
|
|
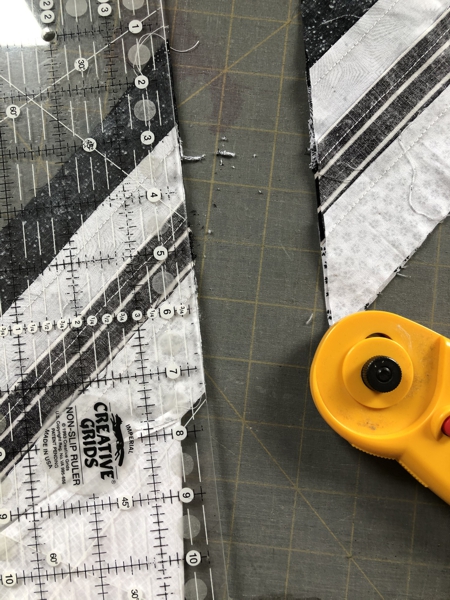
Fold again and cut away the excess fabric, seam allowance 1/2".
|
|
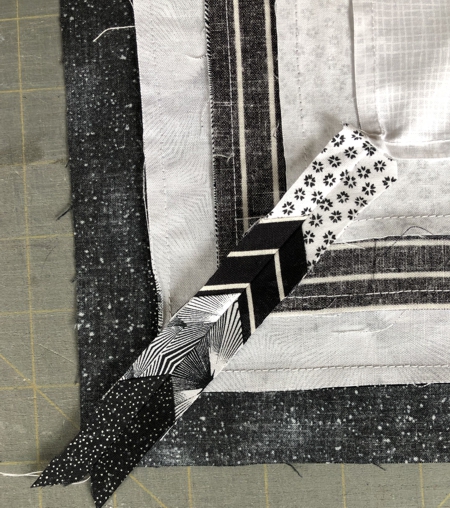
Press the seam open.
|
|
| Embroidery: |
Stabilize the central part with light-weight cut-away embroidery stabilizer. Hoop the fabric tightly and embroider the Bouquet design.
|
|
Quilting and Finishing:
|
Now place the backing on a flat surface (table) face down. Cover with batting. Spread your working piece over it.
Pin all layers together.
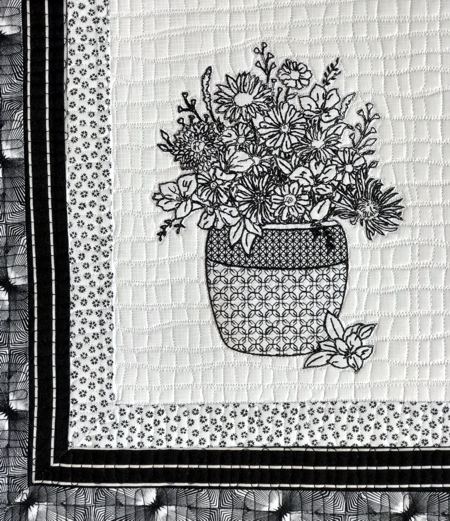
We quilted in a free-motion style all over the top. |
|
| Press with heavy steam. Square the quilt. Finish the raw edges with the binding. |
|
Have fun!
|
|
|
Back to Bouquet
|
Back to Projects Page
|


