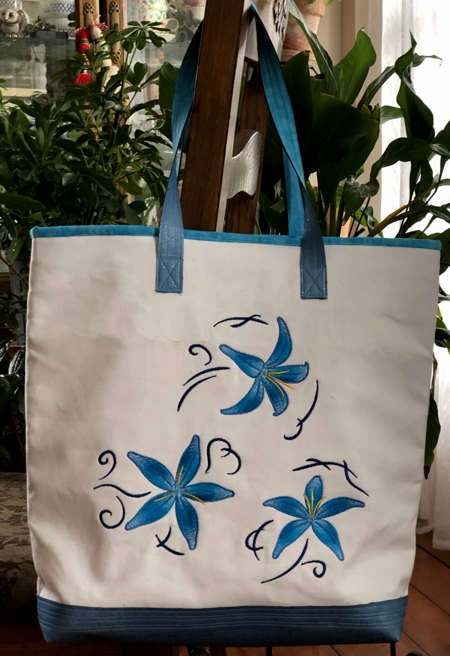
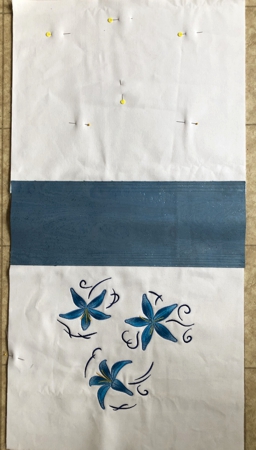
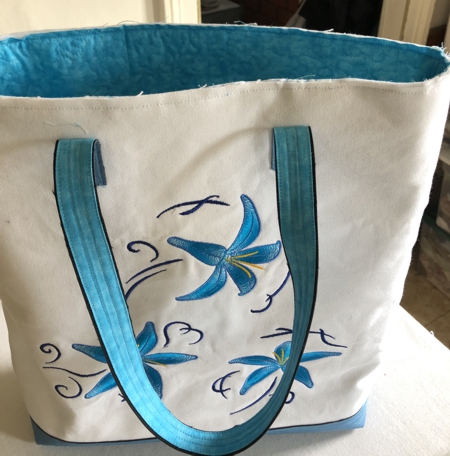
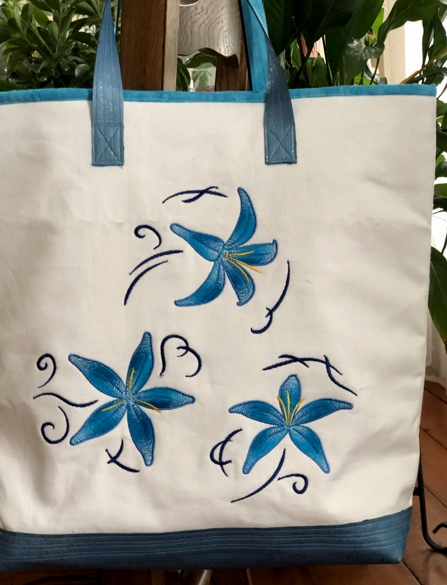
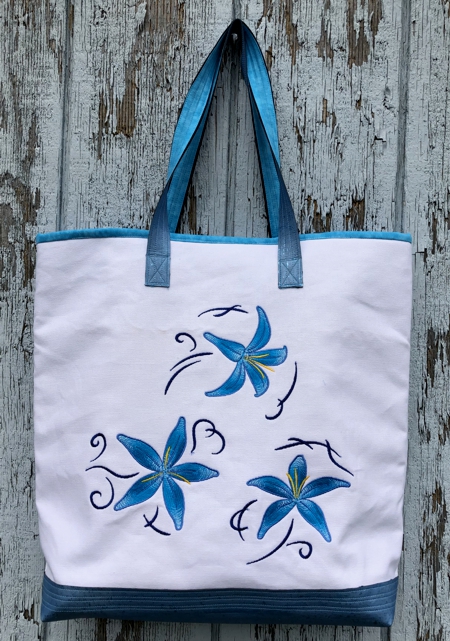
For this stylish summer tote bag we used the designs from the Swirl and Flower Set.
The tote features a quilted lining with 2 pockets.
The tote measures a roomy 16" high x 17" wide x 5" deep.
|
|
You will need :
- embroidery threads, either polyester or rayon. The choice of colors is up to you. We used blue for the petals, to match our fabric;
- about 1/2 yard of white canvas/duck cloth,
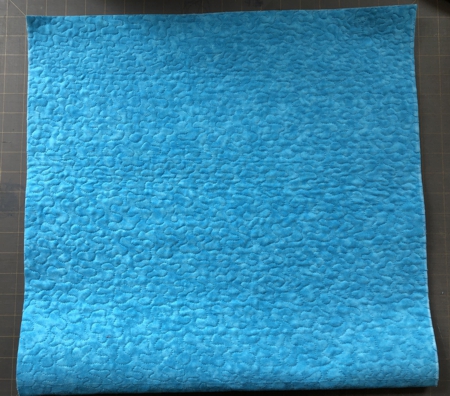
- about 1 1/2 yard of solid light blue cotton fabric,
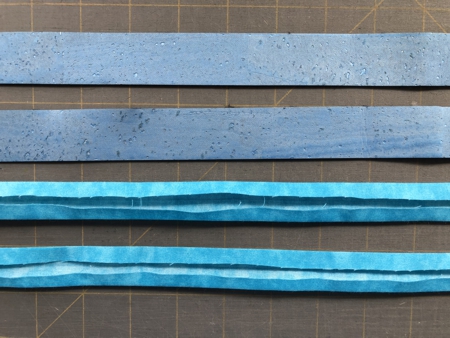
- cork fabric (we used a light-blue pre-cut strip measuring 9" x 27", which we bought on Etsy),
- 1 yard (44" wide) of white polyester craft felt,
- medium-weight cut-away embroidery stabilizer,
- quilter's ruler and rotary cutter,
- white chalk marker/pencil,
- iron,
- quilting threads of matching color,
- sewing durable thread of matching color,
- quilting and sewing needles (we used #14),
- quilting pins and sewing pins,
- universal or fabric glue (optional).
|
Embroidery
|
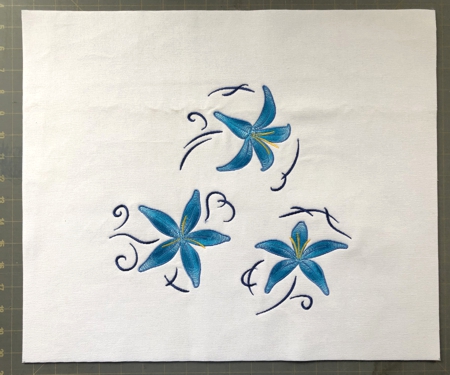
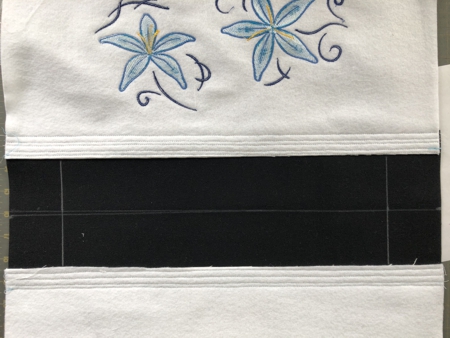
Out of white canvas and craft felt each, cut a piece measuring about 17" x 20". Position the felt under the canvas; it will work as the stabilizer. Spread and press the canvas over the felt with your palms.
Upload the files from the Swirl and Flower Set into the embroidery machine. Select threads.
Embroider the designs one by one, trying to position them in the center of the piece.
After the embroidery is done. Press the stitch-out and trim the panel to 19" wide and 16" high.
|
|
Cutting:
|
Out of canvas, cut another piece measuring 19" x 16".
Out of felt, cut
- a piece measuring 19" x 16" and
- a piece measuring 20" x 38".
Out of cork, cut
- 2 strips 1" wide and 17" long,
- 1 strip 7" wide and 19" long.
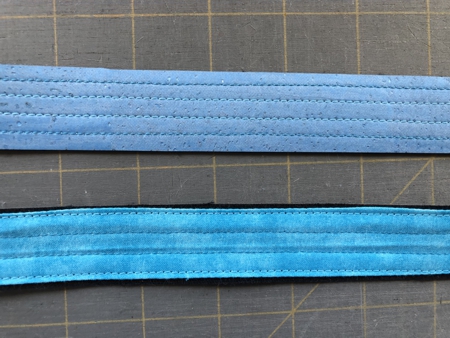
On the back of the 7" x 19" strip, with the chalk pencil and ruler draw a central line lengthwise.
Out of fabric for the lining, cut
- 2 strips measuring 1 1/2" x 26" (for handles),
- 2 strips measuring 9" x 20" (for 2 pockets) ,
- one piece measuring 20" x 38" (for the lining),
- 1 strip 2 1/2" wide and the length of the width of the fabric, about 42" (binding for finishing the upper edge).
|
Sewing the Outer Bag:
|
Position the white canvas piece (19" x 16") over the felt of the same size. Align all edges and pin both pieces together. This will be the back panel of the bag.
|
On both panels, with a chalk pencil draw a line 1" from the bottom edge.
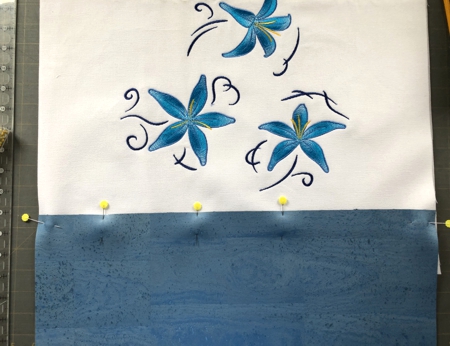
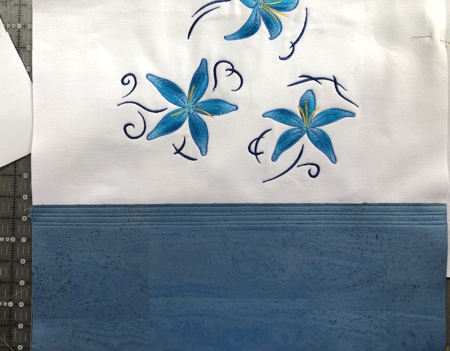
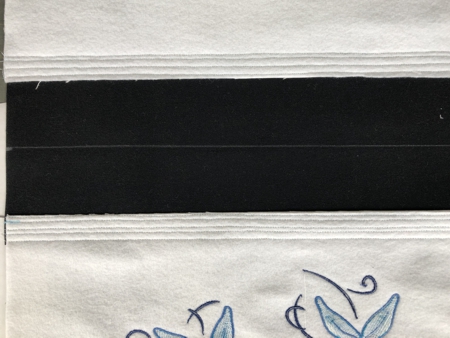
Working with one panel at a time, overlap the cork 7" x 19" strip with the front panel.
Pin, or with several drops of glue, glue in place.
|
|
| Top-stitch in place with several parallel lines of stitches. |
|
In the same way, attach the back panel.
|
|
Handles:
|
Fold the fabric 1 1/2" x 26" strips lengthwise in half and lightly press to mark the central line.
Fold the long edges to the central line and press.
|

|
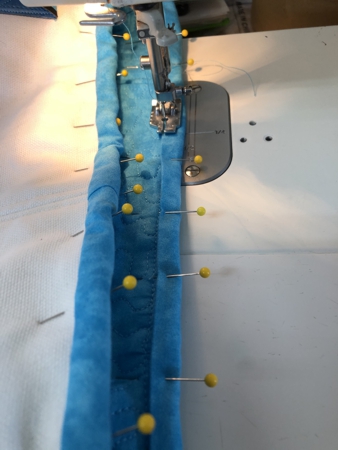
Position the cork strips and fabric strips back to back. Pin.
|
|
Topstitch with several parallel lines.
|
|
| If you forgot to mark the central line on the bottom, do it now. |
|
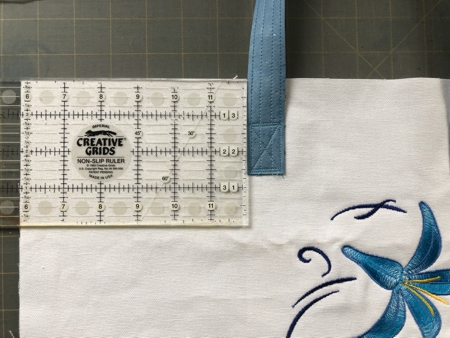
Measure 2" from the side edge along the central bottom line. Draw a perpendicular line across the bottom. Repeat for the other side.
|
|
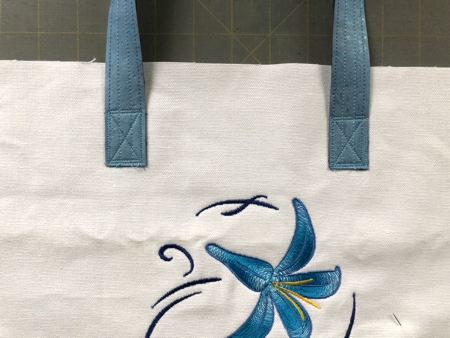
| Attach the handles to both panels: 2 1/2" from the upper edge and 6" from the side edges. Pin. Stitch in place. |
|
|
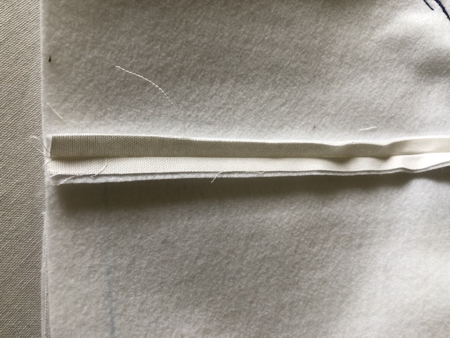
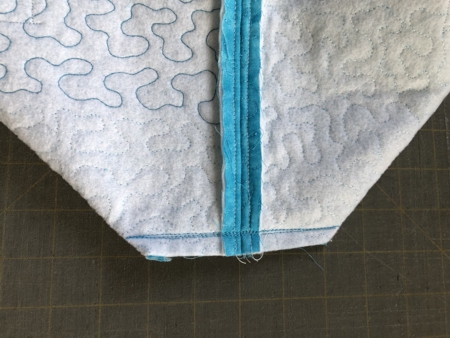
| Fold the panels face inwards, aligning the edges. Stitch the sides, seam allowance 1/2". |
|
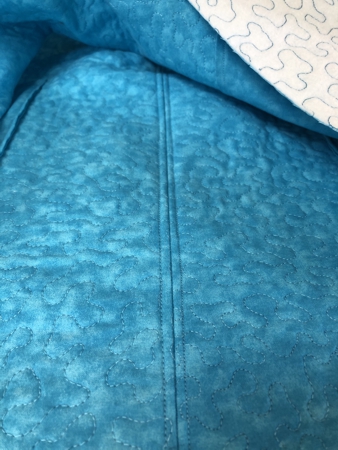
Open and press the seam allowance. Top-stitch the seam allowance 1/4" on both sides of the seam, from the cork part to the upper edge (the seam allowance of the cork part stays unstitched).
|
|
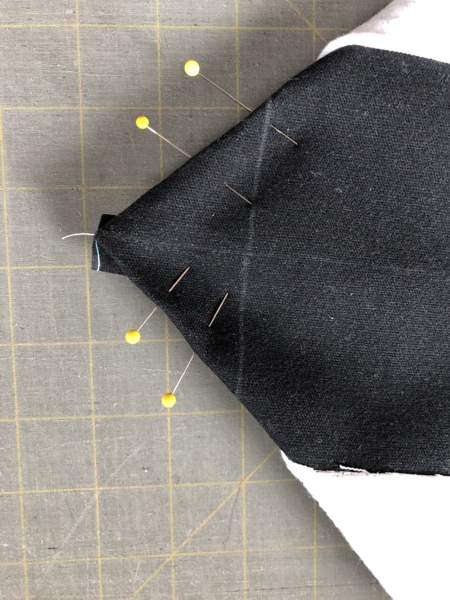
To make box corners, separate the front and back sides at the corners. Center the seam on the side with the marked central line on the bottom. Pin.
|
|
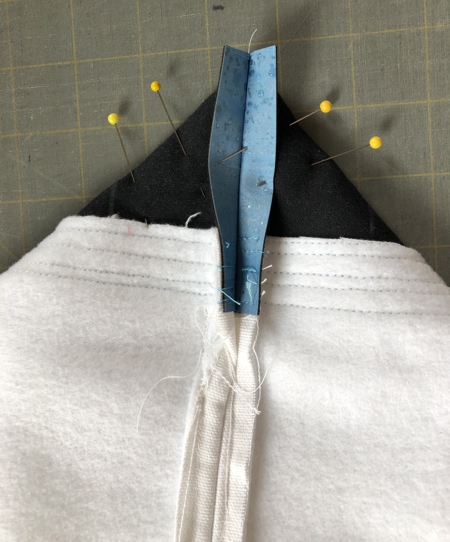
|
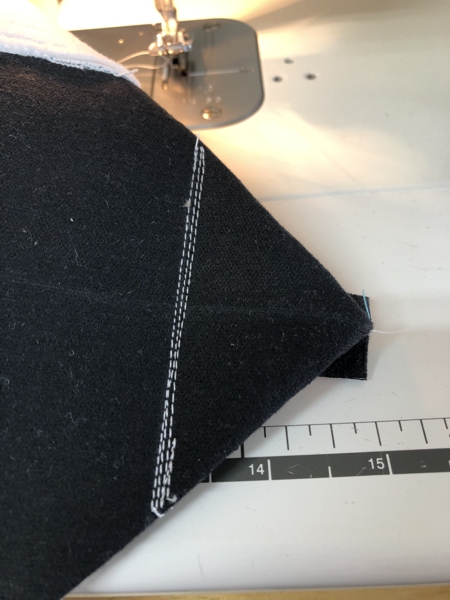
Stitch several times along the marked line.
Fold the corner towards the bottom.
Repeat for the other corner. |
|
Lining:
|
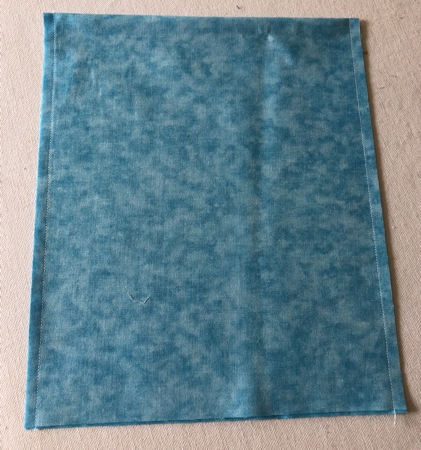
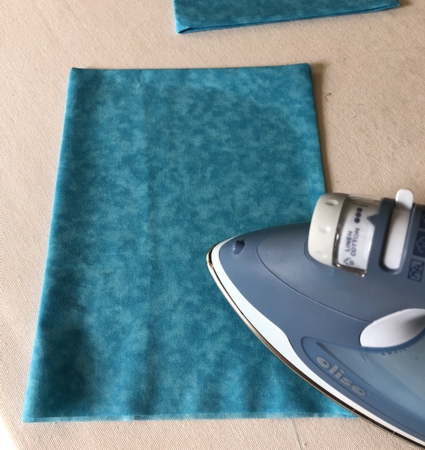
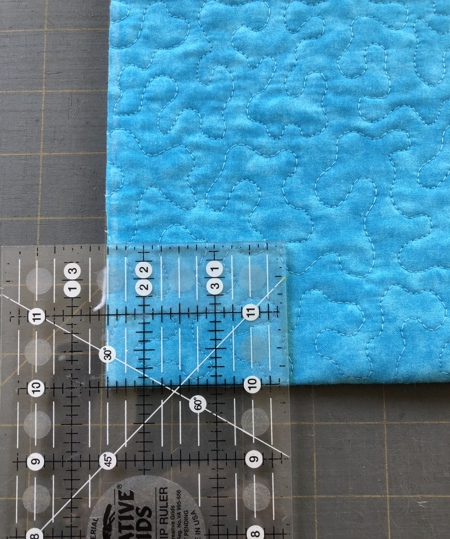
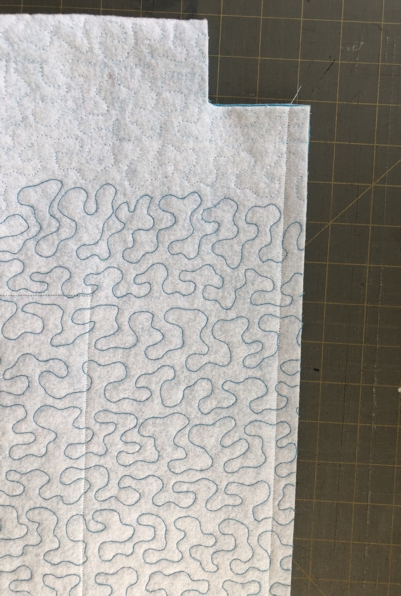
Position the blue 20" x 38" piece over the piece of felt of the same size. Quilt the piece in a free motion style. Press with steam. Trim to 19" x 37".
|
|
Pockets:
|
| Fold the 9" x 20" fabric piece, face inwards, width-wise. Topstitch along 2 sides, seam allowance 1/4", leaving the third side open. |
|
Turn the piece right side out. Press.
|
|
| Tuck the raw edge 1/2" inside, press. |
|
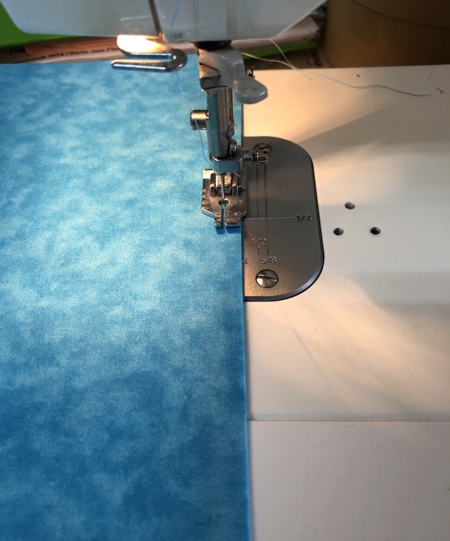
Topstitch along one of the long sides, 1/4" from the edge.
|
|
| In the same way sew the second pocket. |
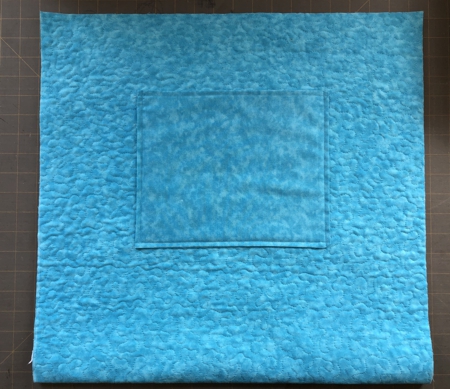
Place each pocket over the lining panels and topstitch along 3 edges in place.
|
|
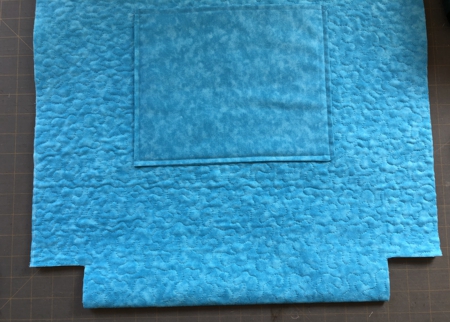
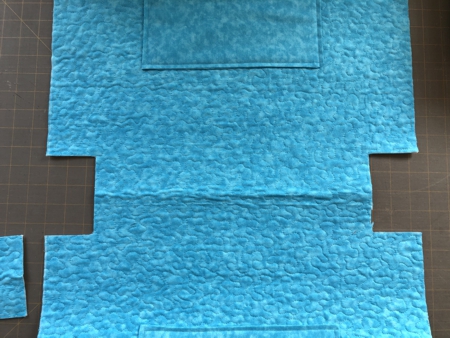
Fold the lining in half, aligning all edges. Press the bottom line.
Measure a 2 1/2" x 2" rectangle in the corner.
|
|
Cut the corner out. Repeat for the other corner.
|
|
Unfold the lining.
|
|
Fold the lining again, this time face inwards and align the edges. Pin. Sew the sides together, seam allowance slightly more than 1/2".
|
|
Press the seam open.
|
|
Topstitch on both sides of the seam, 1/4" from it.
|
|
To finish the bottom, fold the lining and align the side and bottom seams. Pin.
|

|
| Stitch together, seam allowance 1/2". |
|
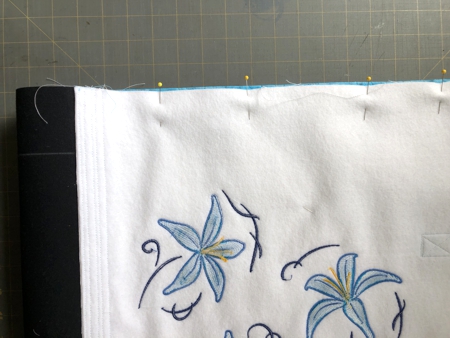
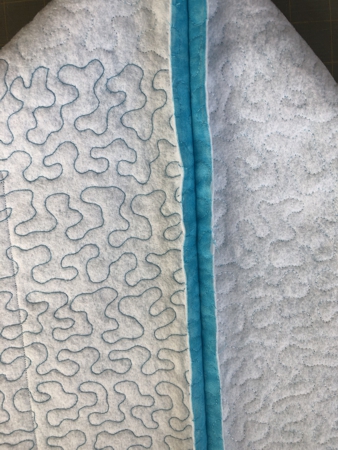
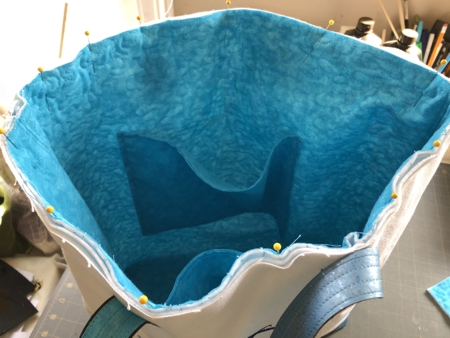
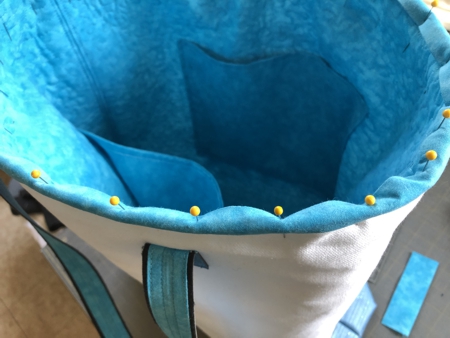
Tuck the lining inside the bag. Align the side seams. Align and pin the upper edges.
|
|
Sew together along the upper edges 1/4" from the edge.
|
|
Fold the binding strip in half lengthwise, back to back, and press. Fold one of the short edges 1/4"-1/2" to the back and press.
Pin the raw edge of the binding along the upper edge of the bag starting with the folded short end. Tuck the unfinished short end between the folded binding. If the end is too long, cut it leaving about 1".
Top-stitch along the upper edge, seam allowance slightly more than 1/4".
|

|
Fold the binding over the raw edge. Pin.
|
|
Topstitch in place very close to the edge of the binding.
|
|
You are done!
|
|
Have fun!
|
|
|
Back to Swirl and Flower Set
|
Back to Projects Page
|


