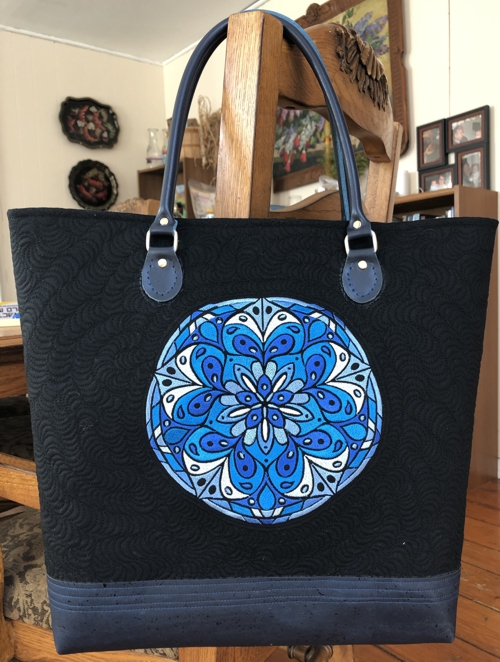
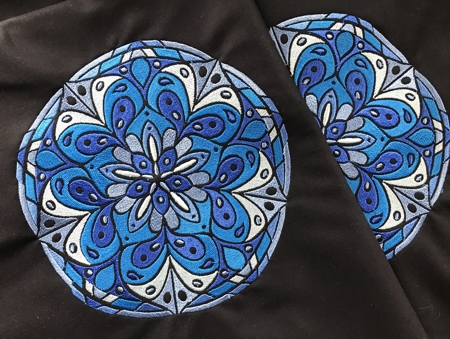
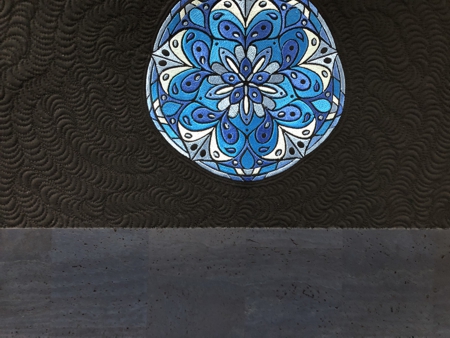
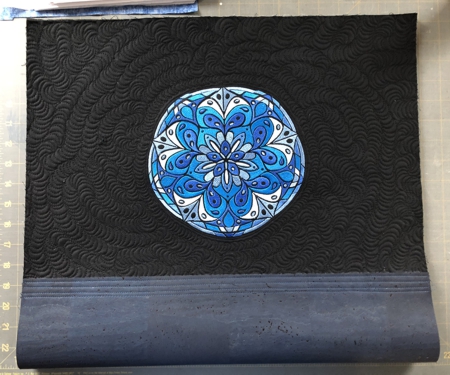
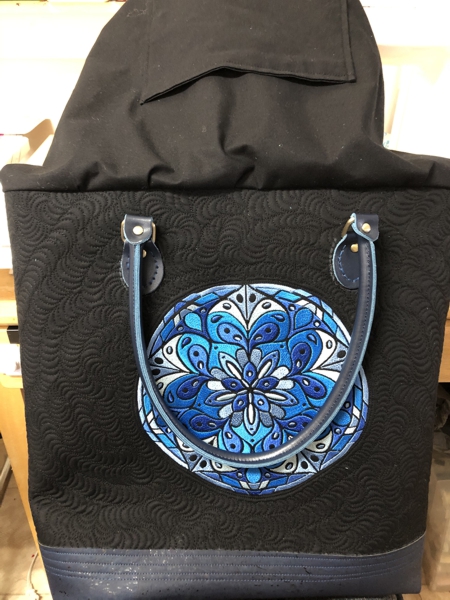
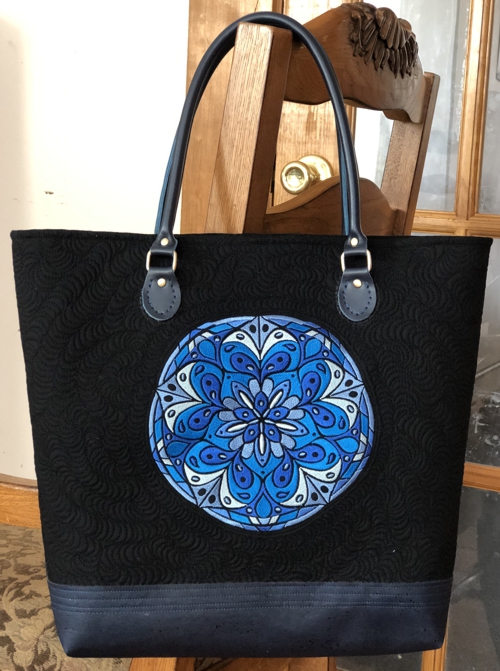
For this eye-catching tote bag we used the design Blue Mandala.
The finished size of the tote is about 14" high x 16" wide x 4" deep.
|
|
You will need :
- embroidery threads, either polyester or rayon. The choice of colors is up to you. Match them to the colors of your fabrics,
- about 1 1/2 yard of solid black (or any other dark color) cotton fabric,
- cork fabric (we used a dark blue pre-cut strip measuring 9" x 27", which we bought on Etsy),
- leather handles (purchased on Amazon),
- medium-weight cut-away embroidery stabilizer,
- low-loft batting (we used black polyester batting),
- quilter's ruler and rotary cutter,
- white chalk marker/pencil,
- iron,
- quilting threads of matching color,
- sewing durable thread of matching color,
- quilting and sewing needles (we used #14),
- quilting pins and sewing pins,
- universal or fabric glue (optional).
|
Embroidery
|
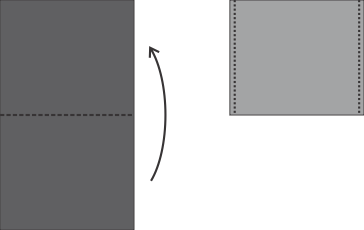
Out of solid black fabric, cut 2 pieces measuring about 16" x 21". Find the center of the piece, stabilize with medium-weight cut-away stabilizer. Try to hoop so that the marked center is in the center of the hoop. Tighten the hoop.
Upload the file into the machine. Embroider it. If you wish the back panel to be embroidered as well, embroider the files again on the second piece of the fabric.
|
|
Quilting:
|
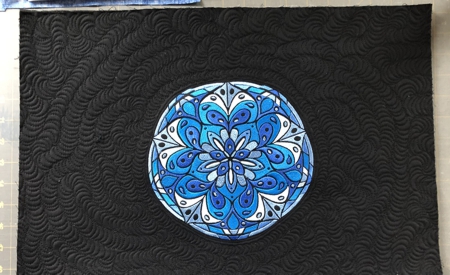
Cut 2 pieces of fabric measuring about 16" x 20" and 2 pieces of batting of the same size. Place one backing piece on a flat surface (table) face down. Cover with a batting piece. Spread one of the stitch-outs over it. Pin all layers together. Repeat for the second stitch-out.
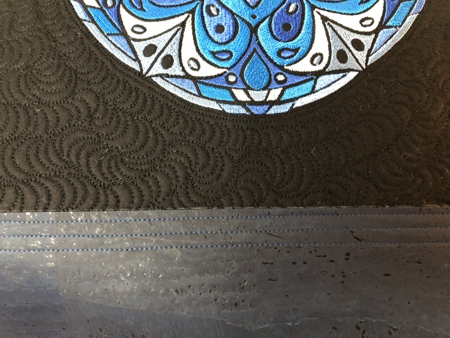
We quilted in a free-motion style all over the pieces.
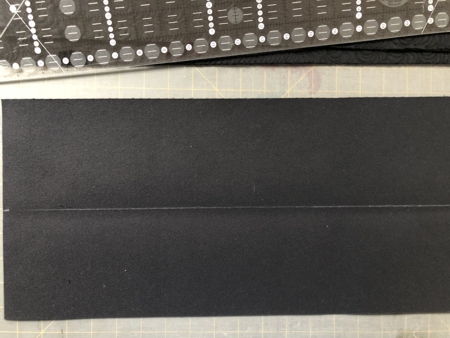
Press with heavy steam. Trim each panel to 13 1/2" (high) x 19" (wide).
|
|
Sewing the Outer Bag:
|
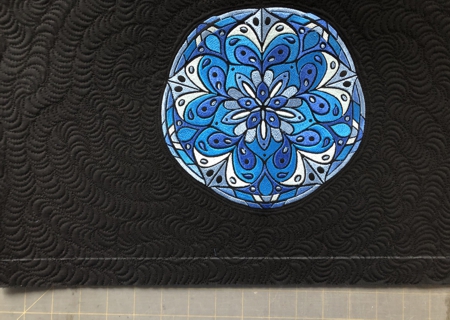
On both panels, with a chalk pencil draw a line 1" from the bottom edge.
|
|
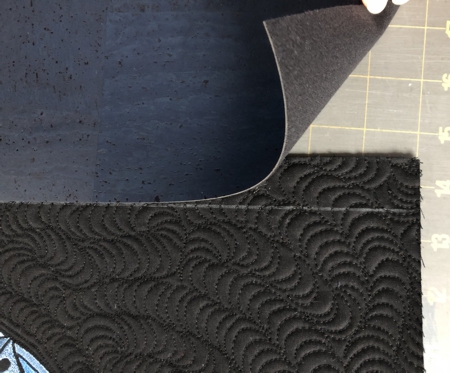
Out of the cork fabric, cut a strip measuring 9" x 19". Place it back side up and draw a central line lengthwise.
|
|
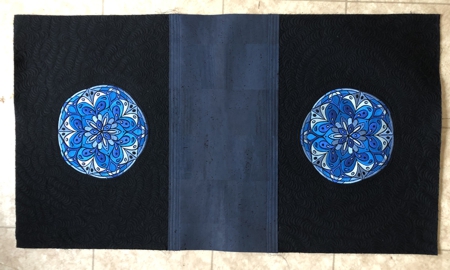
Working with one quilted panel at a time, overlap the cork strip with the first panel.
|
|
| Pin, or with several drops of glue, glue in place. |
|
Topstitch in place with 3 parallel lines of stitches, 1/4" between the lines.
|
|
|
In the same way, attach the second quilted panel.
|
|
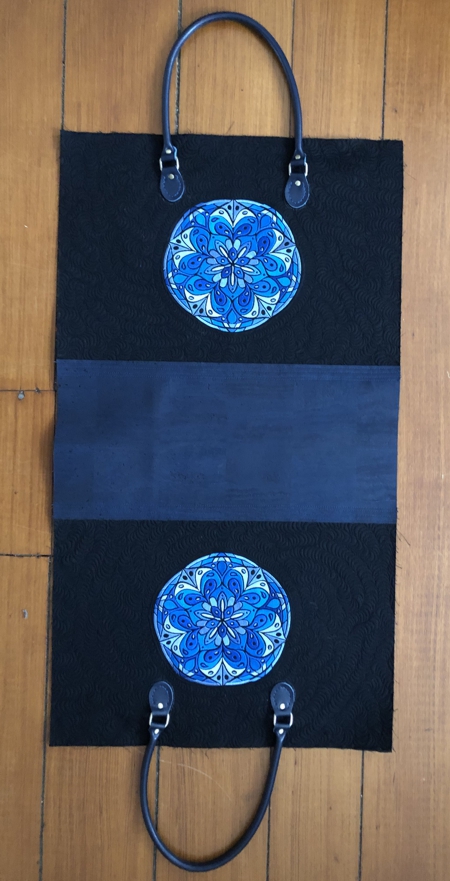
Attach the handles.
|
|
Fold the panels face inwards, aligning the edges. Stitch the sides, seam allowance 1/2", and stitch again about 1/32" from the first stitch line.
|
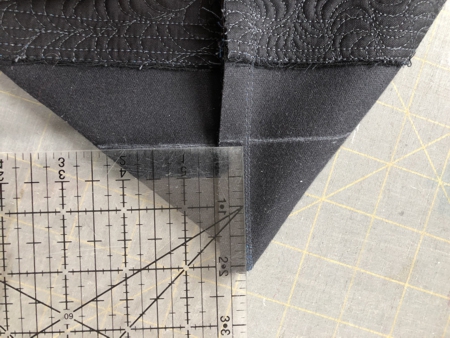
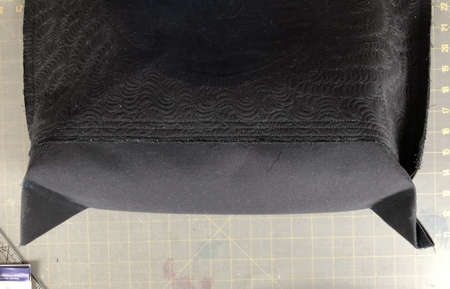
To make box corners, separate the front and back sides at the corners. Center the seam on the side with the marked central line on the bottom.
Measure 2" along the seam from the corner. |
|
Draw a line perpendicular to the seam across the corner and machine-stitch it several times.
You can trim the tip, leaving about 3/4" of seam allowance, or fold the corner towards the side and handstitch the tip to the side seam.
Repeat for the other corner. |
|
Lining:
|
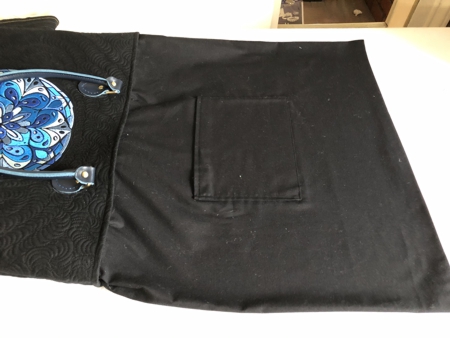
Out of black fabric, cut 2 pieces measuring 17" x 18" and 2 pieces measuring 7" x 10" for the pockets.
|
Fold the smaller piece, face inwards, widthwise. Topstitch along 2 short sides, seam allowance 1/4", leaving the third side open. Turn the piece right side out. Press. Tuck in the raw edge 1/2" inside, press and topstitch the edge closed.
In the same way sew the second pocket.
|
|
|
Place each pocket over the lining panels and topstitch along 3 edges in place.
|

|
Place both lining panels face to face and align the edges. Pin. Sew the sides together, seam allowance 1/4". Press the seams open. Do not turn to the right side.
|
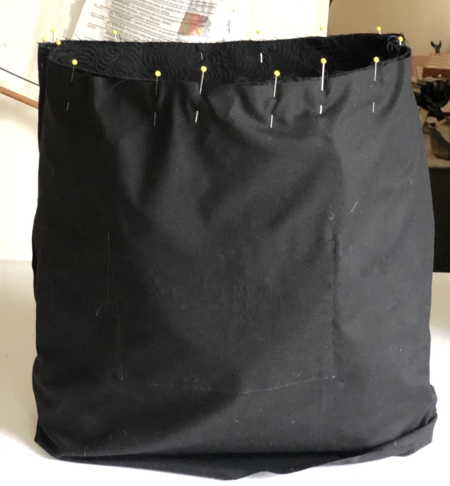
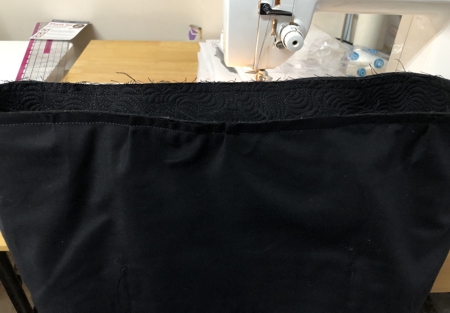
Turn the outer bag right side out, handles looking down. Pull the lining onto the outer bag, face side to face side. Make sure the pocket openings are oriented upwards.
Align the upper edges and pin together.
|
|
Topstitch in place, seam allowance slightly more than 1/4".
|
|
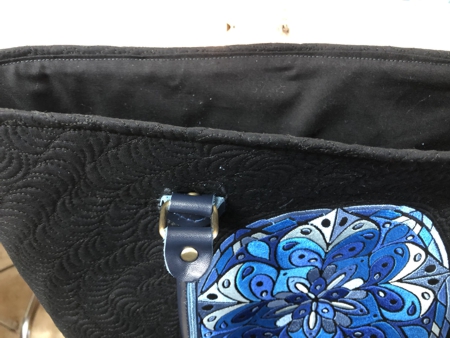
Turn the lining right side out and tuck inside the bag.
|
|
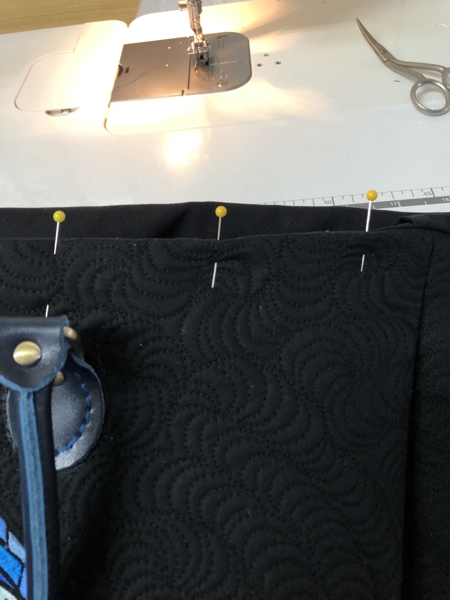
Fold the upper edge of the outer bag 1/4" back. Pin.
|
|
Top-stitch along the upper edge, seam allowance slightly less than 1/4".
|
|
Pull the lining out. Tuck the bottom edges 1/2" inside and topstitch to close the bottom. Tuck the lining back. If you wish, you can make box corners on the lining as well, as described above. Trim the tips to 1/2" and finish them with zig-zag stitch or serger.
|
|
Have fun!
|
|
|
Back to Blue Mandala
|
Back to Projects Page
|


