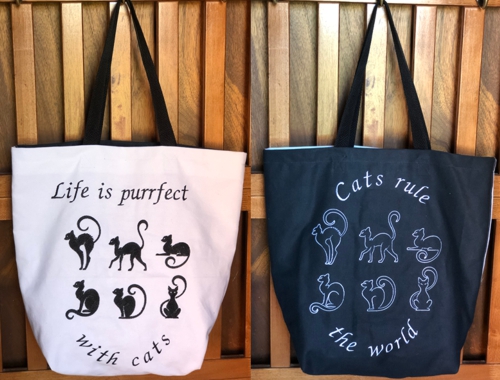
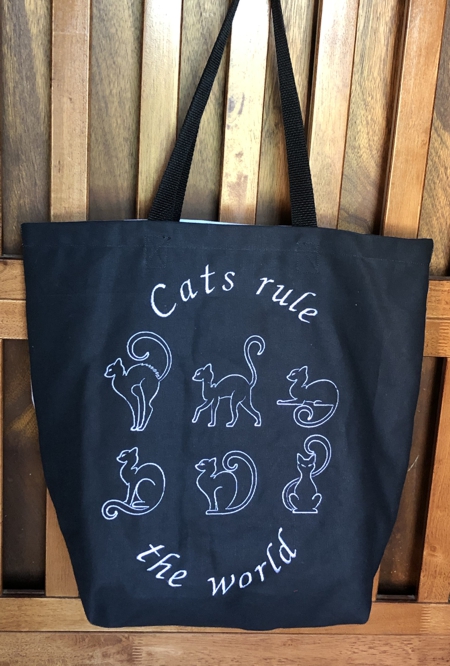
This roomy shopping tote is a purrrrrfect gift for cat lovers! It uses designs from the Cat Silhouette Set.
The finished size of tote is about 16" H x 17" W x 6"D.
|
|
You will need :
- black and white embroidery threads, either polyester or rayon (polyester is more durable),
- black and white cotton canvas or duckcloth,
- 1 1/2 yard of black 1" wide webbing,
- fabric for the lining,
- light-weight cut-away embroidery stabilizer,
- quilter's ruler,
- rotary cutter,
- iron,
- #12 and #14 universal needles,
- fabric pencil,
- sewing pins.
|
Cutting:
|
Out of the black and white canvas each, cut a panel measuring 19" x 22". If the canvas frays, finish the raw edges.
Out of fabric for the lining, cut
- a piece measuring 19" x 39", and
- 1 -2 pieces measuring 7 1/2" x 12 1/2" (one for 1 pocket, 2 if you want 2 pockets).
For the handles you'll need 2 pieces of webbing 26" long each.
|
|
Embroidery:
|
Upload the files from the Cat Silhouette Set to the machine.
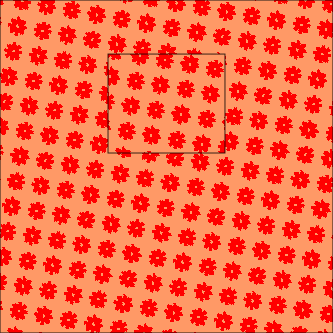
Mark the position of the embroidery on each canvas block close to the center. If you have a printer and embroidery software, print-outs of the designs will be helpful. Otherwise you can cut out rectangles the size of the designs and distribute them on the fabric for convenience.
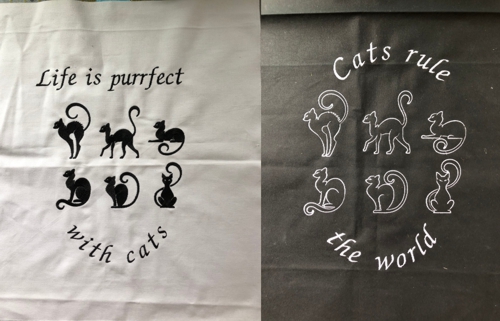
Stabilize the chosen area. Hoop fabric tightly and embroider the designs one by one.
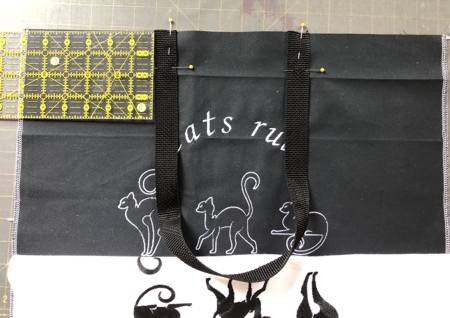
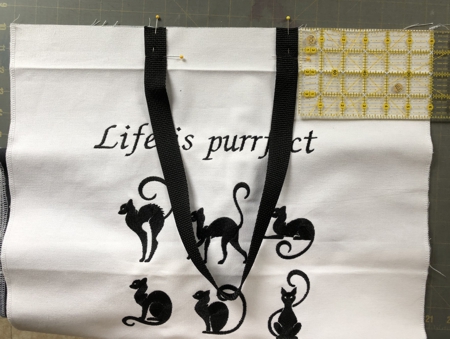
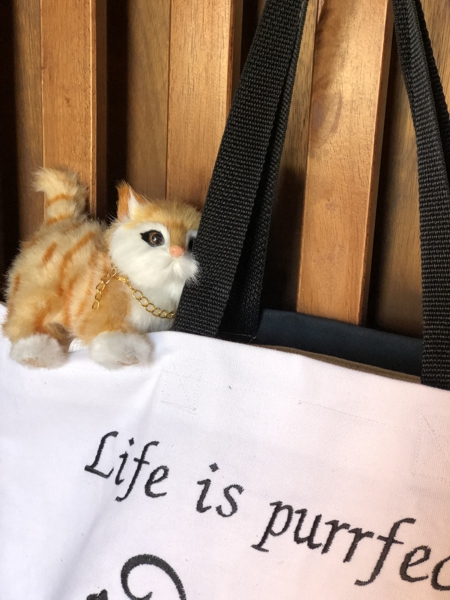
Add any quotes you like. We chose 2 : "Life is purrfect with cats" and "Cats rule the world". Use the built in fonts of your machine.
|
|
Assembly:
|
| For the outer bag use a #14 sewing needle, for the lining use a #12 sewing needle. |
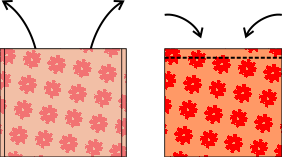
Fold the upper edge of each panel 2 inches back, press with steam.
|
|
Position both panels face to face, align all edges. Pin the bottom edges together.
|
|
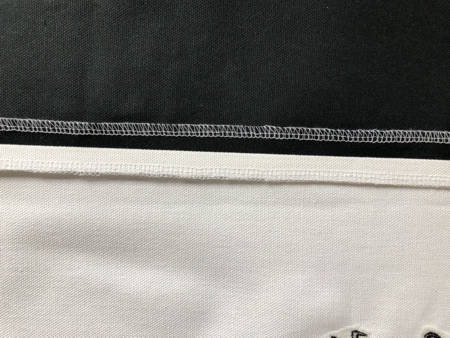
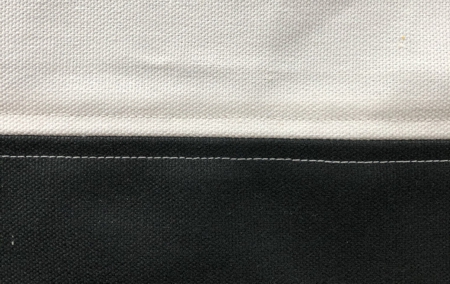
Sew along the bottom edge, seam allowance 1/2". Open and press the seam.
|
|
Topstitch 1/4" on both sides of the seam.
|
|
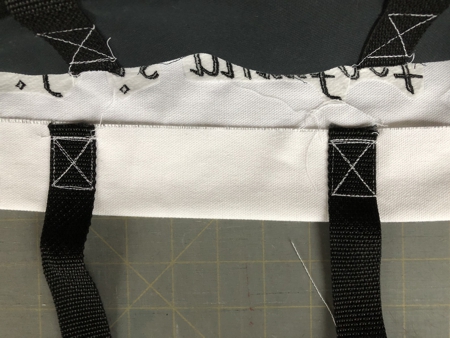
| Unfold the upper edges of each panel and pin the handles 6 inches from the side edges. Topstitch the handles 1/2" from the raw edge. |
|
|
| Fold the panels face inwards, align the edges. Stitch the sides, seam allowance 1/2", stitch again about 1/32" from the first stitch line. |
Press the seams open. Topstitch 1/4" on both sides of the seam.
|
Fold the upper edges back along the pressed line. Topstitch the handles in place.
|
|
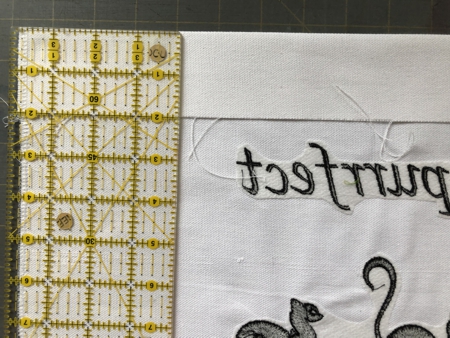
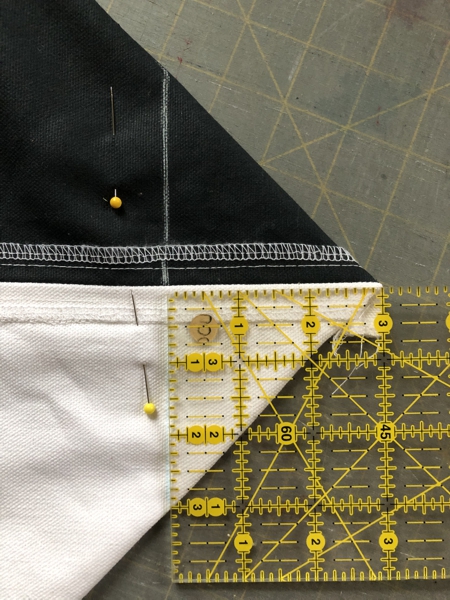
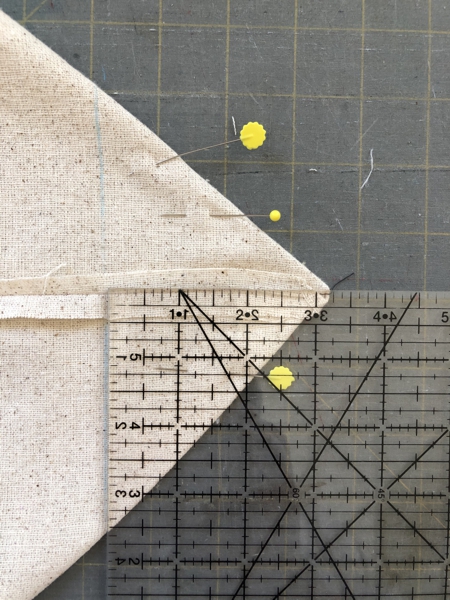
To make box corners, separate the front and back sides at the corners. Center the seam on the side with the bottom seam.
Measure 3" along the seam from the corner. |
|
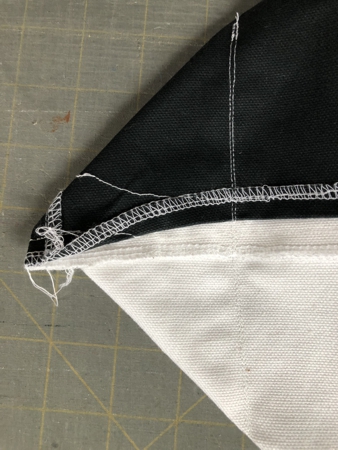
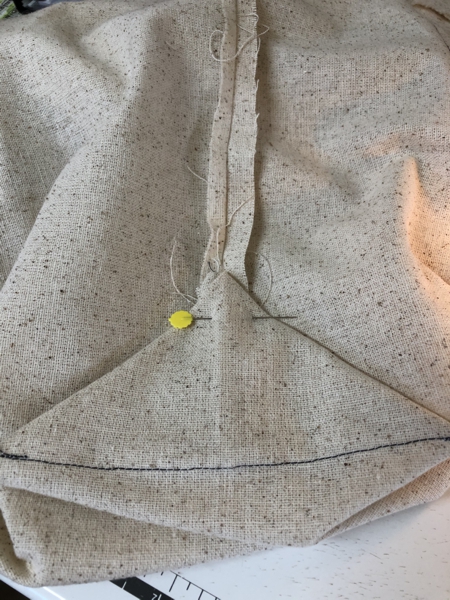
| Draw a line perpendicular to the seam across the corner and machine-stitch it several times |
|
| Fold the corner towards the bottom and topstitch it in place. Repeat for the other corner. |
| Making the Lining: |
Fold the short sides of the lining piece 1" back and press. Fold the piece widthwise in half, face inwards. Press the bottom line.
|
Pocket/s
|
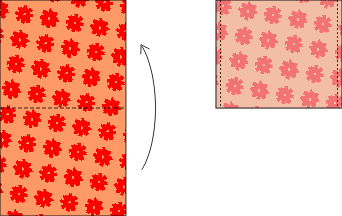
| Fold the piece for the pocket (7 1/2" x 12 1/2") widthwise, face inwards. Stitch along the side edges. Seam allowance for the pocket is 1/4". |
|
| Turn right side out. Press. Tuck the raw edges 1/2" inside, press and topstitch. |
|
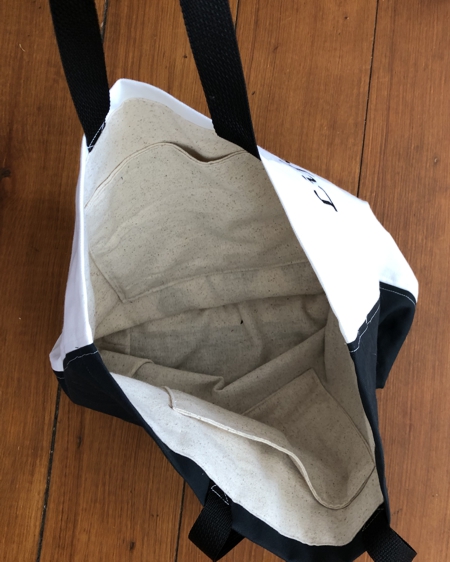
| Position the pocket/s on the lining panels, about 2" from the upper folded edge and an equal distance from the sides. Pin. |
|
Fold the lining in half along the bottom line. Align the side edges. Stitch the sides together, seam allowance is slightly less than 1/2". Press the seams open.
Make box corners as described above.
|
|
Fold the corners to the sides and topstitch in place.
|
|
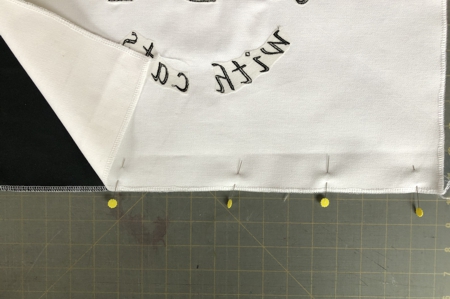
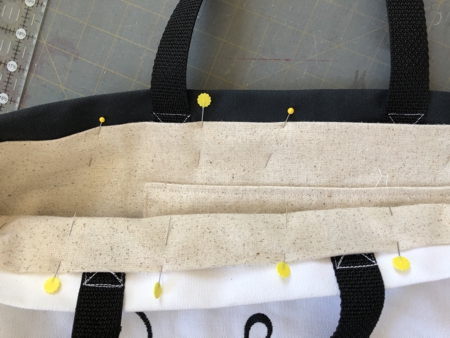
Insert the lining into the tote. Pin 1" from the upper edge of the outer bag. Topstitch in place. Please note when stitching the white panel, use white thread in the bobbin; when stitching the black panel, use black thread in the bobbin.
|
|
You are done!
|
|

|
| Have fun! |
|
|
|
Back to Cat Silhouette Set
|
|
Back to Projects Page
|


