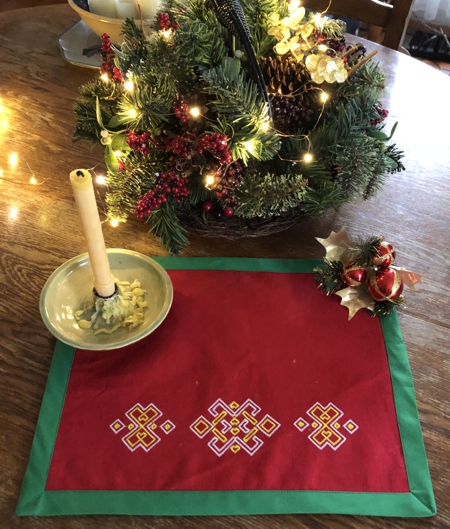
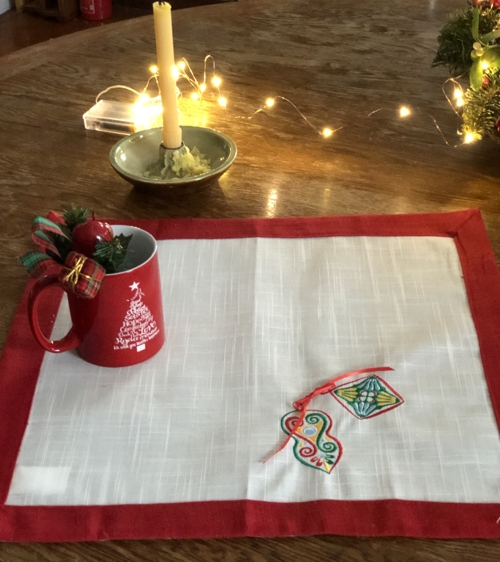
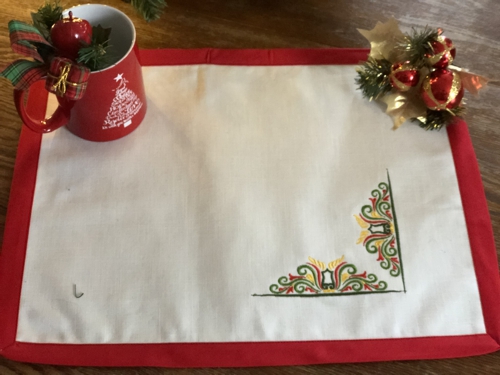
These embroidered placemats are very easy and quick to make. We used Christmas designs to give them a Christmas theme, but of course you can adopt this design for any kind of holiday theme.
The finished size is around 13" x 17".
|
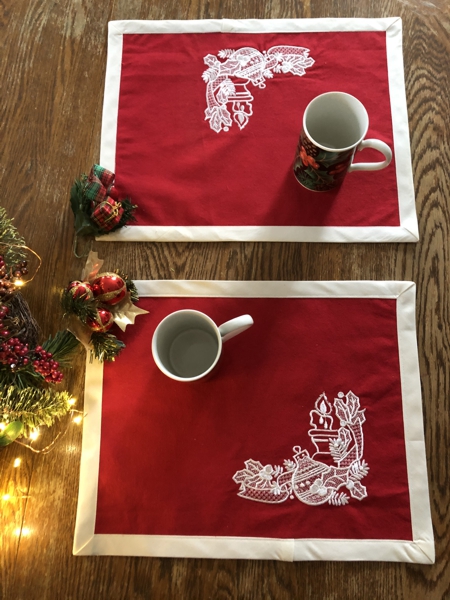
Christmas Ornament Corner
|
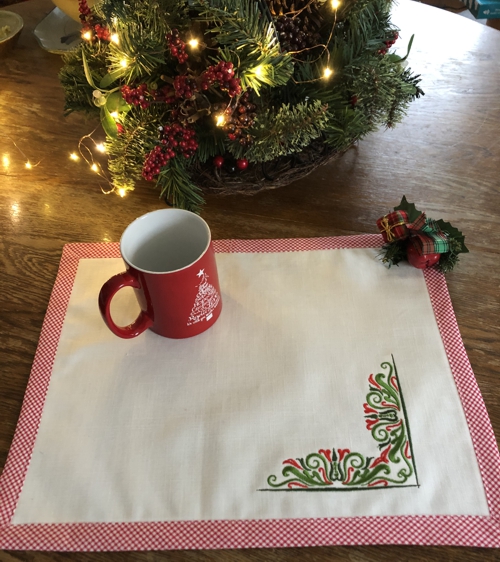
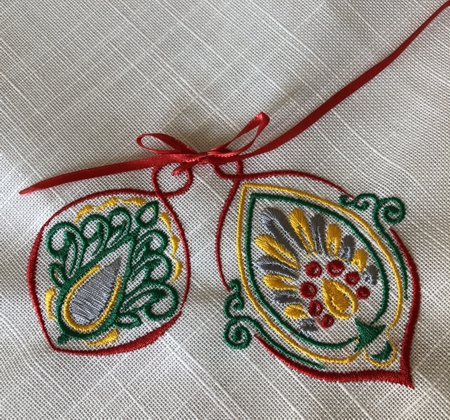
Golden Vine Border Set
|
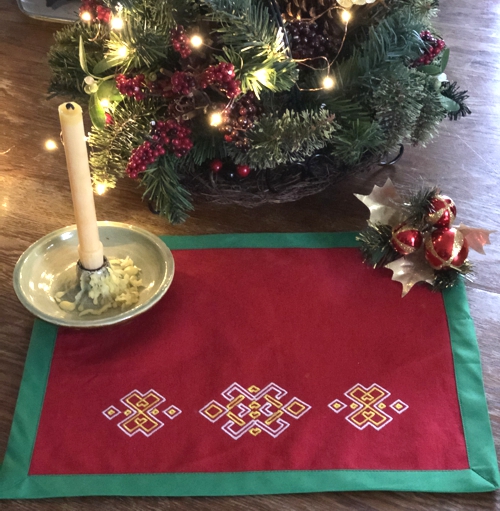
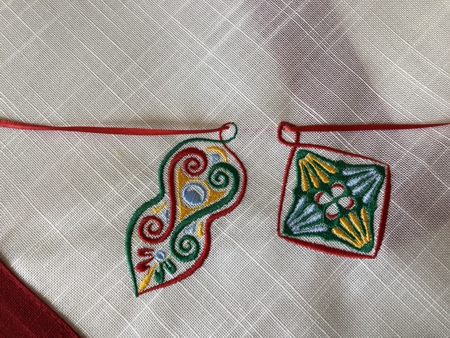
Geometric Knot Set
|
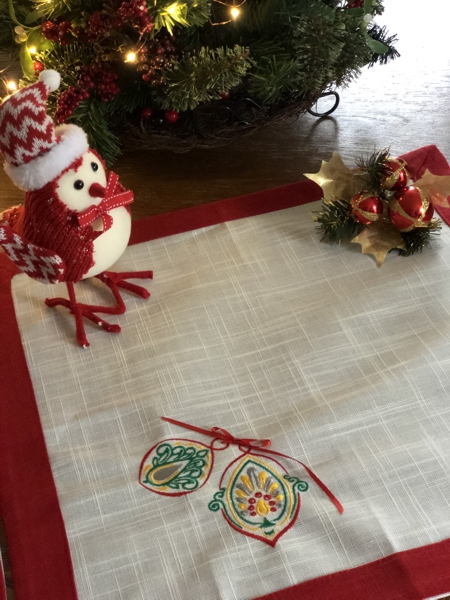
Christmas Ornament Set
|
You will need :
- embroidery threads either polyester or rayon,
- duck cloth or heavy linen fabric - white, red, green,
- bias tape of contast color to your fabric, (we used the ready double fold quilt binding)
- light-weight cut-away embroidery stabilizer,
- iron,
- #12 embroidery and universal needles,
- 1/8" wide satin ribbon and tapestry needle (optional).
|
Placemats:
|
Out of the fabric cut a piece measuring the finished placemat. If you want the embroidery very close to the edge, cut the piece 1" larger than your finished placemat.
Mark the position of the embroidery on the fabric. Select threads.
Stabilize the fabric with light-weight cut-away stabilizer. Hoop and tighten the frame. Upload the design you've chosen into the machine.
Embroider it.
|

Christmas Ornament Corner
|
Cut away the excess stabilizer around the embroidery. Press to remove the hoop's traces. Wrinkles release spray can be helpful.
Check that you have a proper rectangle - all corners should be 90 decgrees and the opposite sides should be of the same length. Cut if necessary.
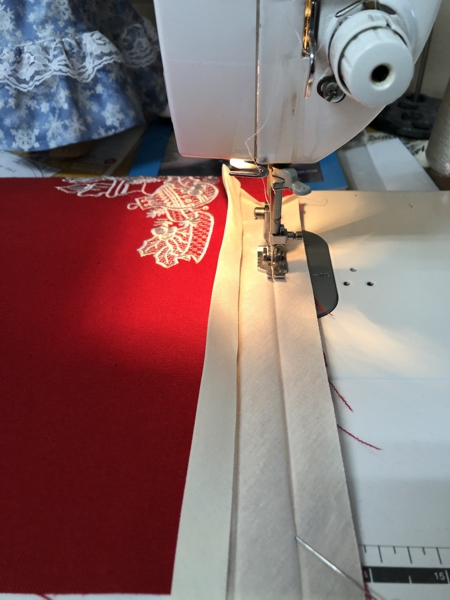
Open the package with the binding, unfold it and align one of the edges along the placemat's edge. Sew it in place using your favorite method.
|
|
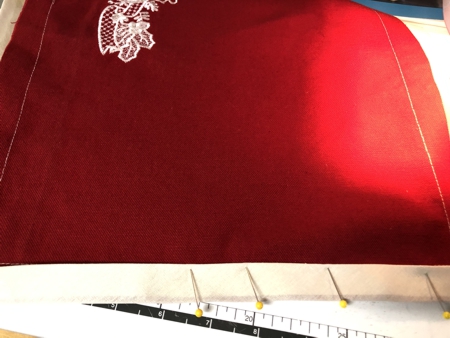
Fold the binding to the back, pin, then topstitch in place.
|
|
You are basically done.
|
Geometric Knot Set
|
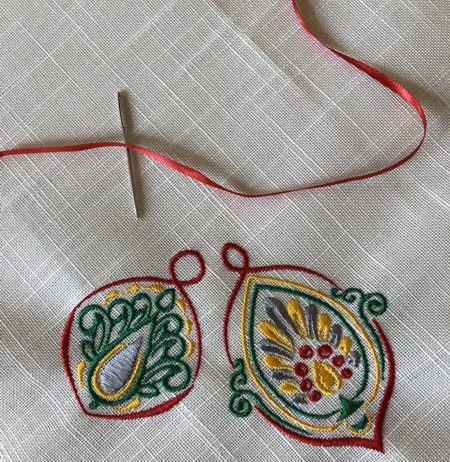
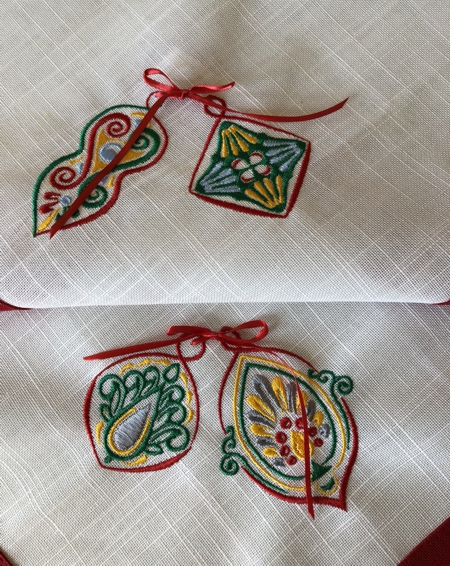
| You can add any other embellishments. For example, we added some satin ribbon to complement the designs from the Christmas Ornament Set. |
Embroider the designs close to each other and at an angle so that the upper loops are close. Cut a piece of 1/8" wide ribbon 10"-12" long and thread it in a tapestry needle.
|
|
Insert the needle from the right side into one of the loops, then from the wrong side into another loop.
|
|
Tie the ends into a bow.
|
|
|
Christmas Ornament Set
|
Golden Vine Border Set
|
|
| Have fun! |
|
Back to Projects Page
|


