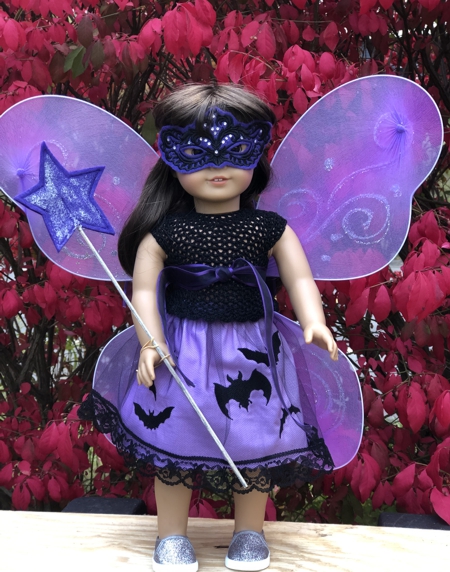
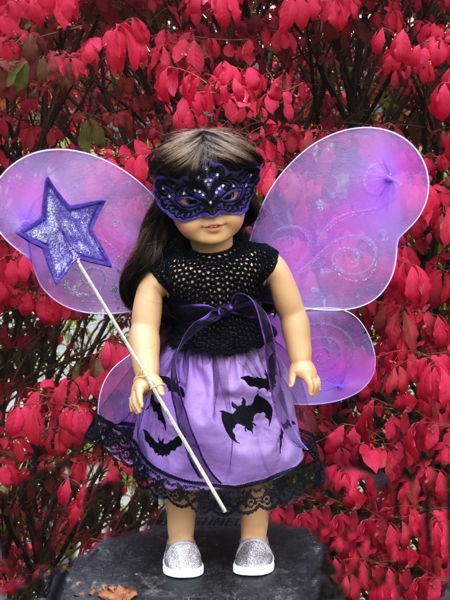
On this page we show how to make a Halloween costume of a Twilight Fairy for an 18-inch doll. We used the designs from the Halloween Bat Set for the skirt and Carnival Masks for 18-inch Dolls. This outfit will fit American Girl Doll and dolls with similar proportions.
The wings came from a dollar store. The top is crochet and was made using the American Girl Doll Halloween Skirt and Top pattern available from ABC Knitting Patterns. If you do not crochet, you can sew or buy a black t-shirt for your doll. Pixie Faire has a free pattern of a t-shirt for 18-inch dolls.
|
|
The Mask
|
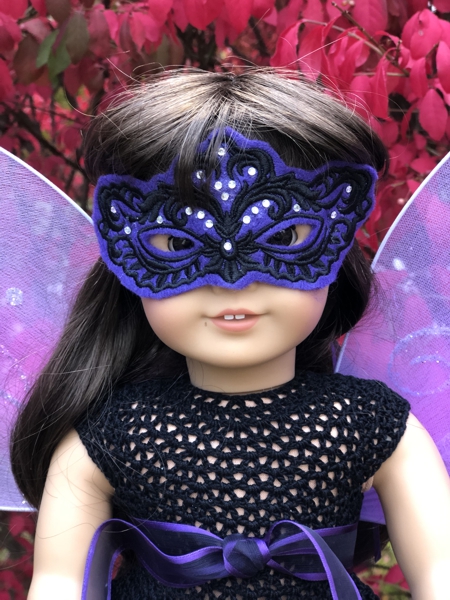
For the mask we chose the smaller design from the Carnival Masks for 18-inch Dolls Set.
|
|
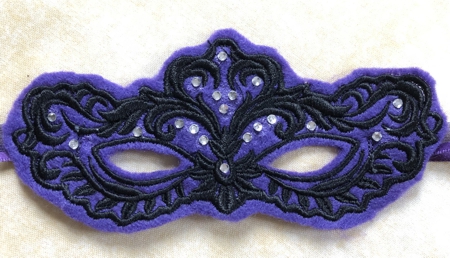
You can follow strictly the imstructions, or do it quicker, as we did here. We used a piece of purple craft felt, hooped it without any additional stabilizer and embroidered the design with black thread. Then we cut out the stitch-out leaving about 1/8" margins of felt around the stitches. Then cut out holes for eyes.
You can further decorate the mask with crystals, beads, glitter, etc.
|
|
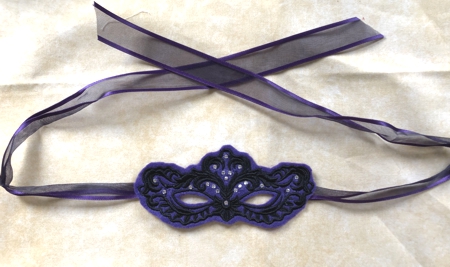
For the ties we cut 2 pieces, 12" long each, of organdy ribbon and sew on the ends to the back of the mask. Do not sew them to the tips where the loops are, sew them closer to the eyeholes, this will make the mask look better on a doll.
|
|
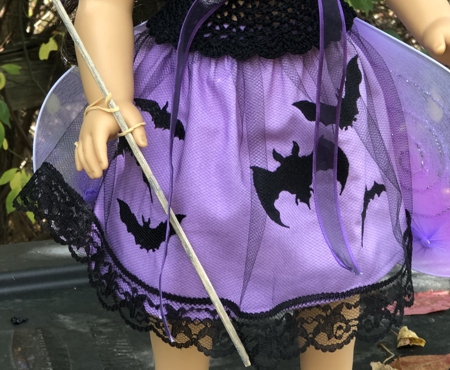
The Skirt
|
For the skirt we used cotton fabric with a gradient color - from light pink to dark purple. For our skirt we used a strip 26" long. If you want a fuller skirt, use a longer strip.
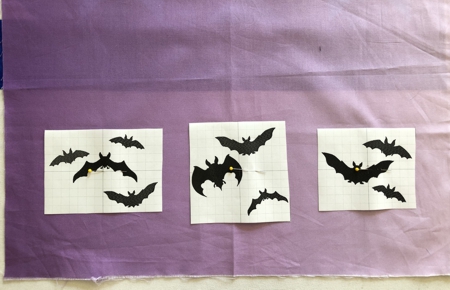
Decide on the position of the Halloween Bat Set designs on the fabric. Paper templates are very helpful.
Stabilize the fabric with light-weight cut-away stabilizer and embroider the designs one by one.
|
|
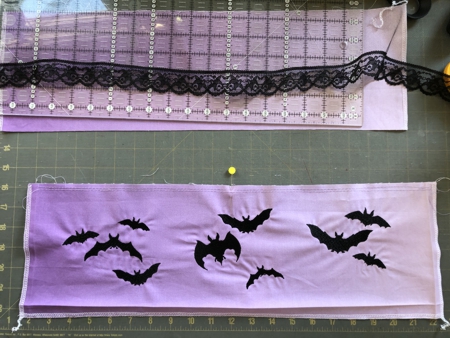
| Cut away the excess stabilizer and cut out a strip measuring 6 1/2" x 26". Finished the short sides and the bottom long side of the strip. Stitch 2 baste rows along the upper edge , starting and finishing 1/2" from the short edges. |
|
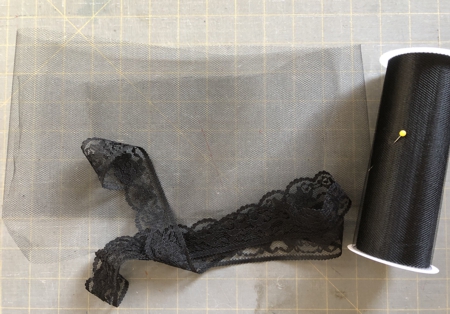
For the overlay, we used black netting on a spool and black lace. You will need 36" of each.
|
|
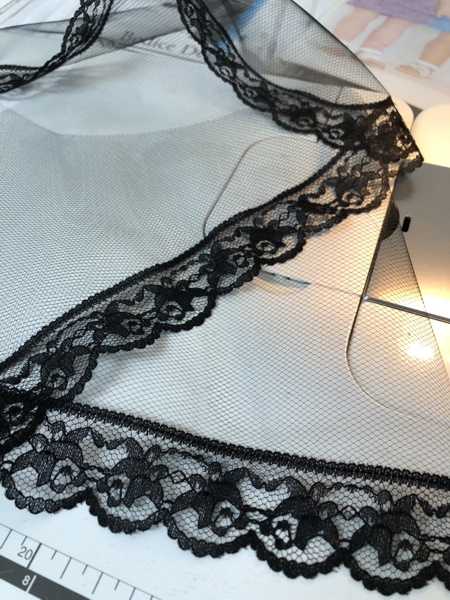
| Sew the lace to the lower edge of the netting. Stitch 2 baste rows along the upper edge,starting and finishing 1/2" from the short edges. |
|
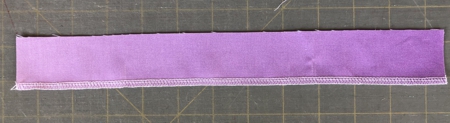
Measure the waist of your doll. Add 1" to your measurement, Cut a strip 1 1/2" wide and as long as your measurement. Our doll's waist is 10 1/2", that's why we cut a strip 1 1/2" wide and 11 1/2" long for the belt. Finish one of the long edges.
|
|
Fold the short sides of the skirt about 1/2" back and lightly press. Pull the ends of the baste threads until the upper edge of the skirt is 11". Distribute the ruffles/pleats evenly. Repeat on the overlay. Place the overlay over the skirt and pin them together at the upper edge.
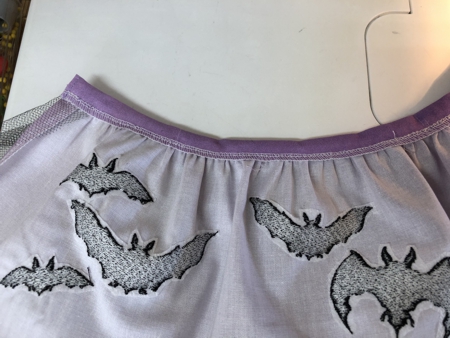
Pin the unfinished edges of the belt to the skirt. The short ends will protrude 1/4". Topstitch. Seam allowance is 1/4".
Remove visible baste threads.
|

|
Fold the short raw edges back and press. Fold the belt's other long side inside to cover the seam. Baste or pin.
|
|
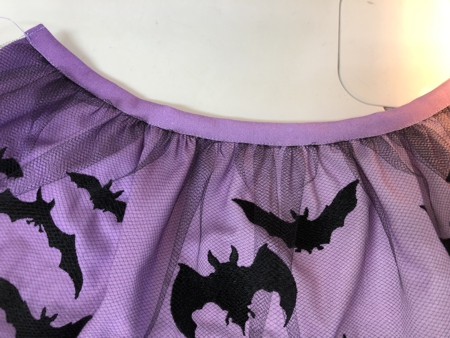
Then topstitch in place from the right side. Topstitch the short edges. Remove the baste thread.
|
|
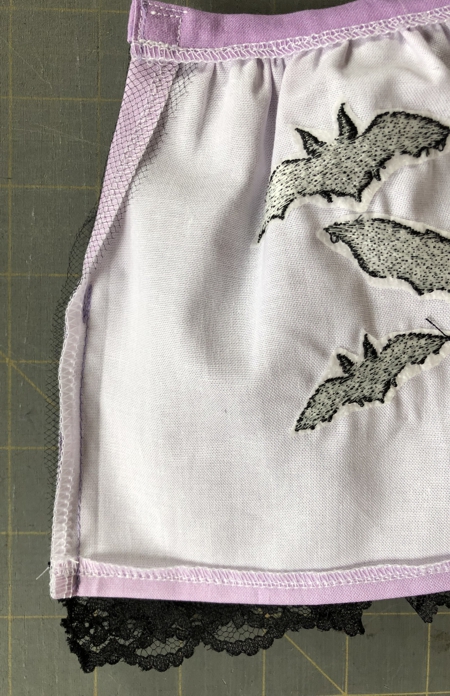
Align the short back edges of the skirt and overlay, and pin them together. Sew the back seam from hem up, leaving about 3" unstitched.
Fold the hem abut 3/8", press and topstitch.
Sew pieces of Velcro or snaps to the belt.
|
|
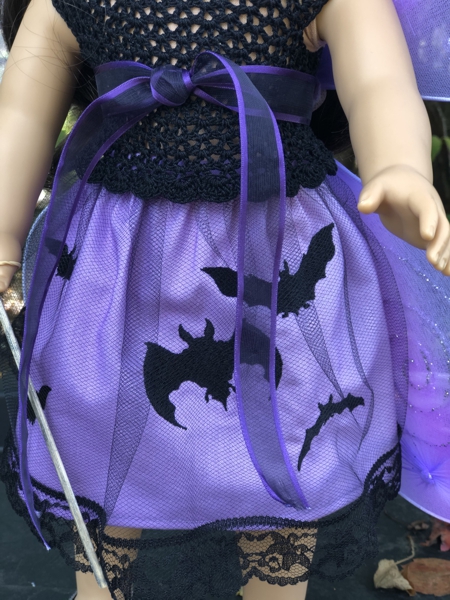
Put the skirt on the doll.
|
|
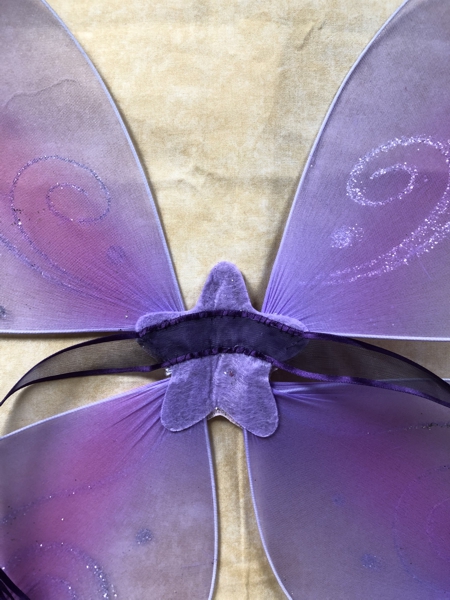
The Wings.
|
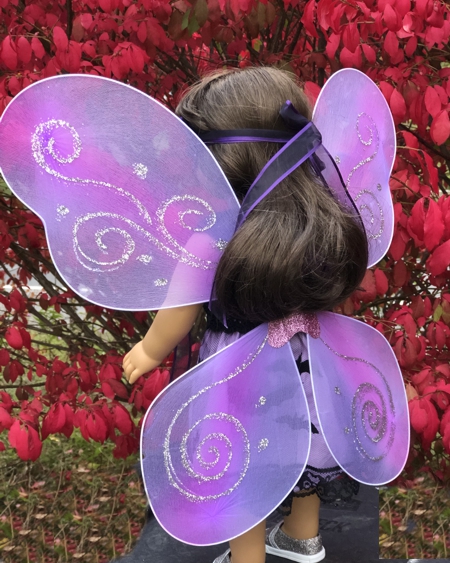
The wings came from a dollar store and are designed for kids. You need to make some small alterations to fit them to a doll. First of all, cut away the elastic loops which are too long anyway. Then cut a piece of organdy ribbon about 24"-26" long.
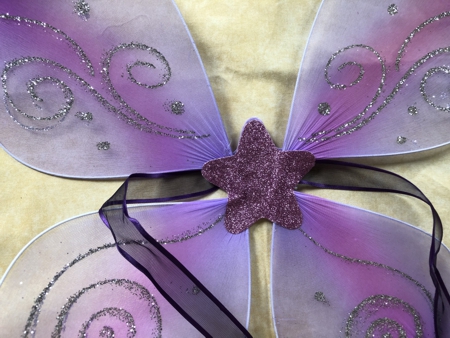
Hand-stitch the ribbon to the centerpoint of the wings.
|
|
|
Now the wings are ready for the doll. Tie the ribbon in front.
|
|
The Wand.
|
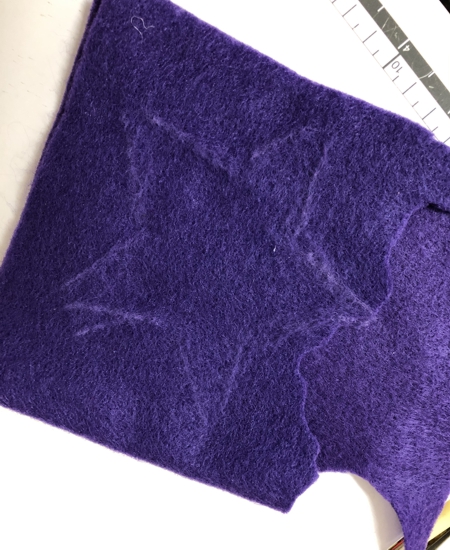
For the wand we used the remaining scraps of purple felt and a bamboo skewer.
Position 2 scraps of felt, one over another. With chalk or marker draw a star.
Topstitch over the drawing, leaving a small opening between the lower 2 rays of the star.
|
|
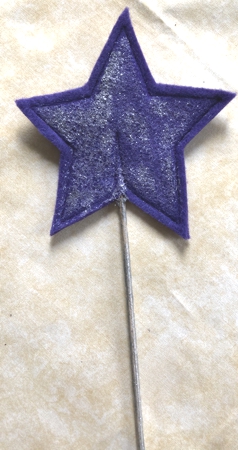
Cut out the star leaving about 1/8" seam allowance. Insert the skewer in the opening.
You can further add some glitter and/or paint the skewer.
|
|
The costume is ready. Have fun!
|
|
|
|
Back to Halloween Bat Set or Carnival Masks for 18-inch Dolls.
|
Back to Projects Page
|


