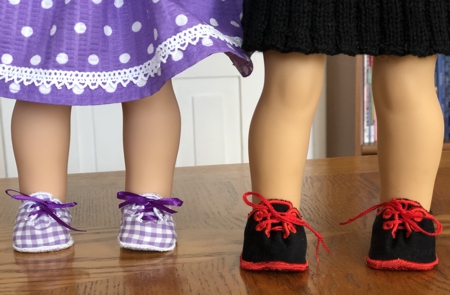
These are instructions on how to embroider and assemble the designs from the Doll Sneaker Set. Some hand stitching required. The shoes will fit 18-inch dolls, such as American Girl doll (shown on photos), Our Generation and My Life As... dolls.
|
|
You will need :
- embroidery threads, either polyester or rayon, in your choice of colors,
- medium-weight spunbond fabric or medium-weight cut-away stabilizer; please note that the stabilizer stays in the stitch-out and works as a lining,
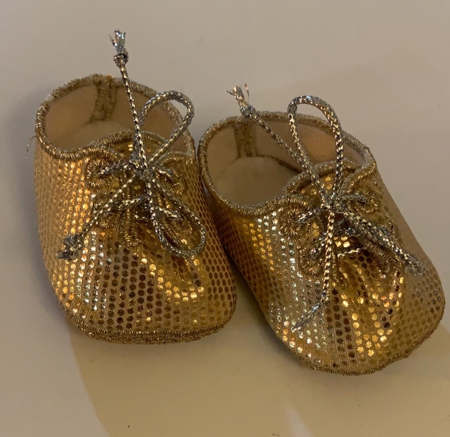
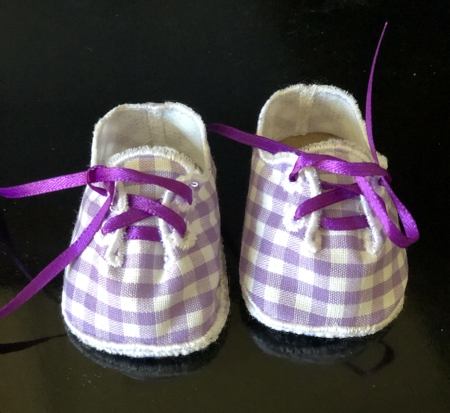
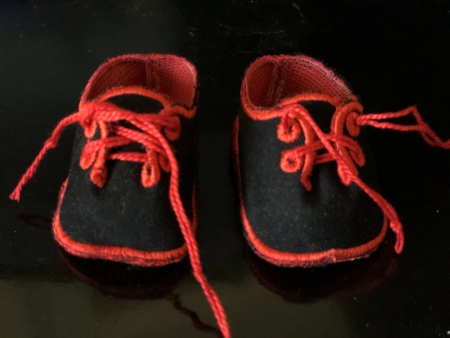
- fabric for the upper part of the shoes, it can be thin faux leather or any fabric, we used thin stretch polyester (golden sneakers), cotton (lilac sneakers) and medium-weight peach skin polyester (black sneakers),
- material for the soles, it should be heavier than what you use for the uppers,
- applique scissors,
- thin cord, yarn or narrow ribbons for shoe laces,
- sewing needle and sewing thread of matching colors,
- tapestry needle.
|
|
|
|
|
Embroidery:
|
You will get 2 files: "Sneakers1" and "Sneakers2". Both files are embroidered in the same way, as applique.
|
Step One: Upload any file from the set into the machine. Select threads.
Hoop a layer of spunbond or medium-weight cut-away stabilizer.
Tighten the hoop.
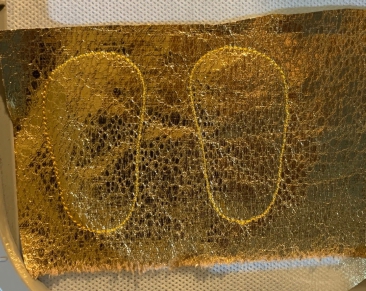
Start the machine. The first color will embroider the outline and stop.
|
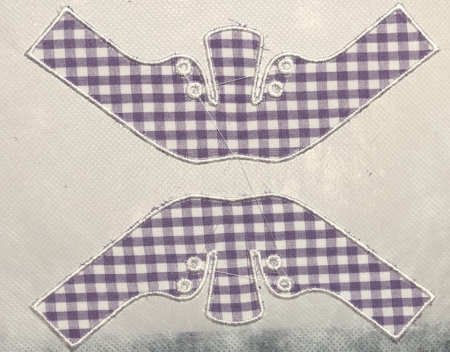
Step Two: Cover the outline with a piece of fabric. Start the machine. It will embroider the same outline over the fabric.
|
|
|
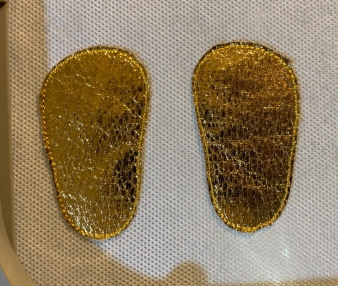
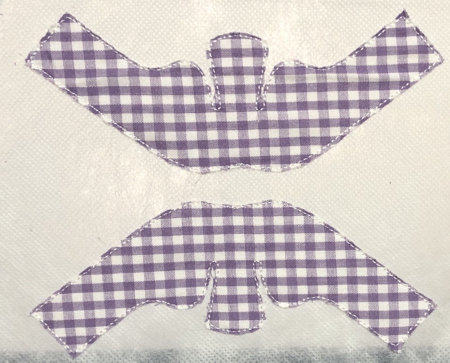
Step Three: Take the hoop from the machine and with a pair of sharp scissors cut away the fabric around the outlines. Take care not to cut through the stitches.
|
|
|
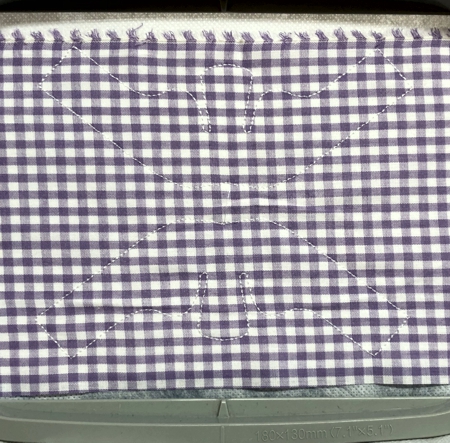
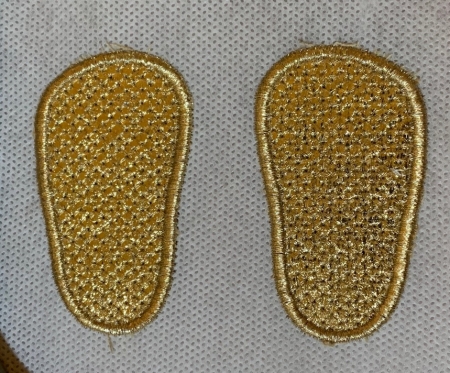
| Step Four: The last color will finish the raw edges of the applique: |
|
|
Assembly:
|
Step Five: Take the stitch-out from the hoop, neatly cut away the excess spunbond around the stitch-outs.
|
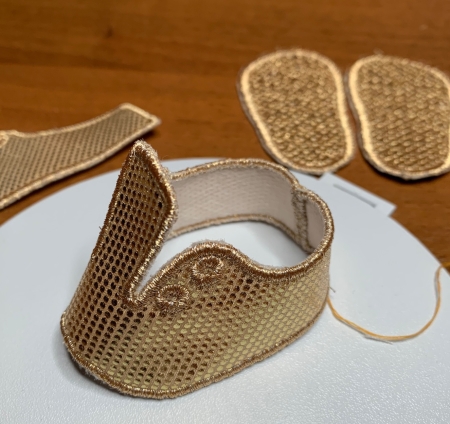
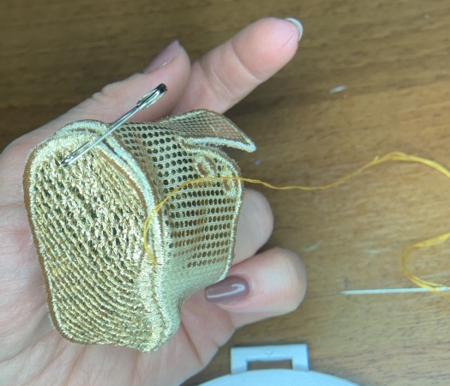
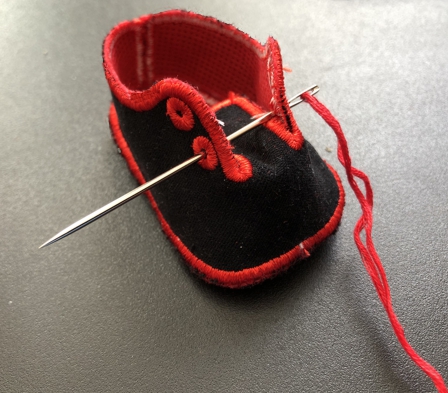
Step Six: Fold the upper parts to make the short edges meet and sew them together butt-to-butt. You can either do it on a sewing machine using zig-zag, or by hand. Use thread of matching color.
|
|
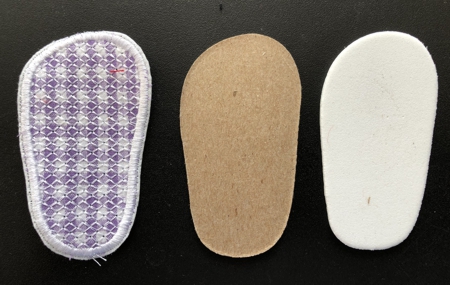
If you think that the sole is not firm enough, trace the soles' outlines on a piece of thin cardboard or foam and cut them out.
|
|
Step Seven: With a couple of safety pins pin the sole to the upper and stitch by hand over the edges.
|

|
|
| Step Eight: Thread a tapestry needle with the cord or ribbon and insert the lace into the shoe holes. |
|
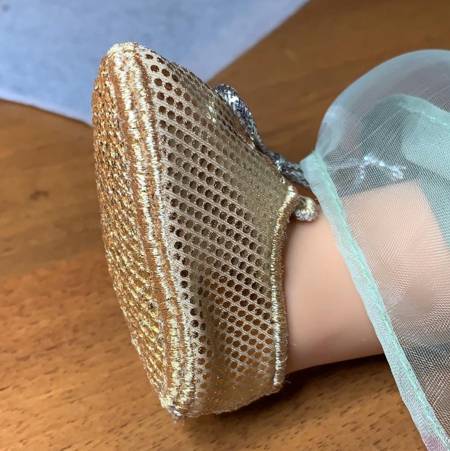
| Step Nine: Insert cardboad/foam soles inside. Put the sneakers on the doll. |
|
|
Have fun!
|
|
Back to Doll Sneaker Set
|
|


