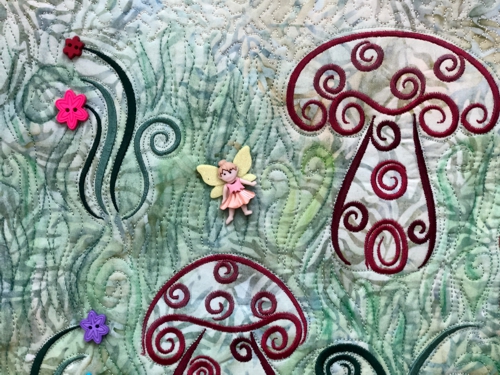
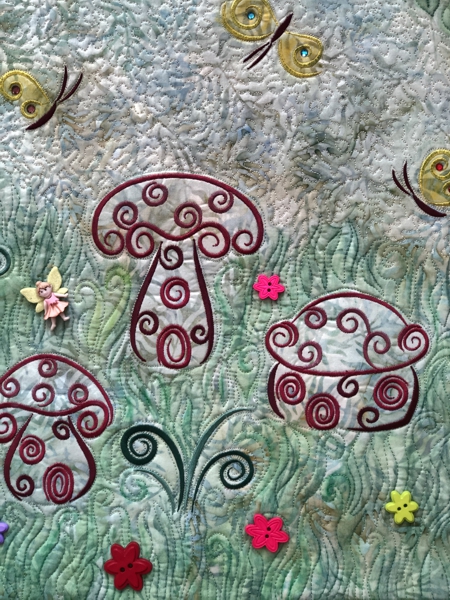
This quilt is easy to make and lets your creativity really go wild with embellishments, fabric paints and other accessories. We used designs from the Whimsical Forest Set. For embellishments, we used designs from 3D Organza Flowers, flower and fairy themed buttons, hot-fix crystals and leaf trim.
The finished size of the quilt is about 17" x 22". |
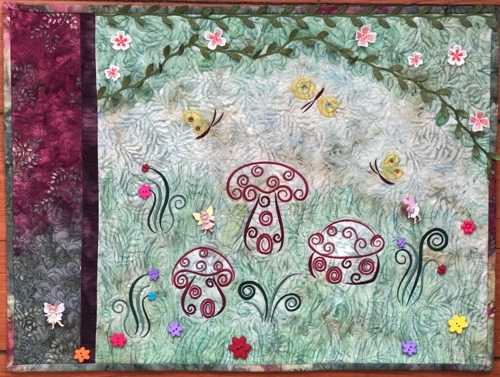
Click to enlarge
|
The contruction of the quilt is very simple.
|
You will need:
- embroidery threads either polyester or rayon - we used dark green and burgundy to match our fabrics,
- 1 fat quarter for the central part (we chose a light green batik with a leaf pattern),
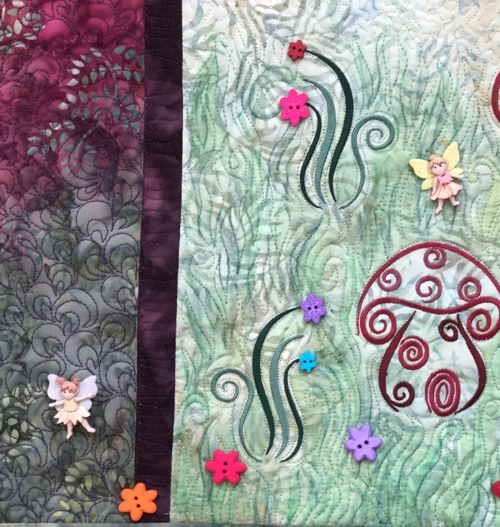
- 1 strip of dark burgundy fabric for the first border,
- about 1/2 yard of a green-and-burgundy batik with a leaf pattern,
- light-weight cut-away embroidery stabilizer,
- fabric for the backing,
- batting,
- quilter's ruler,
- rotary cutter,
- iron,
- #12 universal needle,
- #12-14 quilting needle,
- fabric pencils, markers or ink (optional),
- leaf trim, buttons - we used fairy and flower buttons.
|
Cutting:
|
Out of light green fabric, cut a piece measuring 17 1/2" x 18 1/2".
Out of dark burgundy, cut a strip measuring 1 1/4" x 17 1/2",
Out of green and burgundy fabric, cut a strip measuring 4" x 17 1/2"; use the remaining fabric for the binding.
|
|
Assembly:
|
| Note: seam allowance is 1/4", press every seam immediately after you make it. |
Sew the burgundy 1 1/4" x 17 1/2" to the left edge of the central part .
|

|
Sew the green-burgundy 4" x 17 1/2" strip to the left edge of the burgundy strip.
|

|
Embroidery:
|
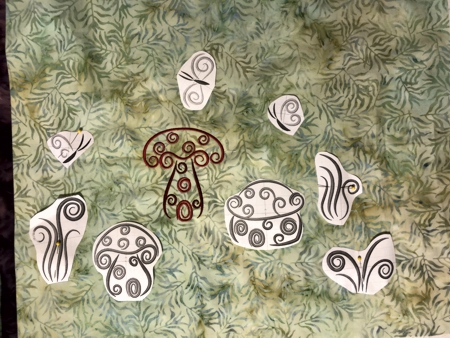
Mark the position of the embroidery on the central part. If you have a printer and embroidery software, you can print out the designs to use as templates. If not, you can cut out rectangles the same size as the designs and distribute them on the fabric for convenience.
Stabilize the chosen area. Hoop the fabric tightly and embroider the designs one by one.
|
|
Quilting and Finishing
|
Now place the backing on a flat surface (table) face down. Cover with batting. Spread your working piece over it.
Pin all layers together.
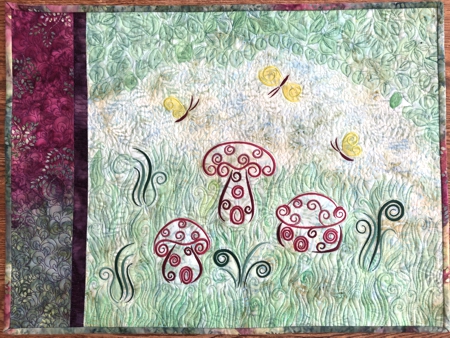
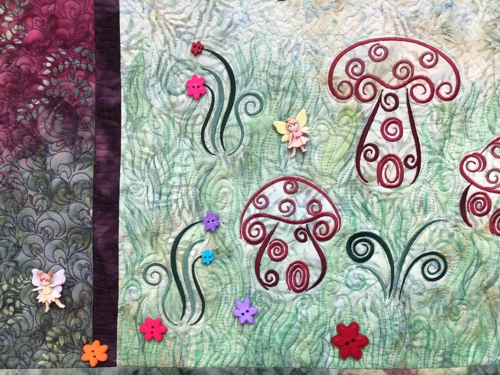
We quilted in a free-motion style all over the quilt. |

|
| Press with heavy steam. Square the quilt. Finish the raw edges with the binding. |
|
Embellishment:
|
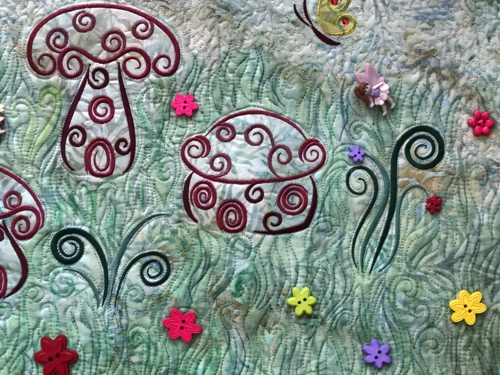
First, using fabric paints, we painted grass on the bottom part of the quilt, and foliage and butterflies in the upper part. Follow the manufacturer's instructions for the paints.
|
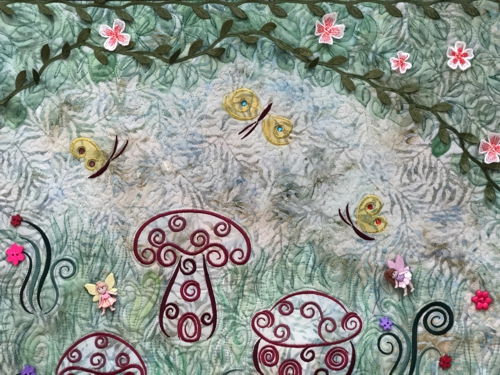
Then we sewed on the leaf trim and 3D Organza Flowers. Lastly, we added flower buttons and fairy buttons.
|
|
|
|
|
| Have fun! |
|
|
|
Back to Whimsical Forest Set
|
Back to Projects Page
|


