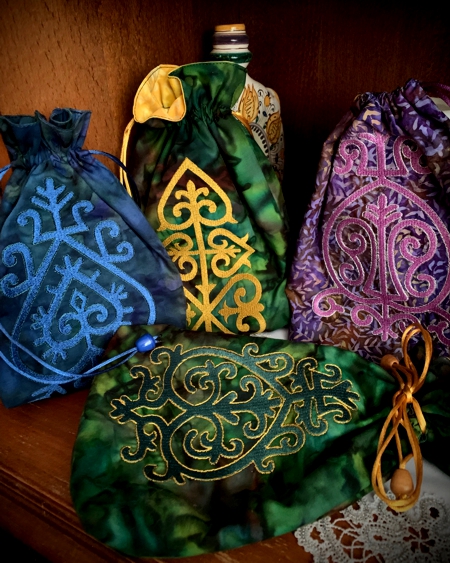
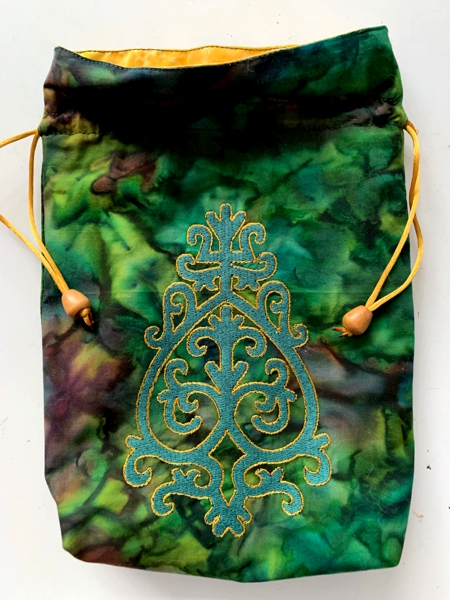
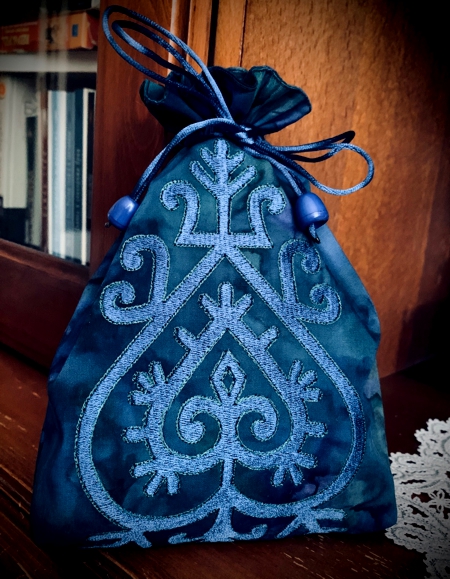
These attractive gift bags feature designs from the Folk Motif Set. They're very easy to customize to get the look you want.
The finished size of each bag is about 8" x 12".
|
|
For one bag, you will need :
- embroidery threads, either polyester or rayon; pick colors to match the colors of your fabrics,
- 1 fat quarter of fabric for the bag (we prefer cotton batik),
- light-weight fabric for the lining,
- light-weight cut-away embroidery stabilizer,
- 1 yard of thin colored cord,
- 2 beads with an opening large enough for the cord (optional),
- iron,
- scissors or rotary cutter,
- chalk pencil,
- ruler,
- safety pin.
|

|
Embroidery:
|
Cotton is the easiest fabric to embroider on. You can use other fabrics if you like, but be aware that different fabrics will need different kinds of stabilizer.
We used cotton batiks with light-weight cut-away stabilizer.
|
Choose a file from the Folk Motif Set and upload it into the machine. Hoop the fabric with appropriate stabilizer and embroidery it.
|
Trim the stitch-out to 8 1/2" x 12 1/2" piece. The embroidery should be about 3 1/2" from the upper edge and 1 1/2" from the lower edge.
|
Cutting:
|
Out of fabric for the outer bag, cut another piece measuring 8 1/2" x 12 1/2".
Out of fabric for the lining, cut 2 pieces measuring 8 1/2" x 12 1/2".
Cut the cord in 2 pieces 16"-18" long each.
|
Sewing:
|
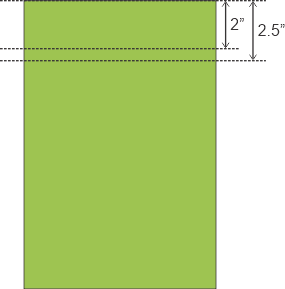
Position the outer bag pieces face to face, align and pin all edges.
Along each side, measure 2" and 2 1/2" from the upper edge, and mark these spots with the chalk pencil.
|
|
With seam allowance 1/4", sew the sides and bottom together, leaving unstitched the 1/2"-space between the two marks. Press the seams open.
|
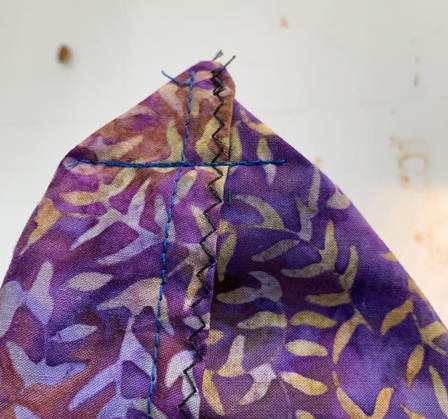
To make box corners, separate the front and back sides at the corners. Working with one corner at a time, center the side and bottom seams. Pin. Measure 1" along the seam. Draw a line perpendicular to the seam.
Stitch 2 times along the marked line.
Fold the corner towards the bottom.
Repeat for the other corner.
|
|
Do not turn the bag the right side out yet.
|
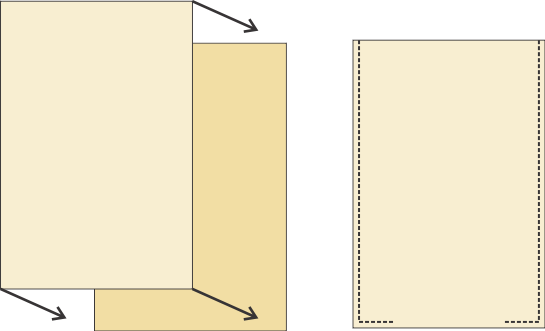
Position the lining pieces face to face, align and pin the edges. Sew with seam allowance 1/4" and leaving about 3" unstitched on the bottom. Press the seams open.
|
|
Turn the lining right side out and insert into the outer bag. Because the outer bag is inside out, the lining will be face to face with the outer bag. Align the side seams and the upper edges. Pin along the upper edge.
|
|
| Sew along the upper edge, seam allowance 1/4". |
Turn out through the bottom opening in the lining. Stitch the opening closed.
Tuck the lining in. Press the upper edge. Topstitch along the upper edge about 1/8" from the edge.
|
|
Lay the bag flat. With the ruler, draw chalk lines from the 1/2" side opening on one side to the other. Turn the bag over and repeat.
|

|
Topstitch along the lines to make a sleeve for the cord.
|
With the help of a safety pin insert the cord from both sides as shown on the diagram.
|
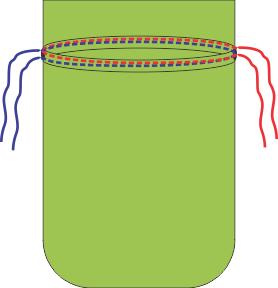
|
Thread the cord ends through the beads and tie.
|
|
|
|
|
|
|
Back to Folk Motifs Set
|
Back to Projects Page
|


