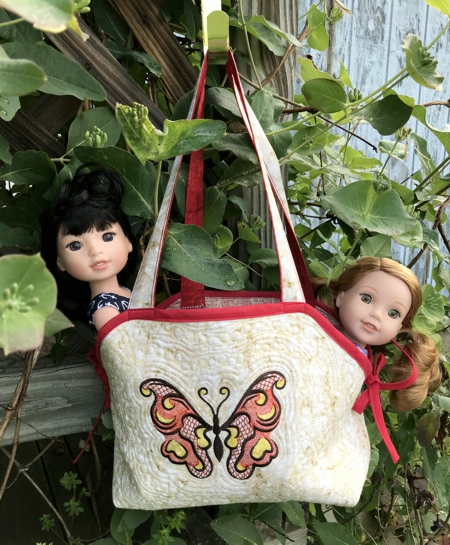
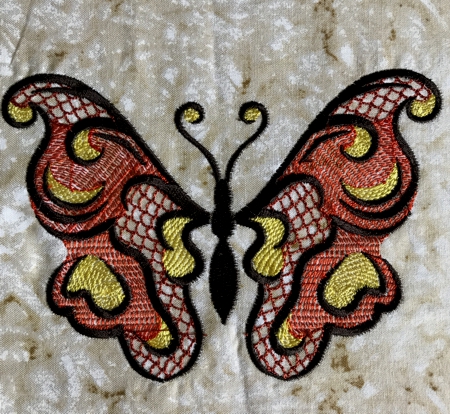
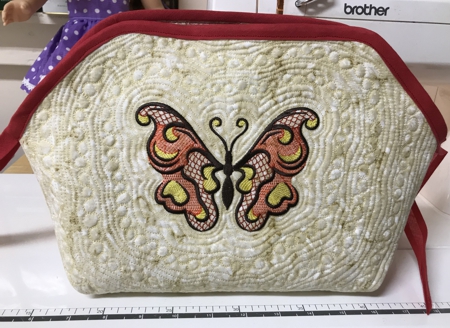
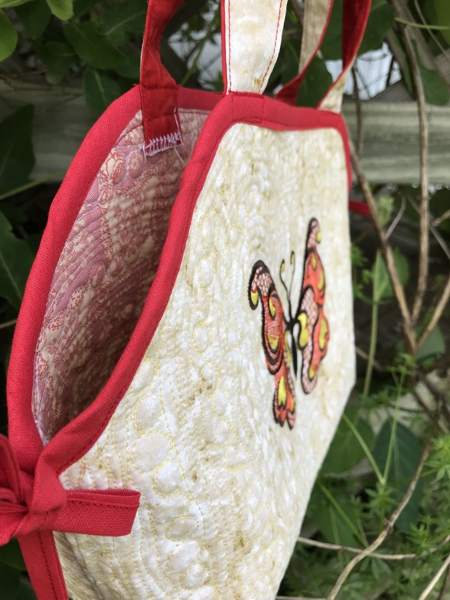
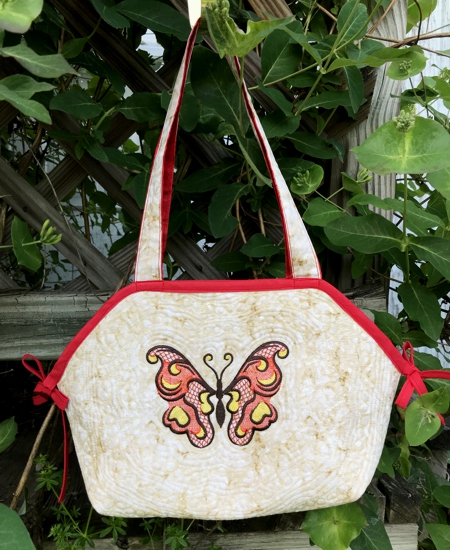
This small tote or purse is a great way to carry around your essentials. To decorate it, we used one of the designs from the Butterfly Set for the 5" x 7" hoop (Large hoop).
The finished size of the bag is about 8" high x 9" wide x 4" deep.
|
|
You will need :
- embroidery threads, either polyester or rayon, your choice of color,
- about 1 yard of light cream cotton fabric for the outer bag and for the lining,
- 1 pack of wide single fold bias tape, color to match the embroidery,
- light-weight cut-away embroidery stabilizer,
- low-loft batting,
- iron,
- scissors,
- quilter's ruler,
- rotary cutter,
- pencil,
- sewing thread of a matching color,
- (optional) additional embellishments, such as multi-colored buttons, beads or rhinestones
|
Cutting:
|
Out of fabric for the outer bag, fabric for the lining, and batting each, cut 1 piece measuring 16" x 21".
|
Embroidery :
|
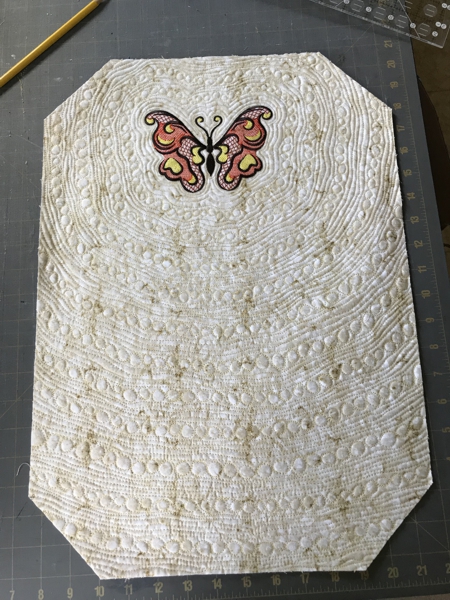
Make the embroidery on the piece of fabric for the outer bag. Use light-weight cut-away stabilizer. The embroidery should be about 3" - 3 1/2" from one of the short sides of the rectangle. The top of the embroidery should be pointed towards this short side.
After the embroidery is done, cut away the excess stabilizer around the stitch-out.
|
|
Quilting:
|
Now place the backing on a flat surface (table) face down. Cover with batting. Spread your working piece over it.
Pin all layers together.
We quilted in a free-motion style all over the piece.
|
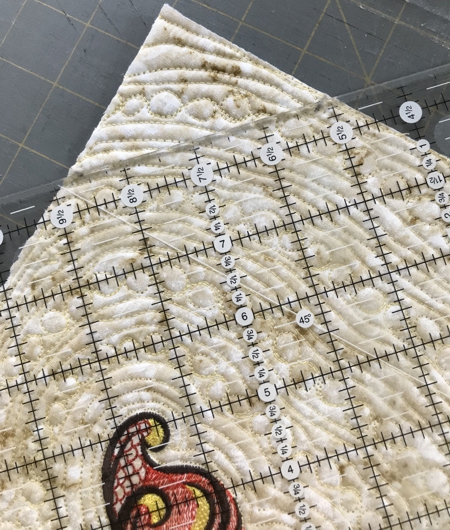
Press with steam. Trim the work to 15" x 20".
|
Sewing the Bag:
|
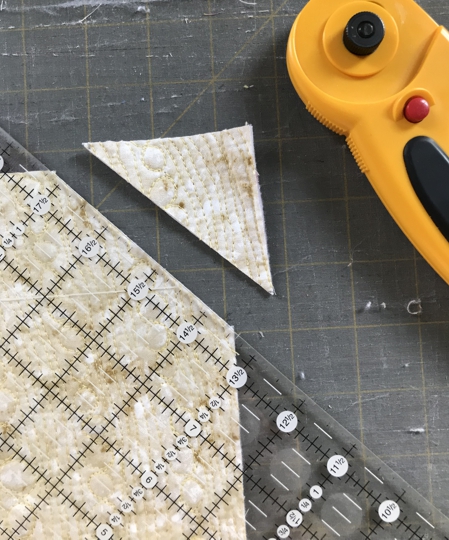
Measure 2 1/2" from a corner along one side, mark with the pencil, then measure 2 1/2" along the other side, mark with the pencil. Connect both marks with the ruler.
|
|
Cut the corner off.
|
|
Repeat for all the corners.
|
|
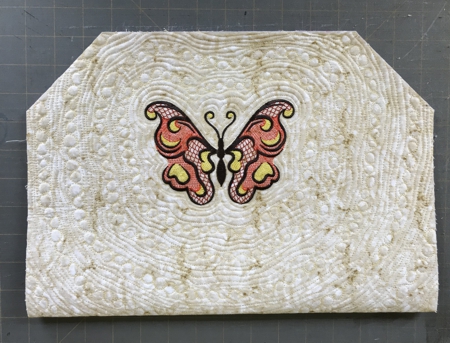
Fold the work in half, align all edges. Press to mark the central line of the bottom.
|
|
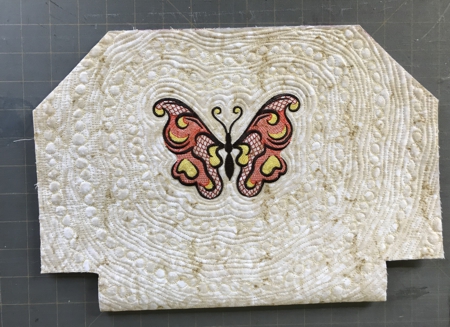
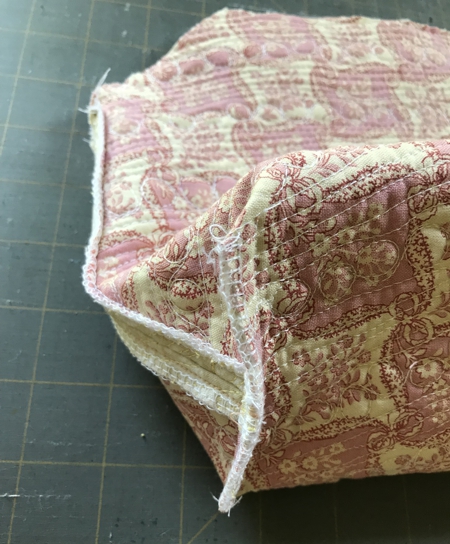
At the bottom, mark and cut away pieces measuring 2" x 1 1/2", as shown on the picture below.
|
|
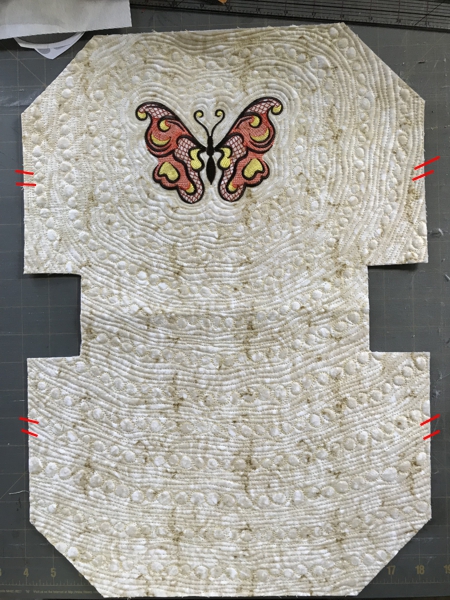
Your working piece will look like the picture below. Finish with zig-zag or serger the raw edges marked in red on the picture.
|
|
Fold the working piece in half, face inwards, aligning all edges. Pin the finished sides. Stitch them together, seam allowance 1/2". Open the seam and topstitch 1/4" from the seam.
|
To shape the bottom, fold the working piece to align the side seam and the central bottom line. Stitch twice, seam allowance 1/2". Repeat for the other bottom corner.
|
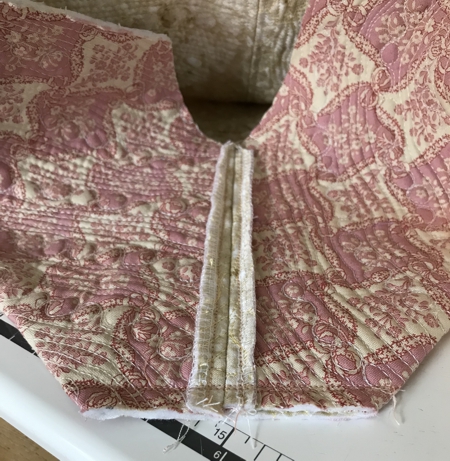
|
Finish the raw edge with zig-zag stitch or serger.
|
|

|
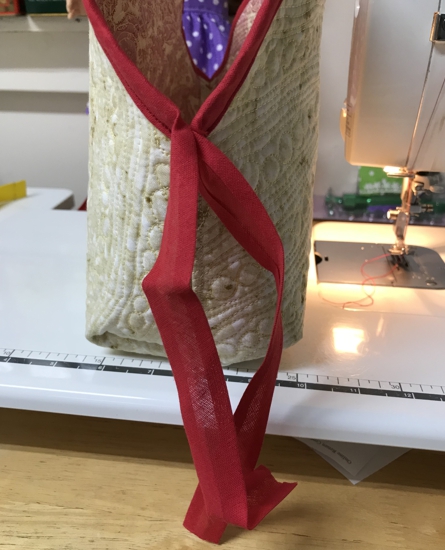
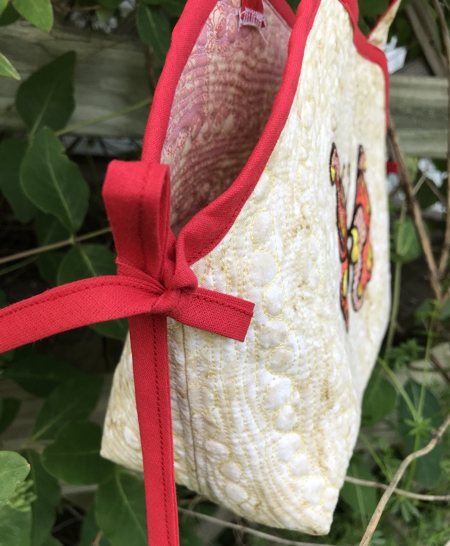
With a piece of bias tape, finish the upper edge of the front. Leave the ends of the bias tape about 6" -7" long.
|
|
In the same way finish the upper edge of the back panel.
|
|
Stitch the bias tape close. Tie the ends into a bow.
|
|
Handles:
|
Out of the fabric for the outer bag, cut 2 strips measuring 2" x 22". Cut 2 pieces of bias tape of the same length.
Fold the strips lengthwise in half wrong side to wrong side and lightly press to mark the central line. Fold the raw edges to the center and press.
Unfold the bias tape along the central line. Position both strips wrong side to wrong side. Pin. Topstitch them together along the long edges.
Zig-zag or serge the short edges.
|

|
Insert the handles 1" in the bag and topstitch in place.
|
|
Have fun!
|
|
|
|
Back to Butterfly Set
|
Back to Projects Page
|


