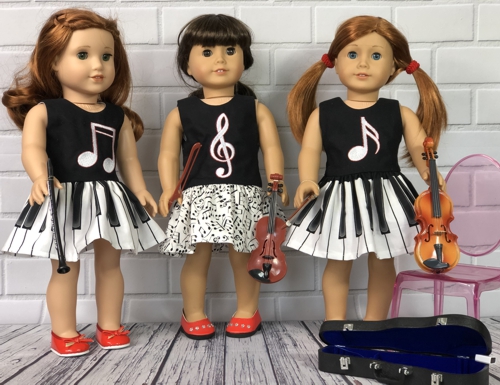
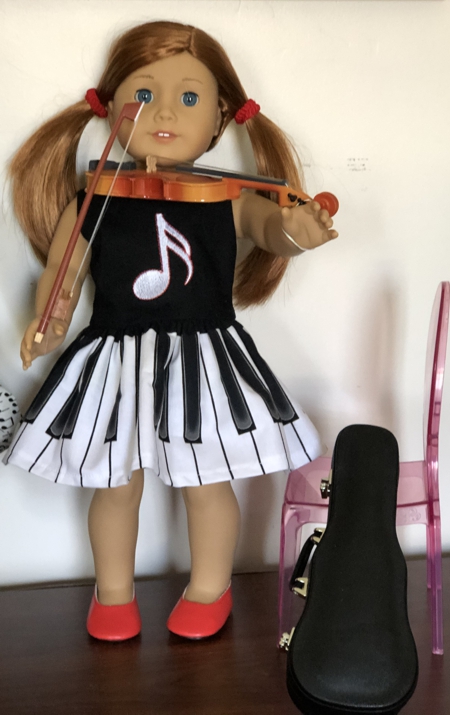
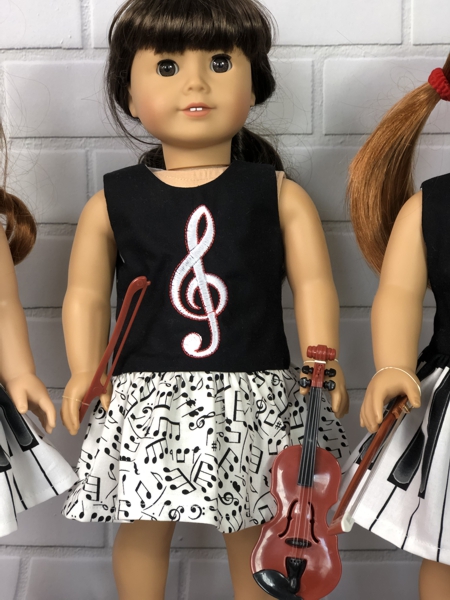
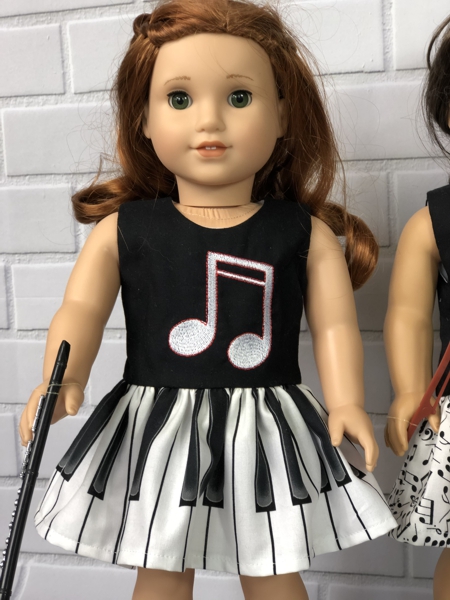
We used designs from the Musical Note Set to make this set of matching outfits for our American Girl Doll fiddle band!
The dress fits 18-inch dolls, such as Americal Girl, Our Generation, My Life As dolls, and some other dolls with similar body. There are two versions of the dress, featuring a longer bodice and a shorter bodice.
|
|
You will need :
- embroidery threads, either polyester or rayon, the choice of colors is yours, select them to match the colors of your fabrics,
- cotton fabric for the bodice,
- light-weight cotton or cotton/polyester blend batiste for the lining,
- fabric with a music-themed pattern for the skirt,
- either sew-on snaps or ultra-thin hoop and loop (Velcro) tape 1/4" - 1/2" wide,
- sewing pins,
- scissors (both small and large),
- chalk pencil,
- sewing needle for hand-stitching,
- sewing thread,
- iron,
- printer (to print out the pattern).
|
|
The Pattern:
|
| Download the template file for the bodice. To open and print the template, which is a PDF file, you will need Adobe Reader or a similar program. Adobe Reader is free to download and install. |
| Template Download (PDF file) |
| Print out the templates and cut them out. |
Note: Seam allowance of 1/4" is included with the templates. You can make the dress with a longer or shorter bodice.
|
Embroidery
|
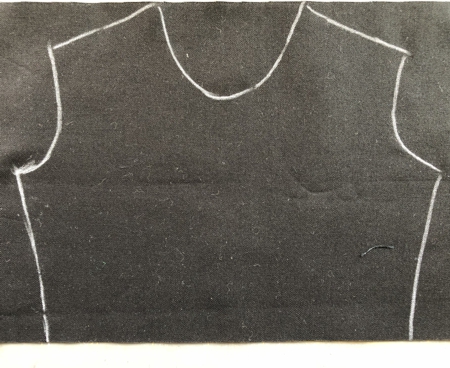
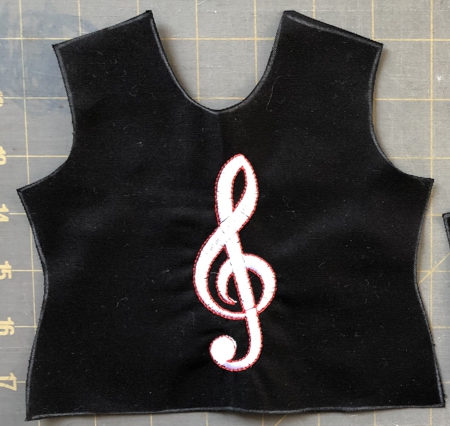
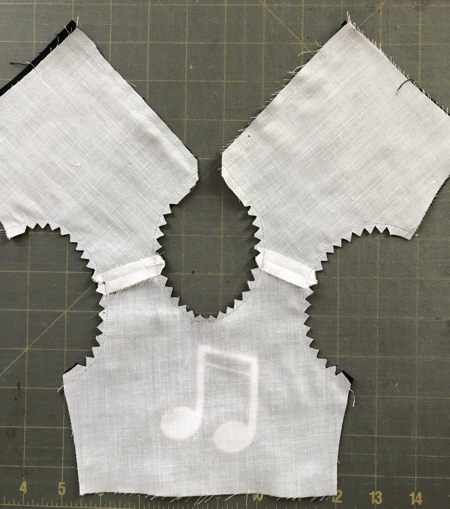
| On the fabric for the bodice, trace the front part. Do not cut out! |
|
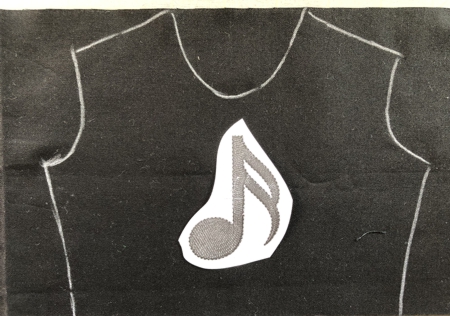
Mark the position of the embroidery on the front. You can use a print-out of the design, or just mark the center of the design on the fabric.
Hoop with light-weight cut-away stabilizer. Use your hoop grid to position the design in the hoop. Tighten the hoop. Emroider the design.
|
|
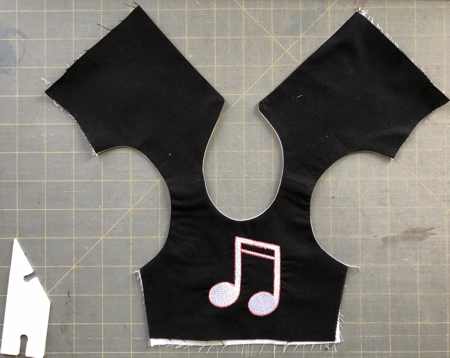
Cut out the front part.
|
|
Sewing the Bodice
|
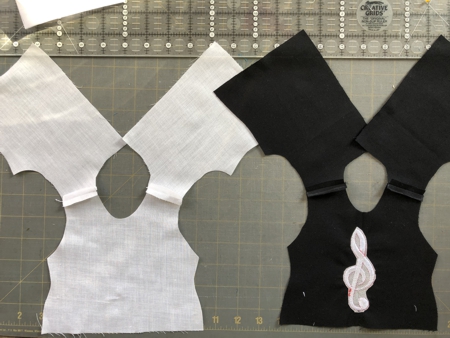
Using the templates, cut out the lining and the back parts of the bodice.
|
Pin the front and backs together at the shoulders, face-to-face. Stitch. Press seams open.
|
|
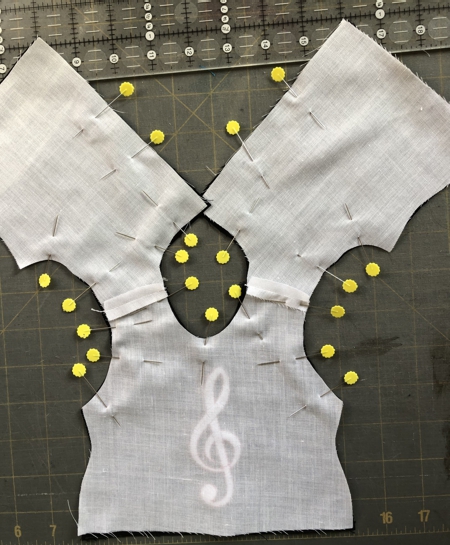
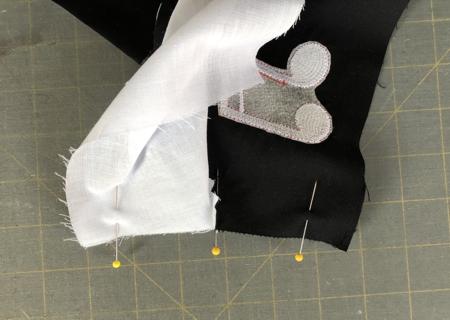
Lay the lining over the dress, face-to-face. Align at shoulders and all edges. Pin the lining and bodice together around the armholes, neckline and center back.
|
|
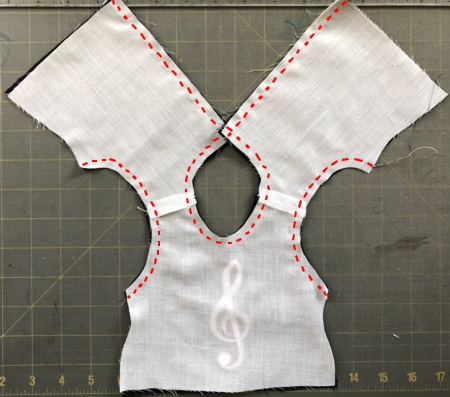
Stitch the bodice and lining together at center back, neckline and around the armholes.
|
|
Clip the corners and the curved seams.
|
|
Turn right side out. Press.
|
|
Open the bodice and the lining at the sides, align the sides of the lining and the sides of the bodice separately. Pin.
Stitch together. Press the seam open.
Repeat for the other side.
|
|
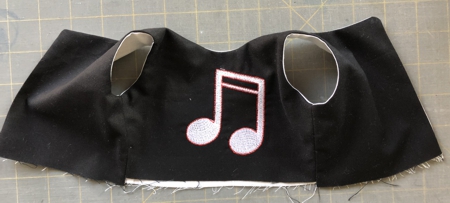
This is what the finished bodice looks like.
|
|
Skirt
|
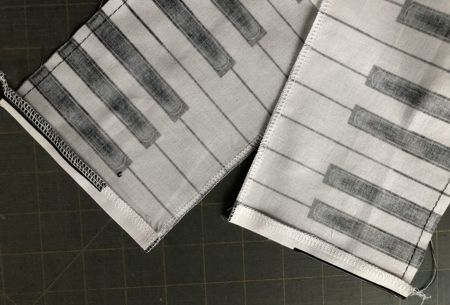
For the skirt, out of music-themed fabric, cut a strip measuring 4 1/2" wide (for the dress with the hip-long bodice) or 5 1/2" wide (for the dress with the waist-long bodice) and 34" long.
|
Using zig-zag stitch or serger, finish both short ends and one of the long edges.
Fold the short edges 1/2" back and press. You can also fold and press the hem (the finished long edge), but do not stitch it for now.
|
|
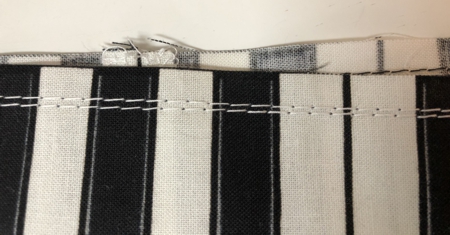
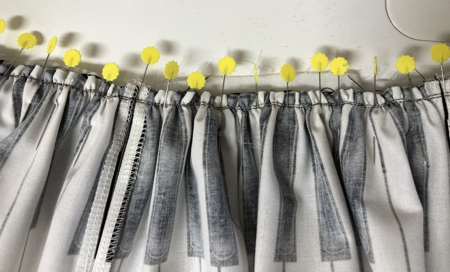
Along the upper edge of the skirt, sew two rows of gathering stitches.
|
|
Find the center on the lower edge of the bodice, mark with a pin.
|
|
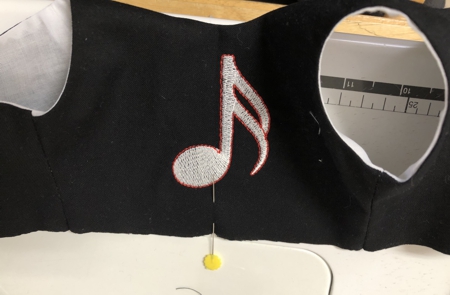
Fold a skirt strip in half to find the center of the skirt, mark with a pin.
|
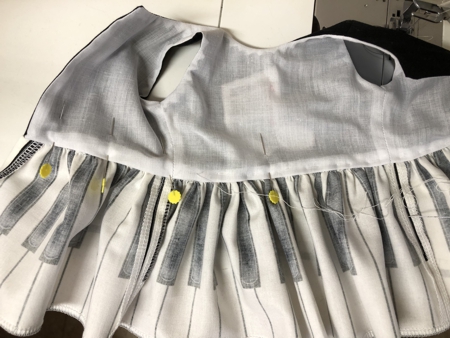
With the right sides together, align the bodice and skirt pins. Pin both pieces together at the center point, fold the lining away.
|
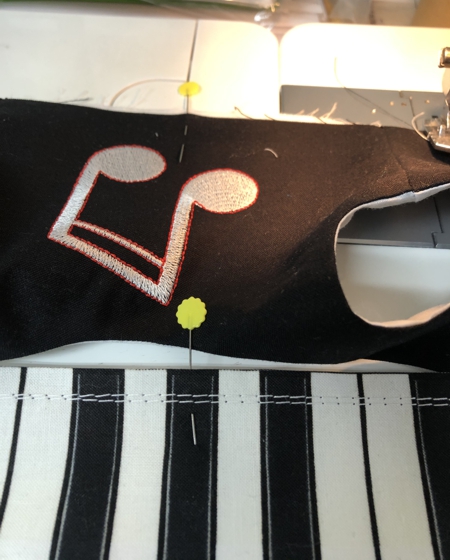 |
Draw up the gathering stitches from both sides to fit along the bodice edge. Arrange the fullness evenly and pin in place. Take care not to pin the lining.
|
|
Stitch in place, taking care not to catch the lining. Rip the gathering threads.
|

|
Press the seam to the bodice.
Fold the lower edge of the lining and pin. Either slipstitch by hand or topstitch the edge in place.
|
|
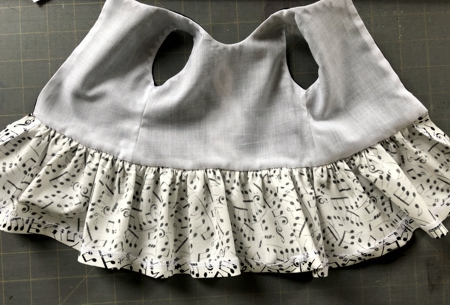
The finished bodice and skirt.
|
|
Finishing the Dress:
|
| Cut a piece of hook and loop tape, the length of the bodice's back edge. Attach one side to the left side, another to the right side of the bodice. If you use sew-on snaps, you can sew them later. |
With the right side together, pin the skirt along the back from about 1 1/2"-2" below the bodice to the hem. Stitch and press the seam open.
|
Fold the hem 1/2" back, press. Either topstitch or slip-stitchthe hem by hand.
|
|
|

|
|
|
Back to Musical Note Set
|
Back to Projects Page
|


