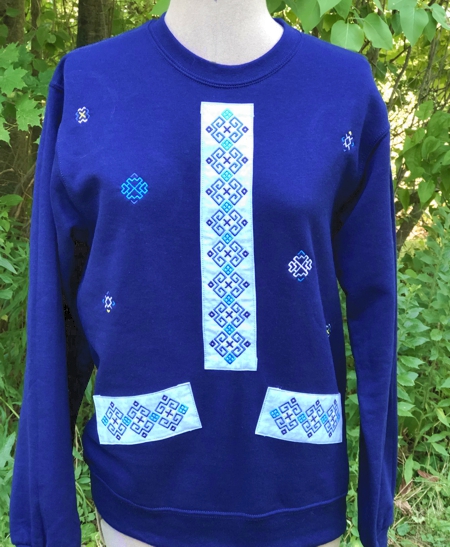
For this sweatshirt makeover we used the designs from the Ornamental Square Set.
|
|
You will need :
- embroidery threads, either polyester or rayon for embroidery, choosing colors to match your sweatshirt
- light-weight cut-away embroidery stabilizer,
- 1 fat quarter of fabric for the placket and faux pockets,
- either sewing pins and sewing needle and threads, or Steam-a-Seam2 fusible net,
- quilter's ruler, rotary cutter,
- iron,
- #12 universal sewing needle,
|
Embroidery
|
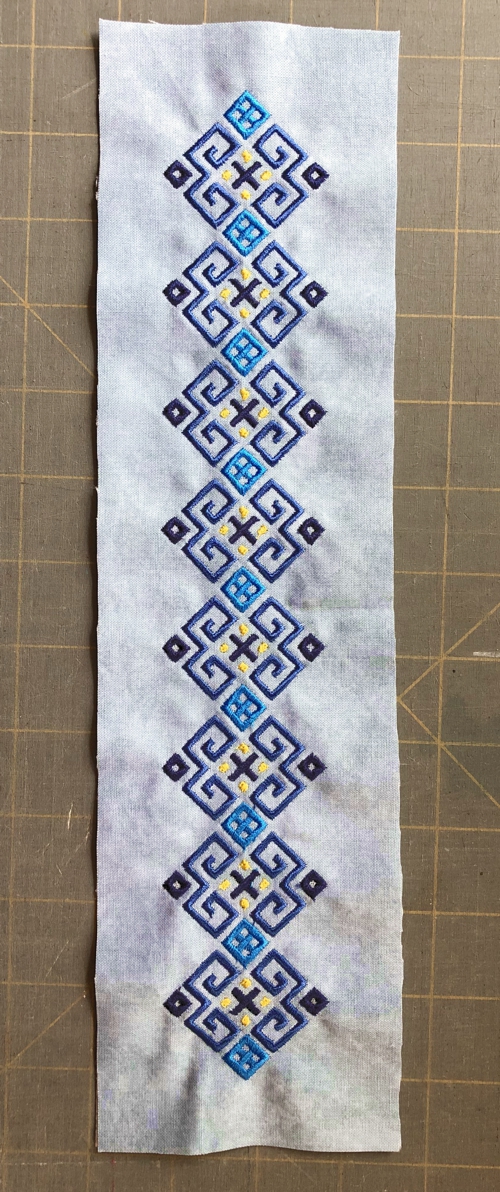
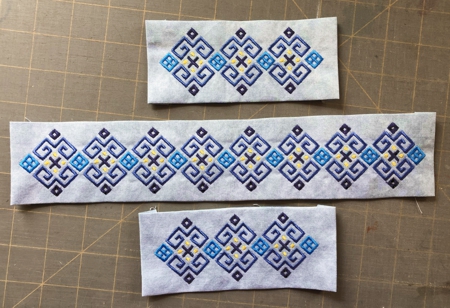
For the placket we used the files "gbborder_square1triple" and "gbborder_square1".
Upload the files into the machine, select threads. Stabilize the fabric with light-weight cut-away stabilizer. Hoop very tightly.
Open the file "gbborder_square1triple" on the screen of your machine, move it to the upper margin of the embroidery field.
Open the file "gbborder_square1" and position it to extend the placket. As long as your machine's hoop is big enough, you can keep using the file "gbborder_square1" to make the placket any length you like in just one hoop.
If you do not have a hoop long enough, you'll have to re-hoop the stitch-out and using the "gbborder_square1" file achieve the required length. Our placket is 12" long. |
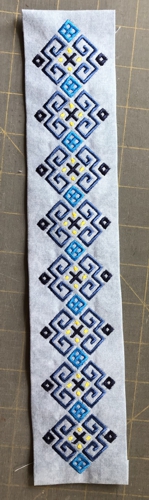
For the faux pockets, use the file "gbborder_square1triple". Again, if you need longer stitch-outs, build-on the design with the help of the "gbborder_square1" file.
While we used only the 2 files from the set, you can use any of the files from the set and combine them in any order you like.
|
Sewing:
|
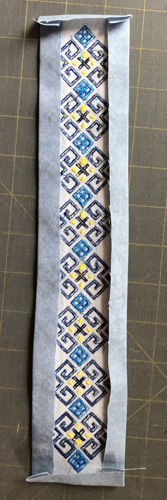
Cut the stitch-outs out with 3/4" margins around the embroidery.
|
|
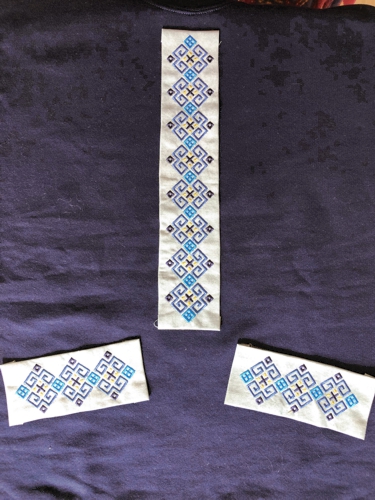
Fold all the edges 1/2" back and press.
|
|
Embroidered placket, from the front.
|
|
Repeat for the faux pockets.
|
|
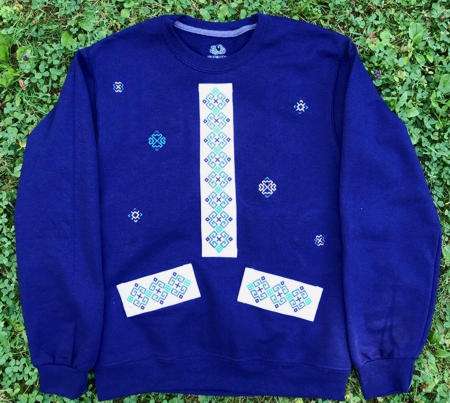
Position the placket and pockets on the sweatshirt. You need either to pin and then baste them in place, or attach them using Steam-a-Seam2 fusible net as a temporary bond.
|
|
| Topstitch along all the edges to fix the placket and the faux pockets in place. |
Upload the files "gbborder_orn1", "gbborder_orn2", "gbborder_orn3" into the machine and embroider them all over the sweat-shirt.
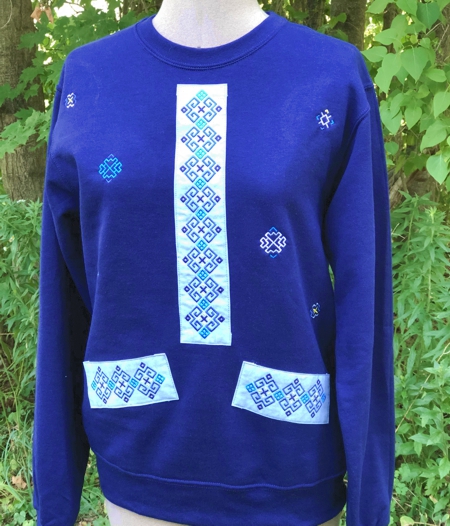
Remove the excess stabilizer. Press.
|
|
| Have fun! |
|
|
Back to Ornamental Square Set
|
Back to Projects Page
|


