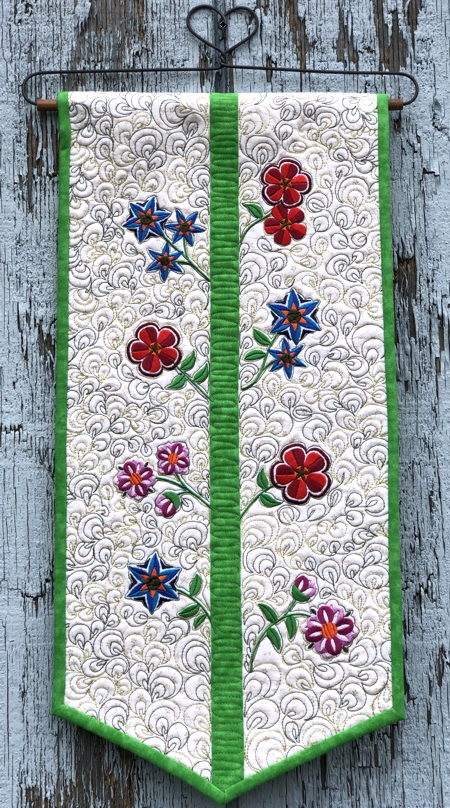
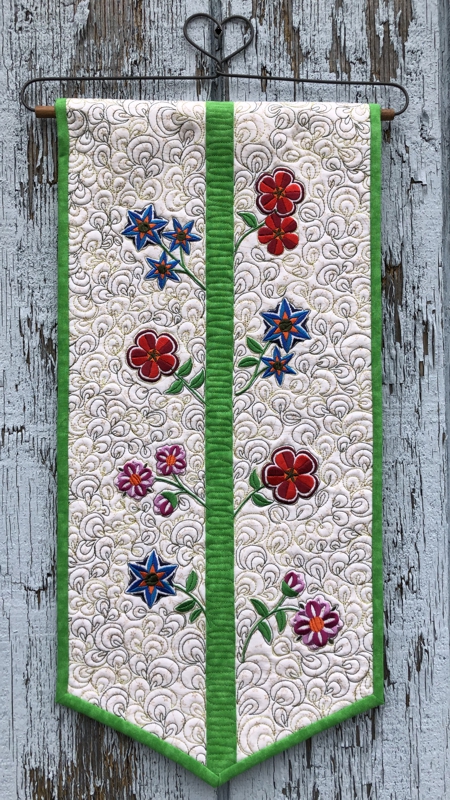
This wall hanging is a quick and easy project. Use it to add a spring touch to your home, or give it away as a gift!
We used the designs from the Spring Flower Set. All designs are for the small hoop (4" x 4").
The finished size of the wall hanging is about 11" x 23".
|
|
You will need :
- embroidery threads either polyester or rayon; you can either follow our color card or select your own colors;
- about 1/2 yard of light-colored (cream, pale green or pale blue) cotton fabric for the embroidery,
- about 1/4 yard of bright green cotton fabric for the central strip and binding,
- light-weight cut-away embroidery stabilizer,
- fabric for the backing,
- low-loft batting,
- quilter's ruler, rotary cutter,
- iron,
- quilting thread (we used a multi-colored gradient featuring yellow to dark green, by Sulky),
- sewing thread,
- #12 sewing needle,
- #12 or #14 quilting needle,
- decorative hanger.
|
Cutting:
|
Out of fabric for the embroidery, cut 2 strips measuring 5 1/2" x 25" each.
Out of green fabric, cut
- 1 strip measuring 1 1/2" x 25" and
- 2 strips 2 1/2" and the length of the width of the fabric for the binding.
|
Assembly:
|
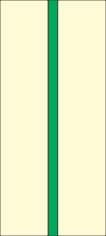
Sew all 25" long strips together along their long sides, with the green strip between 2 light-colored strips.
|
|
Embroidery:
|
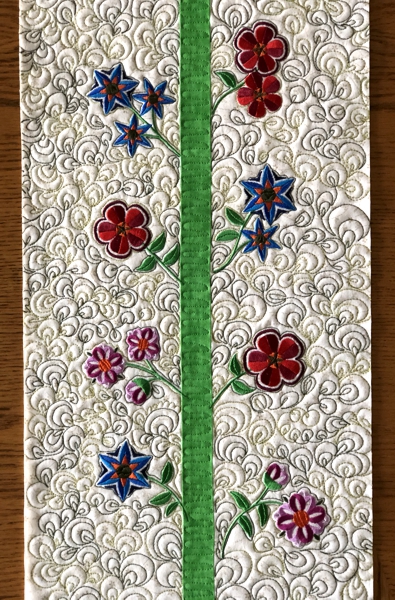
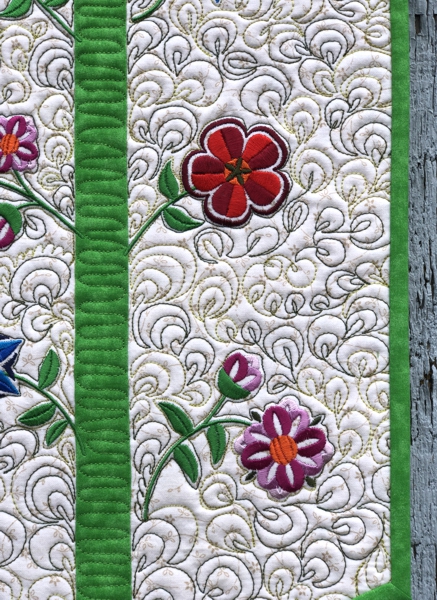
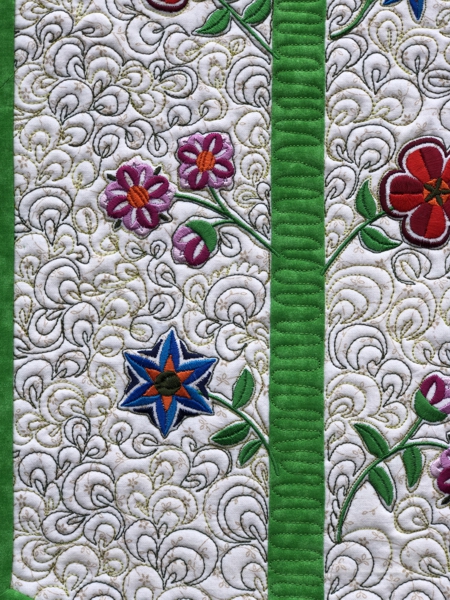
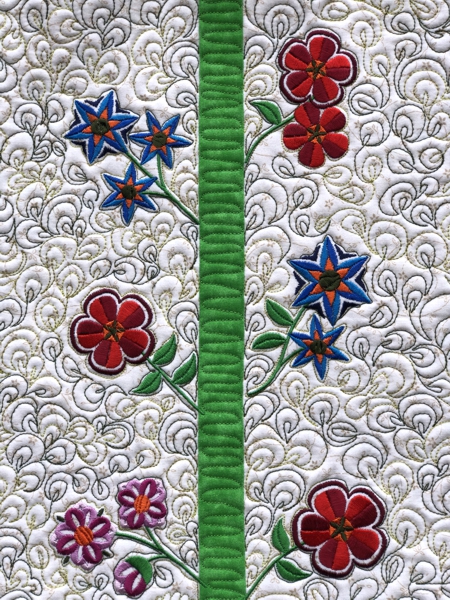
Decide on the positioning of the flowers - they should be on both sides of the green central strip, as if growing from the green strip, and 5" from from both short edges.
Stabilize with light-weight cut-away stabilizer and embroider the designs one by one.
|
|
After the embroidery is done, cut away the excess stabilizer around the embroidery.
|
Quilting and Finishing:
|
Now place the backing on a flat surface (table) face down. Cover with batting. Spread your working piece over it.
Pin all layers together.
We quilted in a free-motion style all over the piece using multi-colored quilting thread. |
|
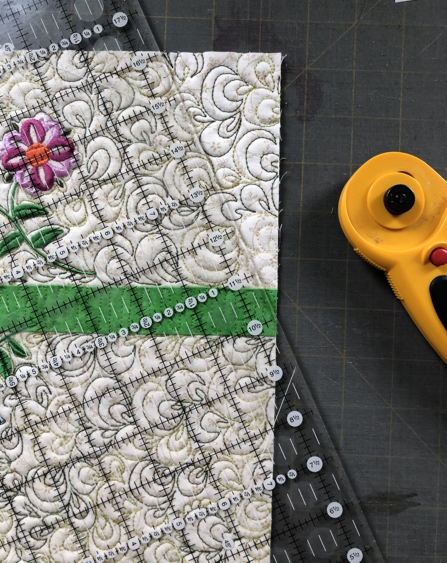
Press with heavy steam. Square the quilt - the opposite sides should be of the same length, and all corners should be 90 degrees. Also check that both embroidered strips are of the same width.
|
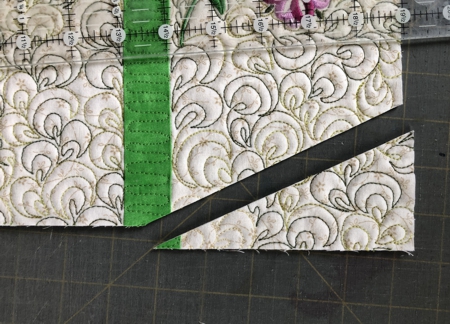
On the bottom edge, find the center. Mark the point with a pencil. Measure 2 1/2" from the bottom corner along the side edge. Mark the point with the pencil. Connect both points with a ruler.
|
|
Cut the corner away along the ruler.
|
|
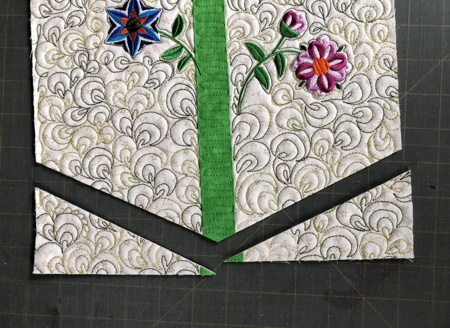
Repeat with the second bottom corner.
|
|
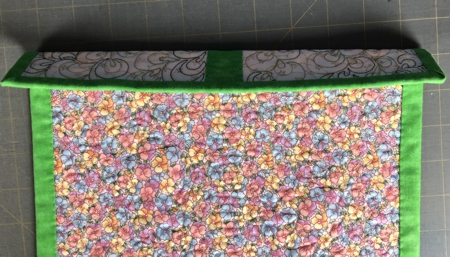
Finish the raw edges with the binding.
Fold the upper edge of the wallhanging 2" back onto the backing and press with steam.
|
|
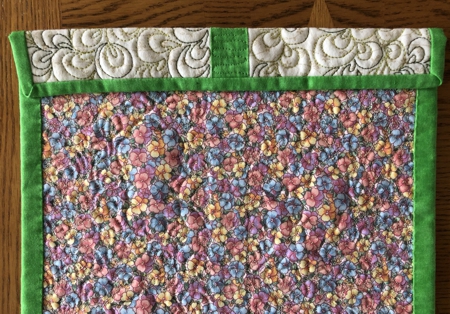
Slipstitch the edge of the folded part in place. This makes a sleeve for the wall hanging.
|
|
Place the quilt on the hanger.
|
|
Have fun!
|
|
|
|
|
Back to Spring Flower Set
|
Back to Projects Page
|


