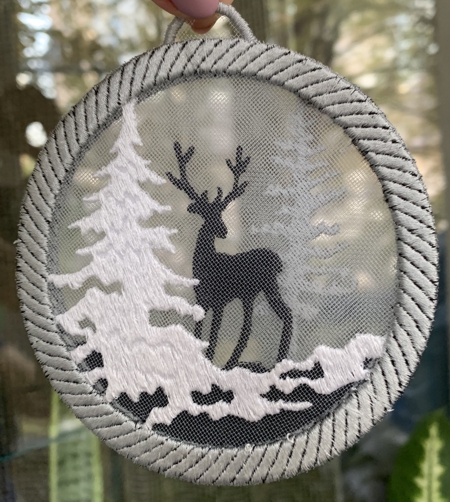
These are instructions on how to embroider and assemble the designs from the Winter Landscape Silhouette Ornament Set.
These stitch-outs were designed to be embroidered on mesh and used as Christmas tree or window ornaments. They can also be used as coasters, if embroidered on felt.
|
|
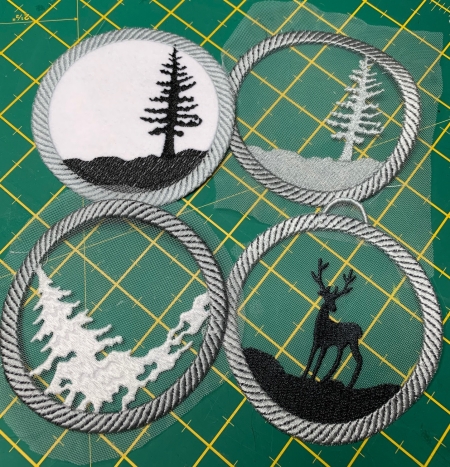
There are 3 designs in the set - 2 designs with trees and one with a deer.
|
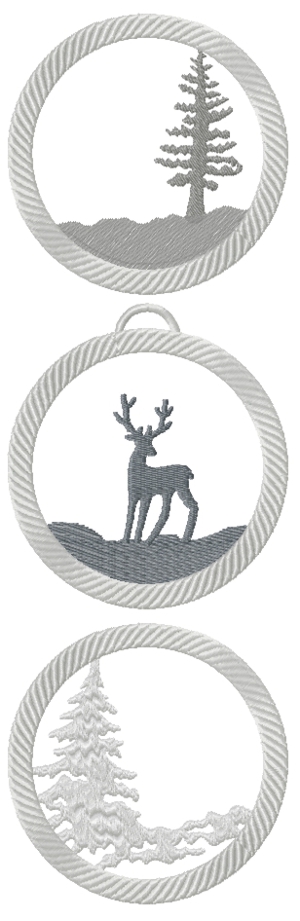 |
Stitches: 8547
Size: 100 x 100 mm
Colors: 3/3
Stitches: 8856
Size: 100 x 100 mm
Colors: 3/3
Stitches: 8863
Size: 100 x 100 mm
Colors: 3/3
|
You will need :
- embroidery threads, (we used black, white and silver, but feel free to chose your own colors). To get 2-sided embroidery, use thread of the same color in the needle and in the bobbin.
- polyester craft felt,
- white nylon netting or white transparent organza,
- watersoluble embroidery stabilizer,
- applique scissors,
- fabric or universal glue,
- a foam board and sewing pins for washing out the stabilizer.
|
Embroidery
|
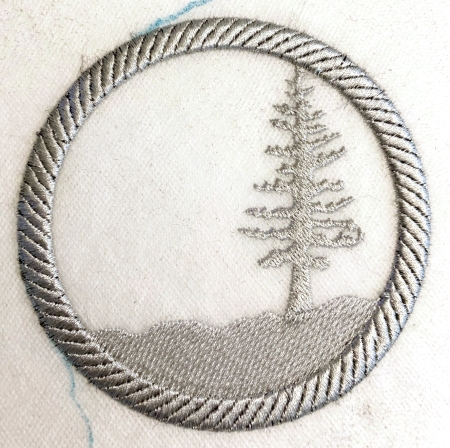
All designs are embroidered in the same way. For the deer design, use a darker thread. For trees use grey, white or silver.
|
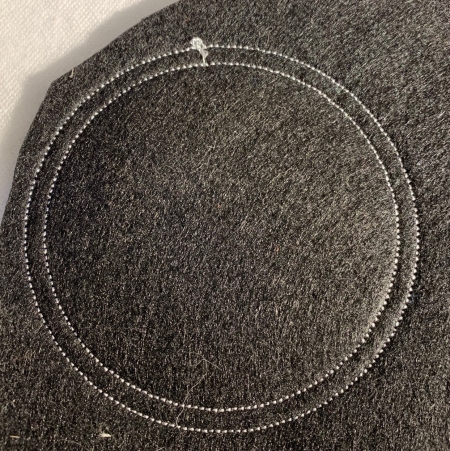
Step One: Upload a design from the set into the machine. Select threads. Make a sandwich out of watersoluble mesh, netting and more watersoluble mesh. Hoop it. Tighten the hoop. Place a piece of felt over the hoop. Pin it in place outside the embroidery field
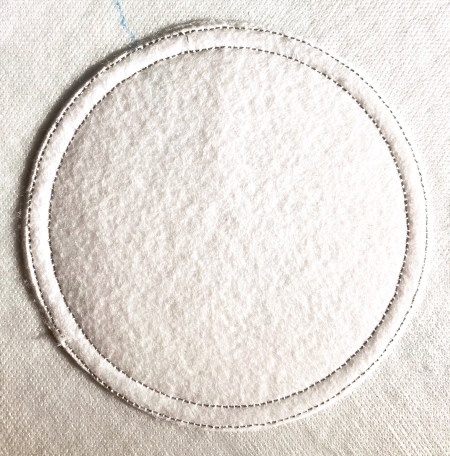
Start the machine. The first color will stitch the outline of 2 circles and stop.
|
|
Step Two: Take the hoop from the machine and with a pair of sharp scissors cut away the felt around the outer circle, then the felt inside the inner circle. Take care not to cut through the stitches, or through the water-soluble mesh under the felt.
|
|
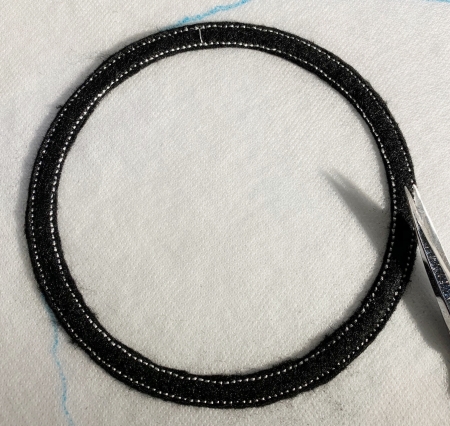
Step Three: The second color embroiders a silhouette of the pine or deer. The last color embroiders the frame.
|
|
Step Four: Neatly cut away the excess stabilizer. DO NOT cut the netting or organza.
|
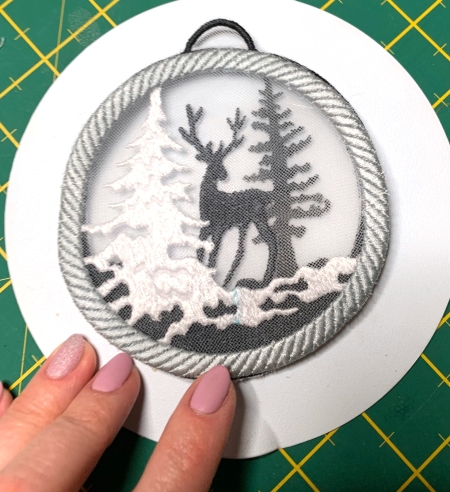
Step Five: Pin the stitch-out to the foam board along the outer circle outline. This will prevent distortion of the circle. Wash out the stabilizer. Leave to air dry. Then remove the pins and cut away the excess netting around the stitch-out.
The design with the deer has a loop, neatly cut away netting/organza inside the loop.
|
|
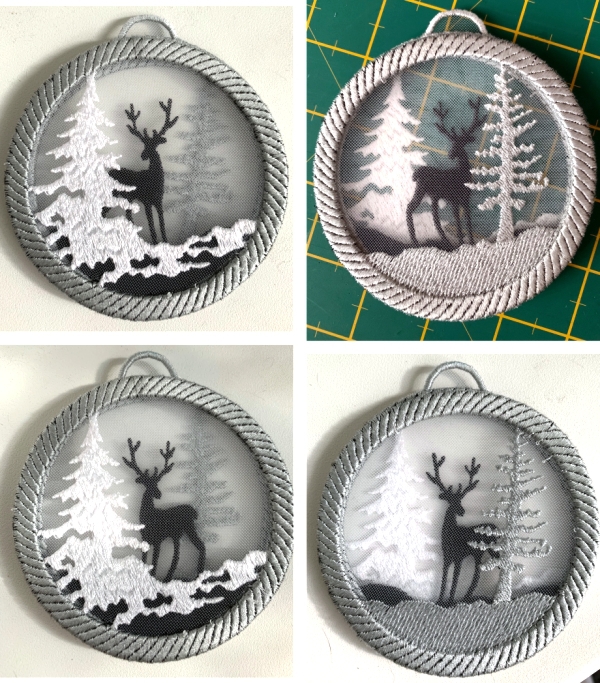
Step Six: Stack the stitch-outs one over another aligning the frames. Apply some glue on each frame to adhere them together.
|
|
The first layer should be placed face down. The middle layer - with the deer - can be placed any side up. The upper layer should be placed face up.
|
|
Coasters
|
You can use the design with trees for coasters.
For the coasters, hoop 2-3 layers of watersoluble mesh. Cover with a piece of felt, pinning it outside the embroidery field.
After the first color, cut away the excess felt around the circle. Finish the embroidery. Cut away the excess stabilizer, wash away the remainder.
|
|
Have fun!
|

|
|
|
Back to Winter Landscape Ornament Set
|
|


