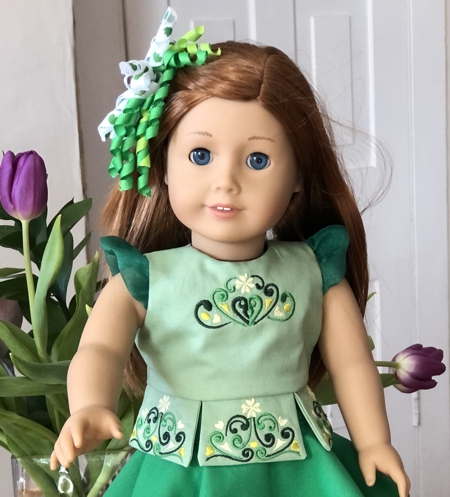
This top is designed to fit 18-inch dolls with a soft body, such as American Girl, Our Generation, My Life As and similar dolls.
We usedembroidery designs from the Shamrock Border Set.
We offer the patterns and instructions for the top only. You will have to find a separate pattern for the skirt. There are many skirt patterns available online, including free ones. We recommend this one from pixiefaire.com.
|

|
You will need :
- embroidery thread, either polyester or rayon ,
- 1 fat quarter of solid cotton fabric for the top,
- small amount of lighter weight fabric (we used batiste) for the lining,
- a scrap of sheer fabric for the wing sleeves,
- light-weight cut-away embroidery stabilizer,
- either sew-on snaps or ultra thin Velcro tape,
- chalk or graph pencil,
- small rotary cutter or scissors,
- sewing pins,
- iron,
- #12 universal needle,
- printer and paper.
|
Patterns:
|
Download the template file for the stomacher, bodice and sleeve. To open and print the template, which is a PDF file, you will need Adobe Reader or a similar program. Adobe Reader is free to download and install.
Template Download (PDF file)
|
Print out the templates and cut them out.
Note: Seam allowance of 1/4" is included in the templates.
|
Embroidery:
|
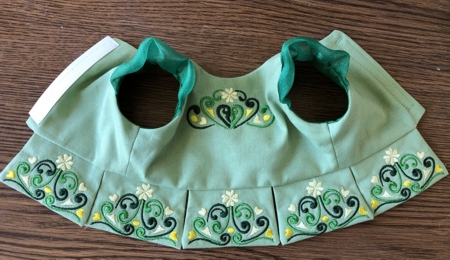
For the dress we used 2 single designs from the Shamrock Border Set.
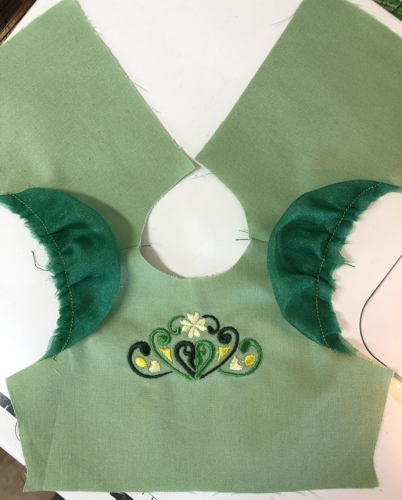
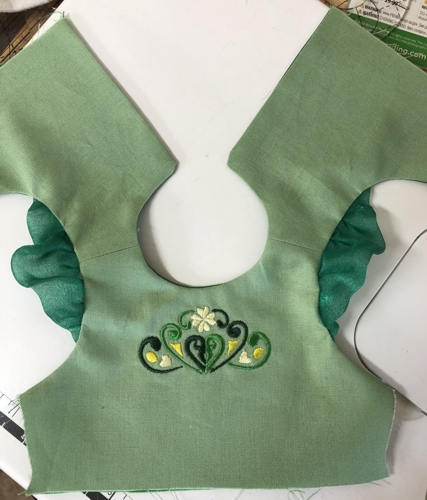
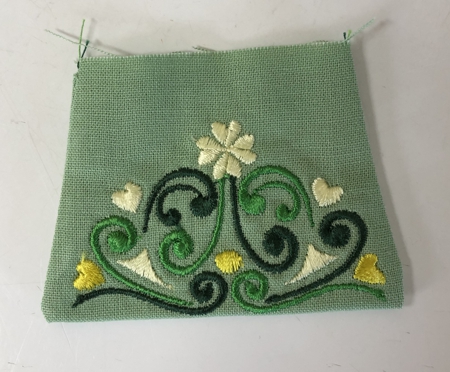
On the fabric, trace the template of the front with a chalk pencil. Mark the position of the design on the front. Stabilize the fabric and make the embroidery.
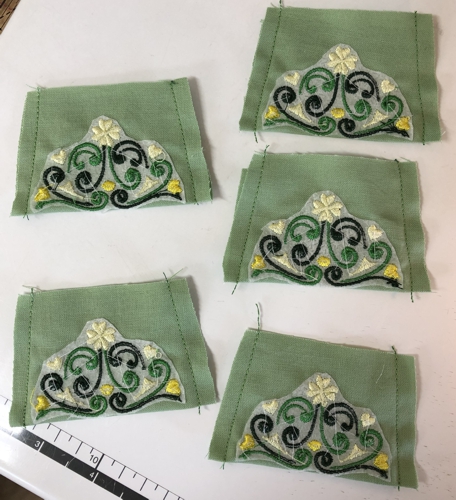
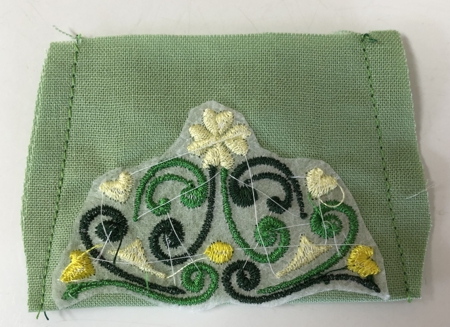
Repeat for the peplum parts. You will need 5 parts for the peplum. Stabilize the fabric and make the embroidery. |
Cutting:
|
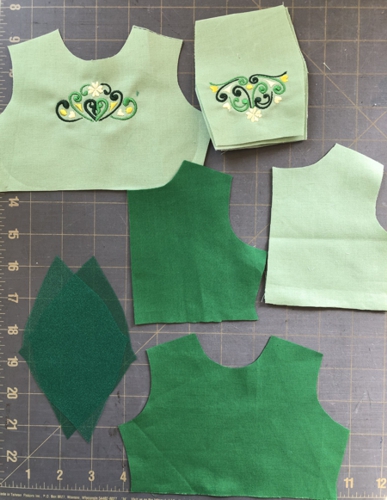
Press the stitch-outs. Cut away the excess stabilizer. Using the paper templates, cut out all needed parts. On the bodice front and back armholes, transfer the markings of the sleeve placement.
|
|
Assembly:
|
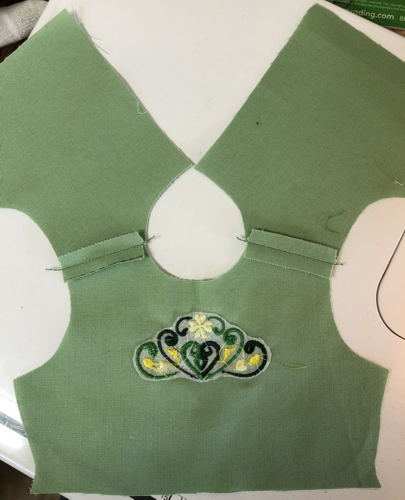
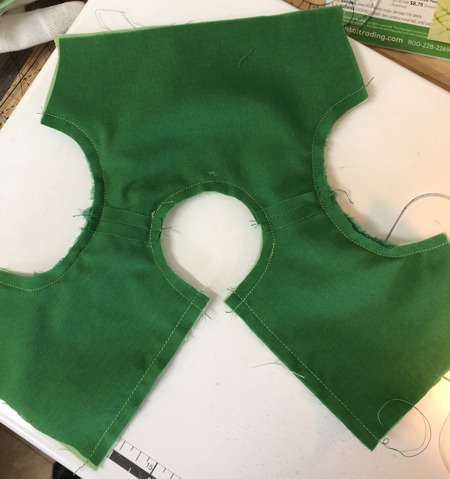
With right sides together, pin and sew the shoulder seams. Press them open. Repeat for the lining.
|
|
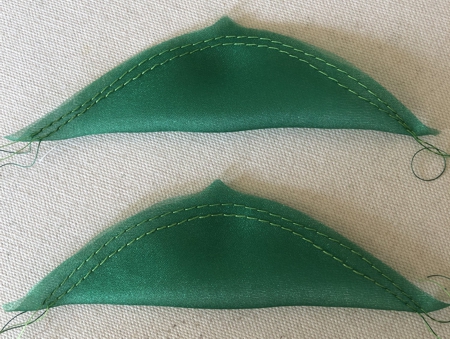
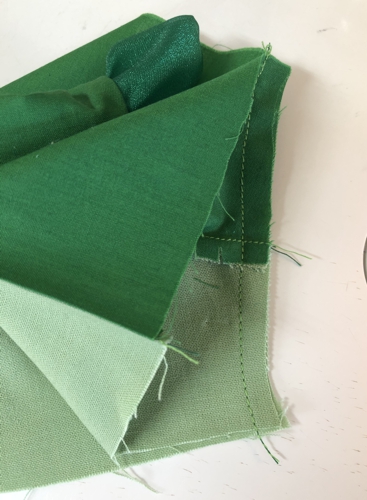
Fold the wing sleeves in half lengthwise, pin. Top-stitch 2 rows of gathering lines (length of the stitch 3-4 mm).
|
|
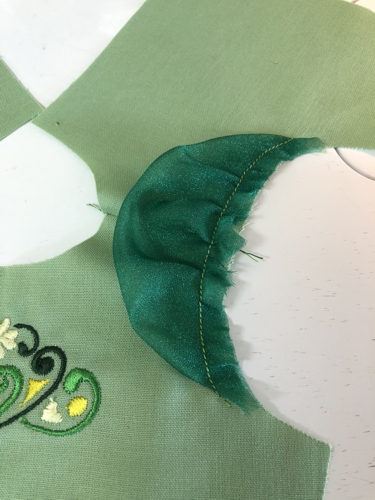
Pull the gathering threads. Pin the sleeve between the marks on the right side of the bodice.
|

|
Topstitch the sleeve in place. Seam allowance a bit less than 1/4". Remove the gathering threads.
|
|
Repeat for the second sleeve.
|
 : :
|
Cover the working piece with the lining, face to face. Align shoulder seams and pin along the neckline, back opening and armholes. Topstitch. Take care not to catch the sleeves in the seams.
|
|
|
Cut the corners, clip the curves. Trim seam allowance a little bit if necessary.
|
|
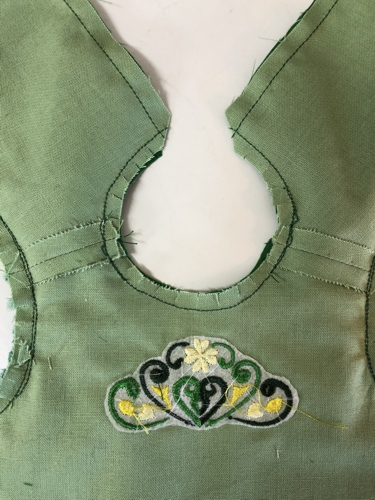
| Through the front part turn the working piece right side out. Take your time to straighten all corners and lines. Press. |
|
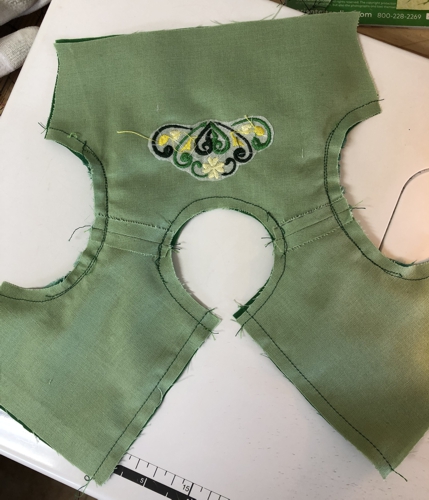
Working with each side at a time, align the lining and and the front parts and sew them together. Open and press the seam. Repeat from the other side.
|
|
Peplum:
|
Fold the peplum parts in half widthwise. Align the edges. Sew together along the sides.
|
|
Trim fabric near the corners.
|
|
Turn the right side out and press.
|
|
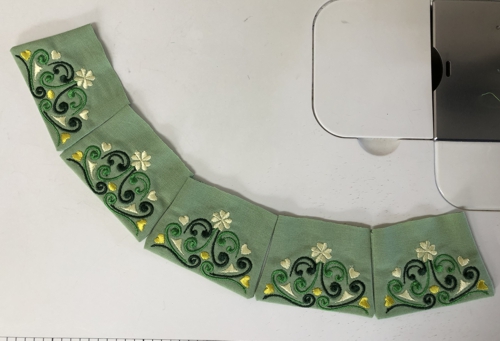
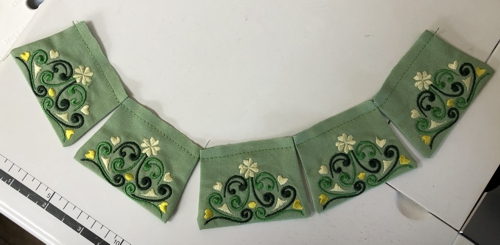
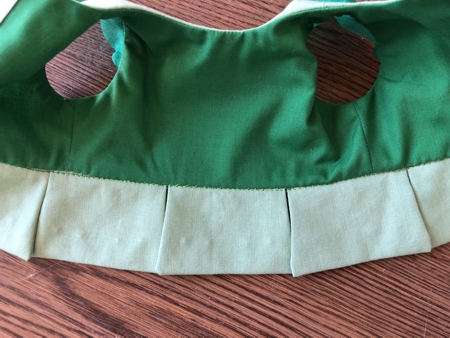
Lay out the peplum parts side to side. You'll get a curved line.
|
|
Stitch together along the upper edge.
|
|
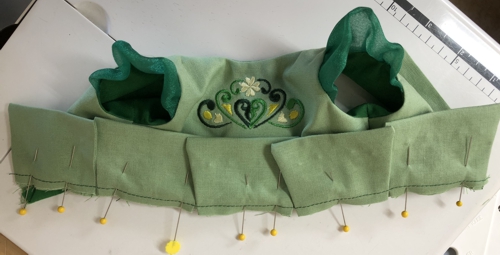
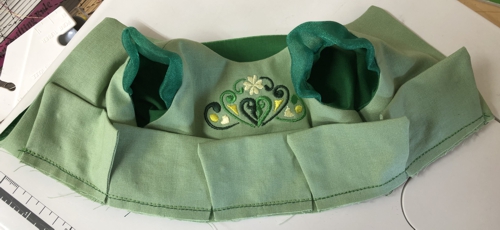
Fold the lining of the bodice out of way, pin the peplum to the bodice, right side to right side. Align the center of the middle / third part of the peplum with the center of the bodice front and pin to each side. The peplum is shorter than the bodice's edge and will leave some room at each end.
|
|
Stitch the peplum in place.
|
|
Fold the raw edge of the lining 1/4", baste. Slip stitch in place.
|
|
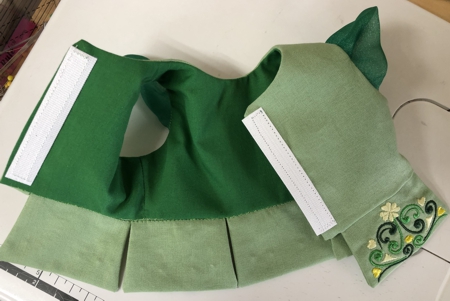
Put the top on your doll and mark the position of the closure. Sew the snaps or Velcro tape to the back opening for closure.
|
|
|
|
| Have fun! |

|
|
|
Back to Shamrock Border Set
|
Back to Projects Page
|


