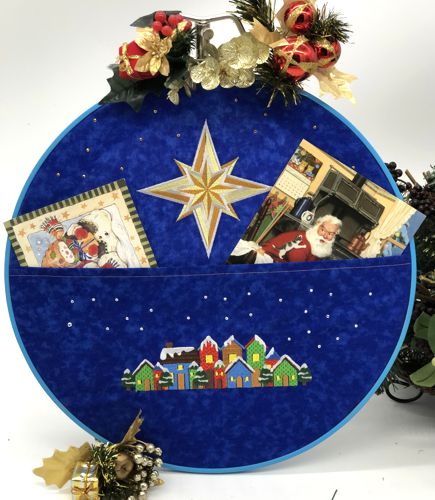
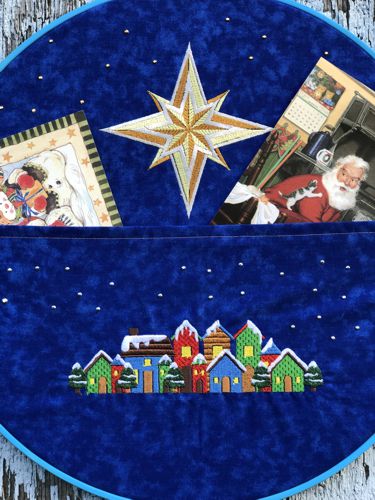
For this Christmas Card Holder we used the designs Snowy Street and Star of Bethlehem.
|
|
You will need :
- embroidery threads either polyester or rayon, either follow our color cards, or use to your own taste,
- 1/2 yard or 2 fat quarters of royal blue fabric,
- light-weight cut-away or tear-away embroidery stabilizer,
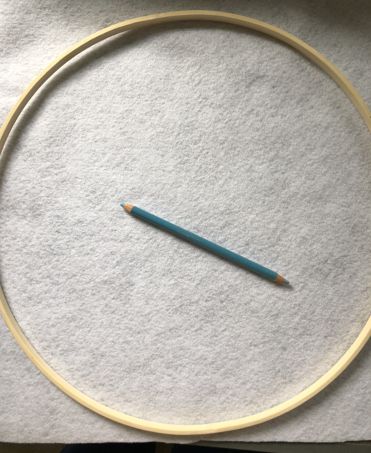
- 14" wooden frame for hand embroidery (available on Amazon.com or craft websites and shops),
- 1 fat quarter of polyester craft felt,
- scissors, chalk pencil, graph pencil,
- #12 universal machine needle,
- sewing thread and needle,
- acrylic paint and paint brush (optional),
- small embellishments like hot-fixed crystals, beads, themed buttons (optional).
|
Painting the Embroidery Frame:
|
This step is optional, you can leave the frame as it is. However, paint can give the finished project a different look.
Unscrew the frame, you will need only the outer hoop. Spread a layer of old newspapers on your working surface and paint the hoop in any color you like. Leave to dry. Apply another coat, if needed.
|

|
Embroidery:
|
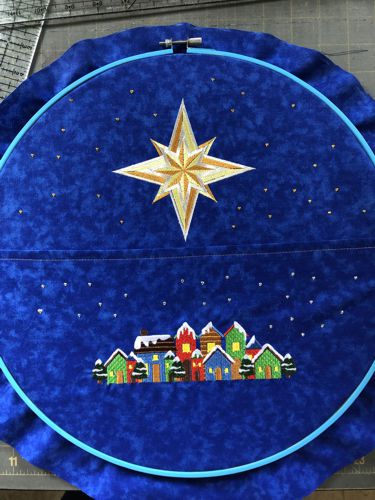
Stabilize one of the royal blue fat quarters with light-weight cut-away or tear-away stabilizer. Upload the Star of Bethlehem design into your embroidery machine. Embroider the design.
Cut/tear away the excess stabilizer. |
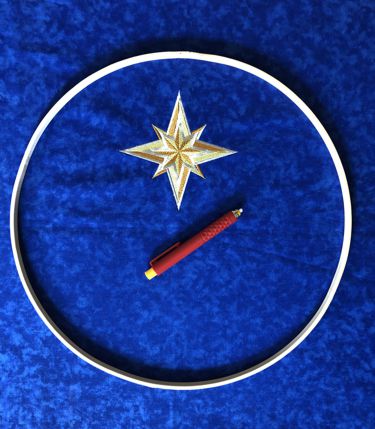
| Spread the stitch-out on a working table. Position the lower hoop over the fabric so that the star is close to the upper edge. |
|
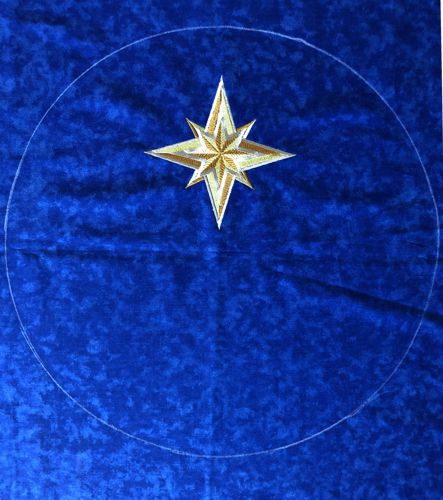
| With a chalk pencil trace the outline of the hoop. |
|
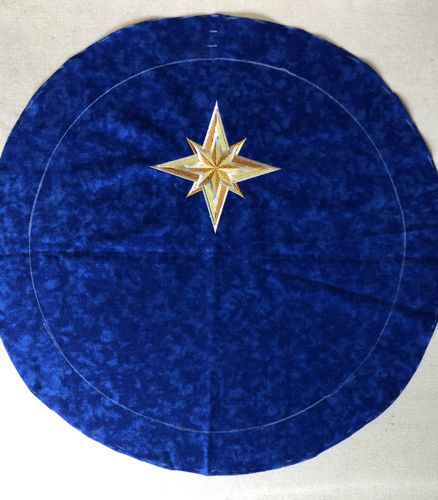
Cut away the excess fabric around the outline leaving margins about 1 1/2" wide.
|
|
Stabilize the other fat quarter and embroider the design of the Snowy Street . Remove the excess stabilizer.
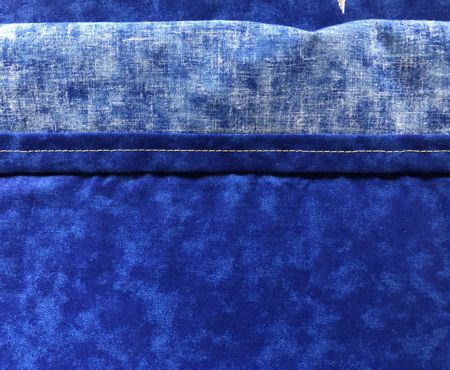
Cut away the fabric over the upper edges of the stitch-out leaving a margin of about 3". Fold the edge 1/4" back, press. Fold 1/4" again, press. Topstitch in place.
|
|
Your title of this step.
|
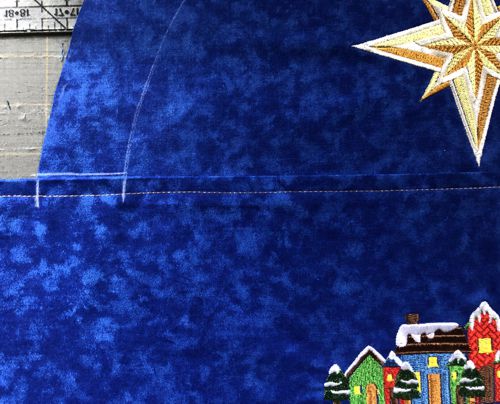
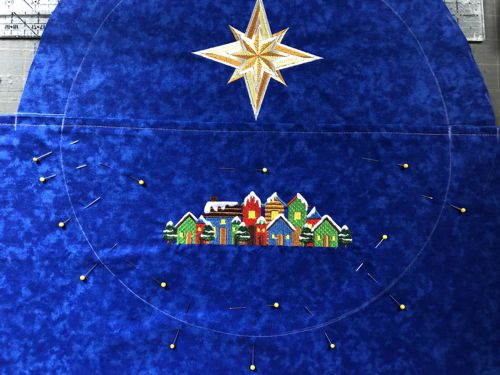
Position the stitch-out with the Snowy Street over the circle with the Star. With the chalk pencil, mark the level of the upper stitch-out on the margins of the circle.
|
|
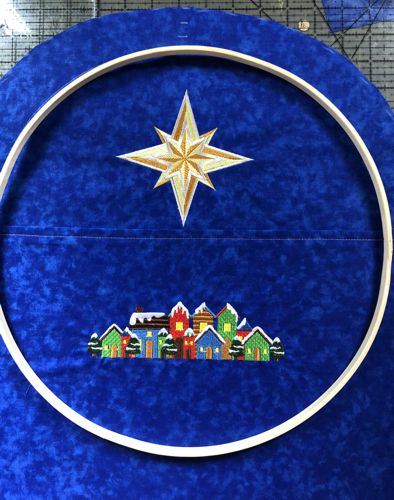
| Position the hoop over both stitch-outs aligning it with the chalk outline around the star. |
|
| Trace the hoop outline over the "street" part. |
|
| Press with heavy steam. Square the quilt. Finish the raw edges with the binding. |
|
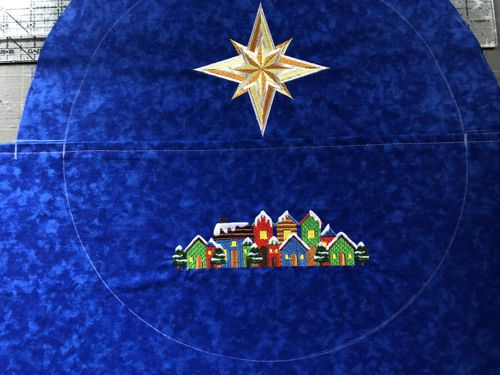
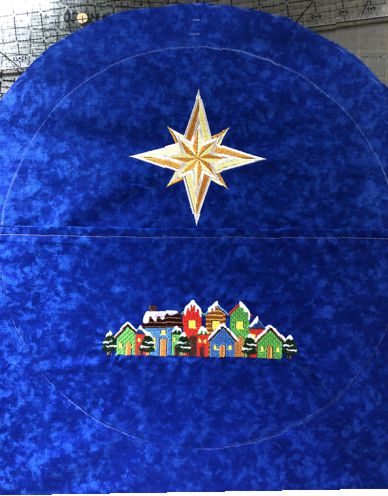
| Topstitch through both layers along the chalk line. |
|
| Turn the working piece face down |

|
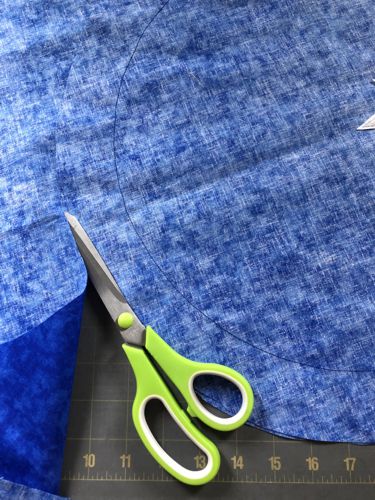
| With scissors, cut away the fabric along the edge of the "star" circle. |
|
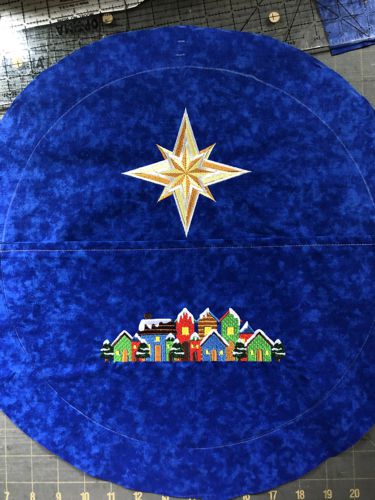
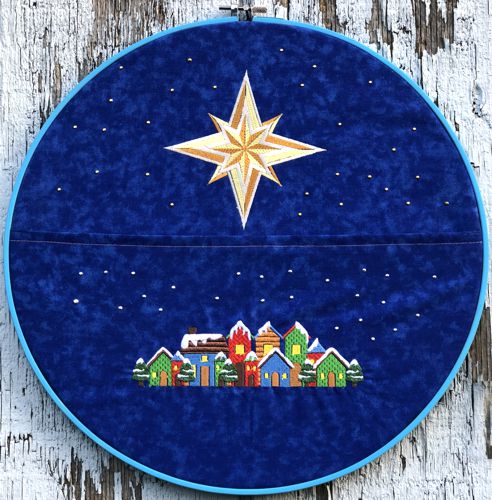
| This is what the working piece looks like after all above steps. If you want to add any embellishments, do it now. We added some hot-fix crystals. |
|
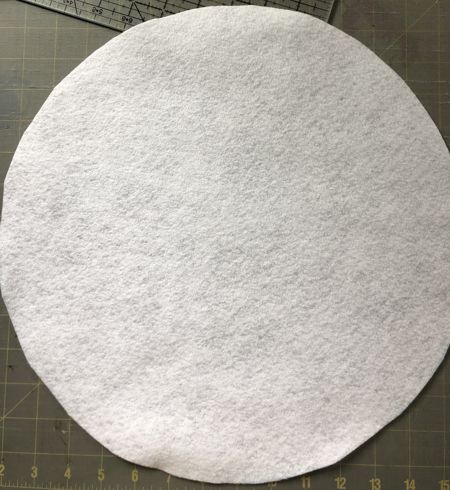
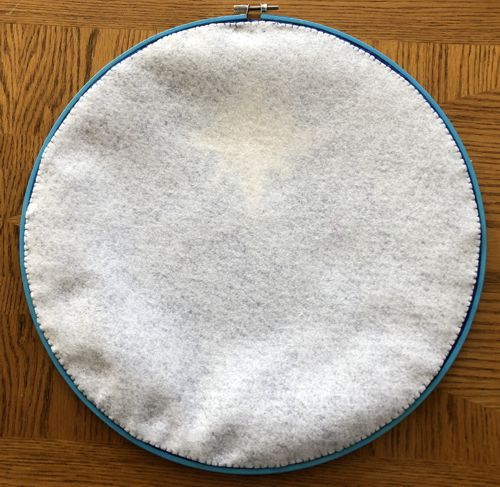
| Place the inner frame over a piece of craft felt. With a pencil, trace the outline. |
|
| Cut out the felt circle. |
|
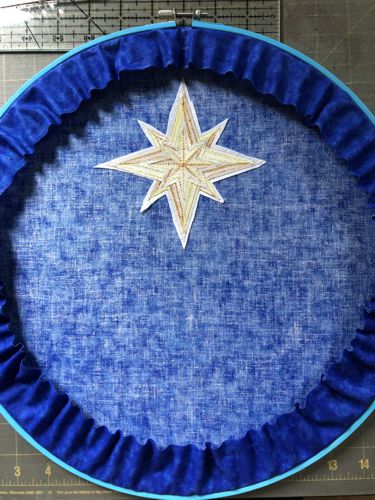
| Insert the working piece into the frame. Tighten the screw. |
|
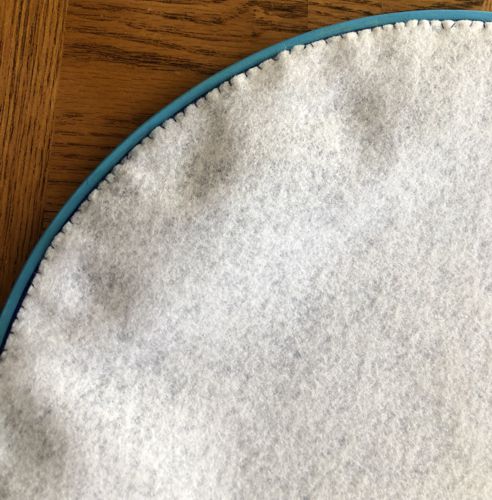
| Baste along the edges of the fabric and pull the thread. |
|
| Cover the back with the felt circle and stitch it to the fabric along the edges. It will make the back look tidier. |
|
|
| Have fun! |
|
|
|
Back to Snowy Street and Star of Bethlehem
|
Back to Projects Page
|


