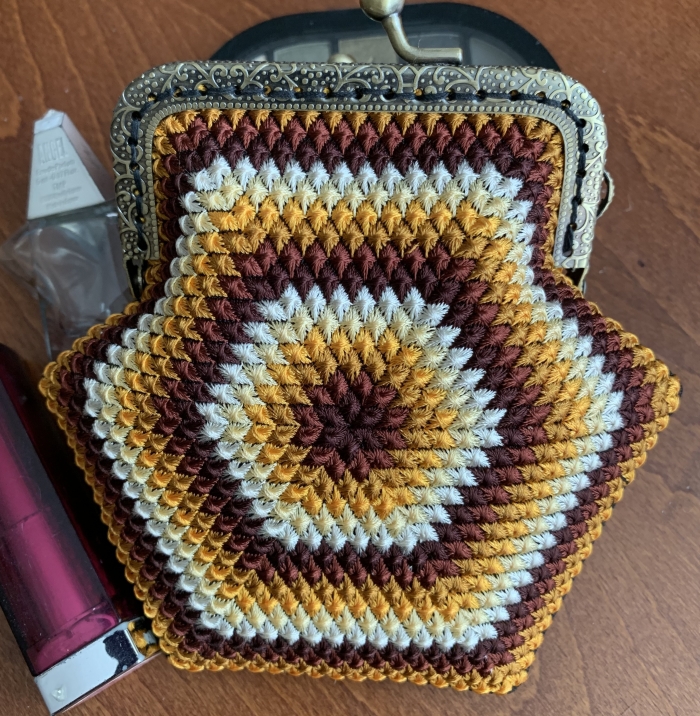
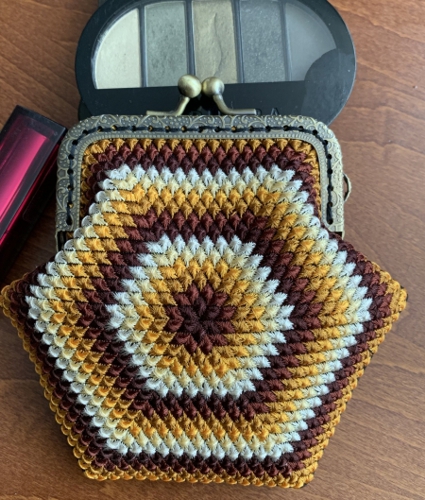
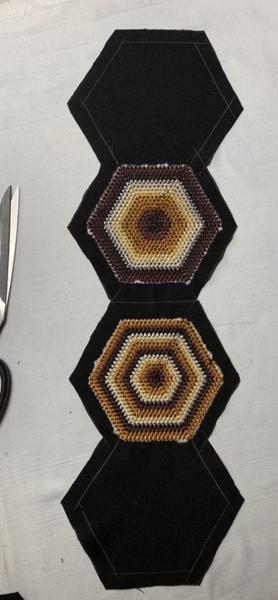
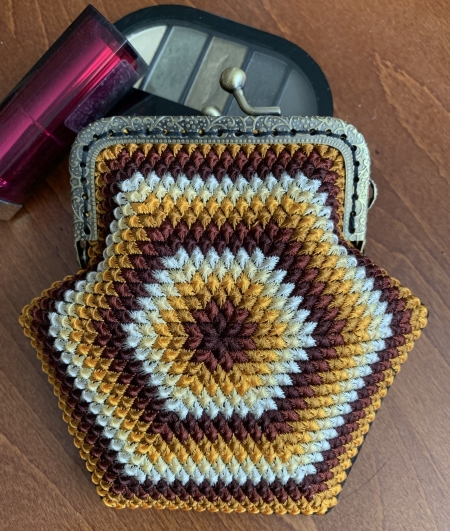
In this project we show how to assemble stitch-outs of the Hexagon design into a small coin purse. It's easy to put together and makes a great gift.
The finished size is about 4 1/2" x 4 1/2".
|
Click to enlarge
|
|
You will need :
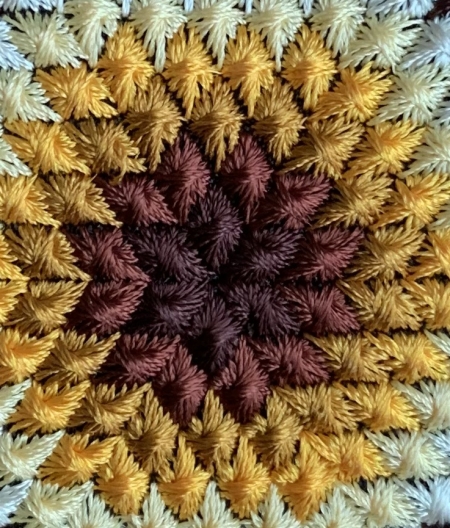
- embroidery threads, either polyester or rayon; you can follow our color card or chose your own colors,
- fabric for the outside of the bag, it's also used for the lining (cotton is the best choice),
- medium-weight cut- or tear-away stabilizer,
- scissors,
- chalk pencil or fabric marker,
- ruler,
- sew-on metal purse frame
|
Embroidery:
|
Upload the design into the machine. Select threads.
Stabilize your fabric either with medium-weight cut-away stabilizer or polyester craft felt.
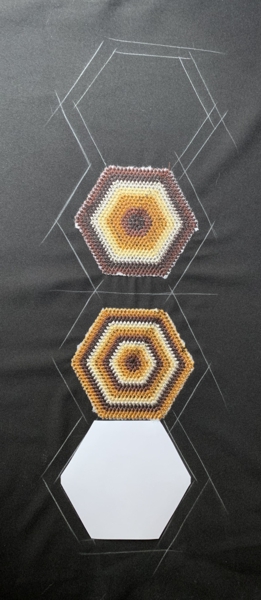
Embroider the design twice. If your hoop permits, you can embroider the design twice in one hoop with a distance of 3/4" - 1" between the stitch-outs.
Remove the excess stabilizer.
|
|
Assembly:
|
Out of paper, cut a template the size of the stitch-out. Working from the wrong side of the embroidery, align one of the paper hexagon sides with a stitch-out's side. Trace it. Repeat for the second stitch-out. Draw the 3/8"-1/2" seam allowance around all sides.
|
|
Cut the pieces out.
|
|
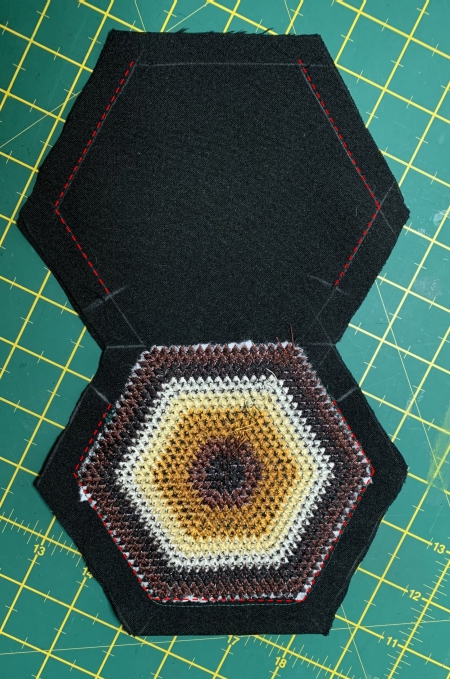
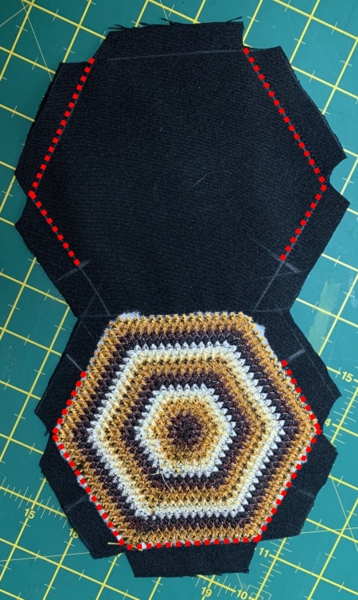
Fold the working piece in half, face inwards. Align the sides.
Stitch the sides together around the stitch-outs, as shown by the red line in the image below. Make sure to leave unstitched the areas that are not marked in red! |
|
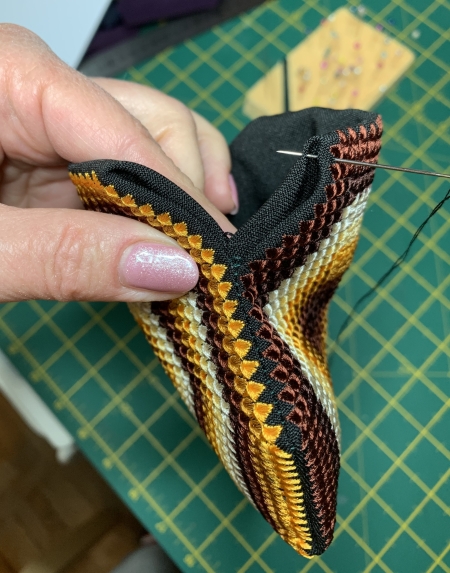
Trim the fabric in the corners, as shown on photo below.
|
|
Through the opening in the lining, turn the working piece right side out. Straighten all seams and corners.
Tuck the seam allowance inside and press. Stitch the opening in the lining closed.
Tuck the lining inside the purse.
Stitch the open seams closed by hand.
|
|
Now the case is ready for the frame.
|
To attach the frame, choose a heavy duty thread. Start sewing each part of the frame from the center; sew all the way to one end, then sew all the way to the other end, going through the center, then come back to the center again. Do the other side in the same way.
|
|
|
Have fun!
|
|
|
Back to Hexagon Motif
|
|