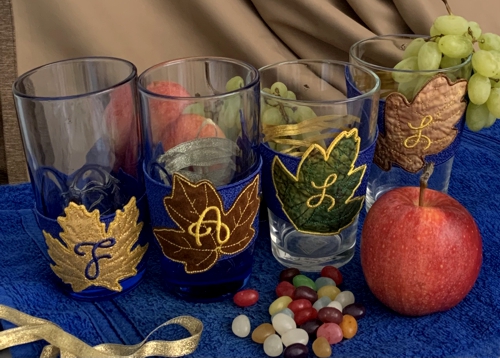
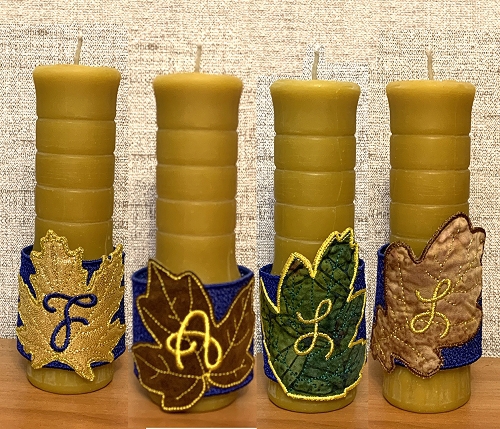
These are instructions on how to embroider the designs from the Freestanding Fall Leaf Glass Decoration Set.
These designs combine the freestanding lace and applique techniques.
|
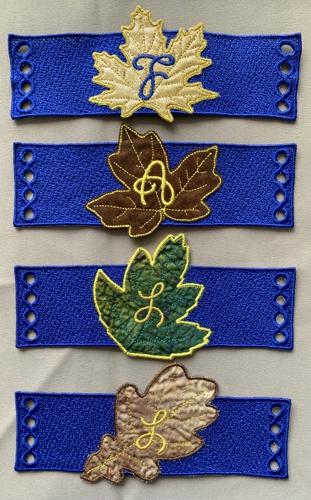
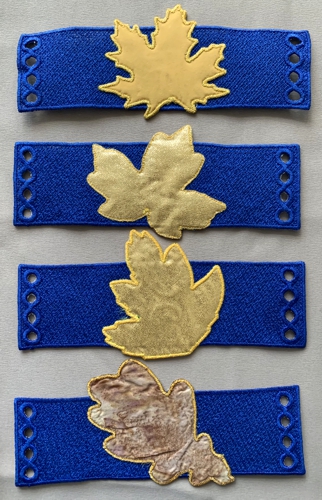
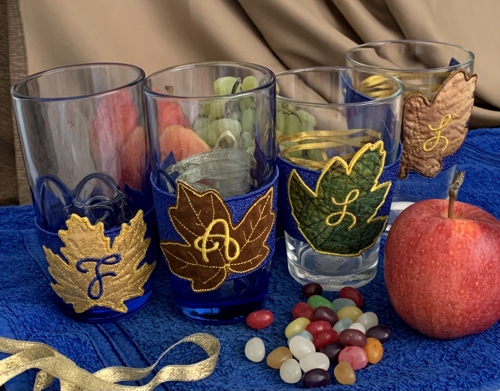
| The stitch-outs can be used as bookmarks, or as decorative belts for glasses or candles. |
|
You will need :
- embroidery threads, preferably polyester, feel free to chose your own colors,
- nylon net, of any color,
- fabric for the applique, (we recommend thin, non-raveling fabrics),
- watersoluble embroidery stabilizer,
- applique scissors,
- 4 sewing pins or temporary adhesive,
- thin cord, or narrow ribbons for lacing.
|
|
Embroidery:
|
All 4 designs are embroidered in the same way.
|
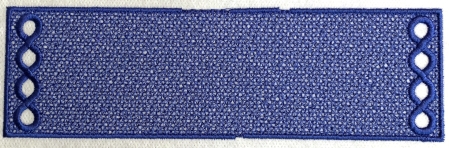
Step One: Upload a design from the set into the machine. Select threads. Prepare a sandwich of 2 layers of watersoluble mesh with a nylon net between them.
Hoop the sandwich. Tighten the hoop.
Start the machine. The first color will embroider the base belt.
|
|
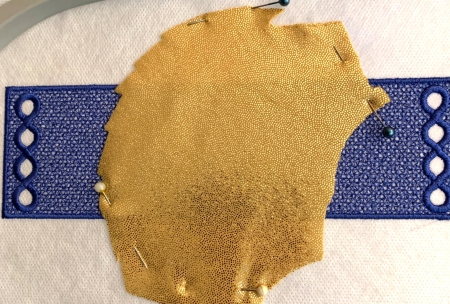
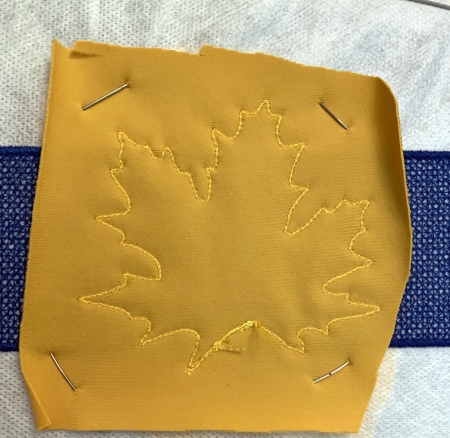
Step Two: Pin a piece of fabric to the center of the belt. Start the machine and embroider colors 2, 3 and 4.
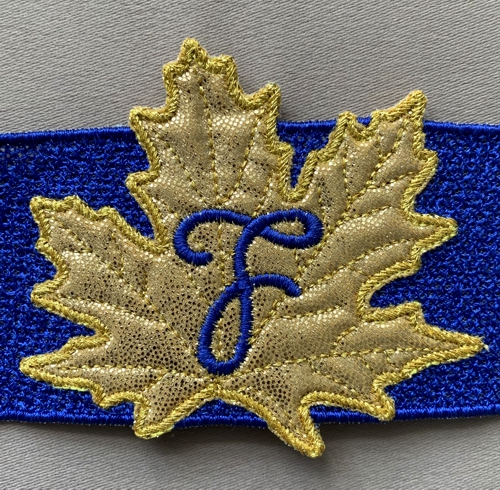
Color 2 - outline of the leaf. Color 3 - veins of the leaf. Color 4 - a letter.
|
|
Step Three: Take the hoop from the machine. Pin a piece of fabric to the back of the stitch-out.
|

|
Step Four: Return the hoop to the machine and embroider color 5 - the outline of the leaf.
|
|
Step Five: Take the hoop from the machine and with a pair of sharp scissors cut away the fabric around the leaf outline, first on the front, then on the back. Take care not to cut through the stitches and through the watersoluble mesh.
|
|
|
Step Six: The last color will finish the raw edges of the applique:
|
|
|
Step Seven: Take the stitch-out from the hoop, cut away the excess stabilizer, wash away the remainder. Let the stitch-outs dry. Press if needed.
|
|
|
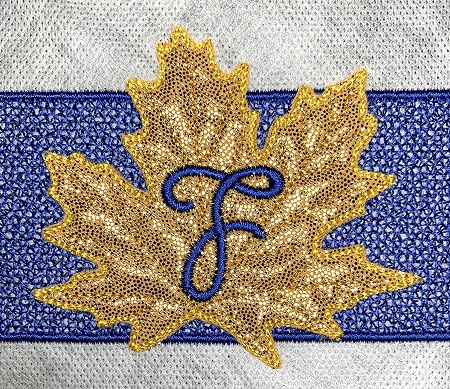
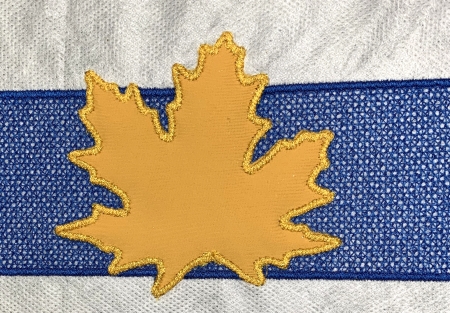
A close-up of the leaf made with metallic thread on lycra fabric.
|
|
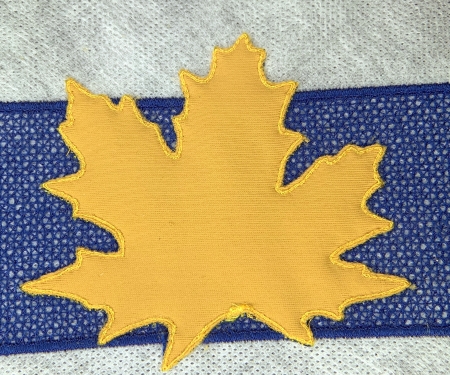
| A close-up of the leaf made on thin polyester suede. Here we did not finish the raw edges (color 6), because the fabric does not unravel at all. |

|
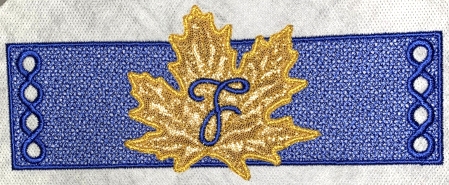
Insert cord or ribbons in the holes and lace around glasses.
|
|
Have fun!
|
|
Back to Freestanding Fall Leaf Glass Decoration Set.
|
|


