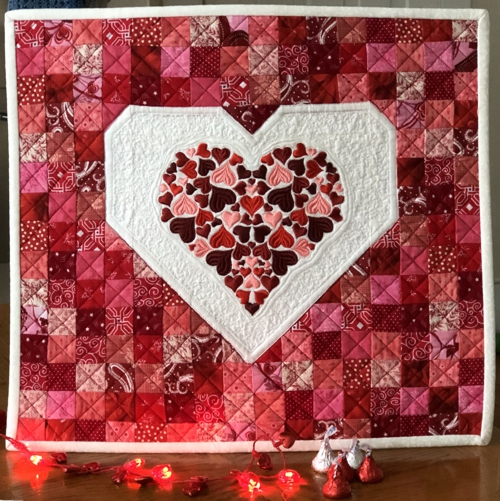
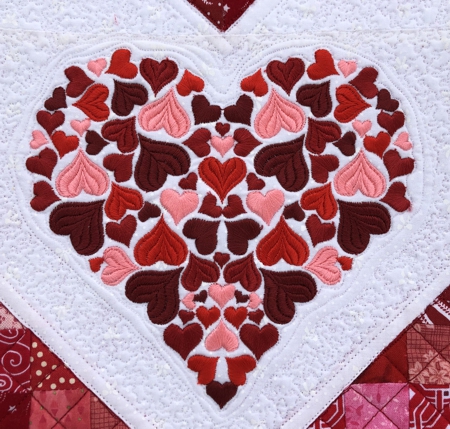
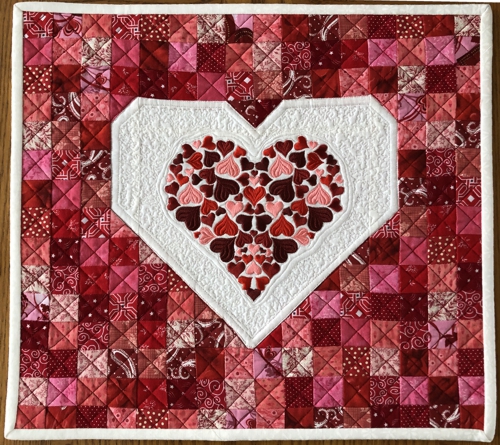
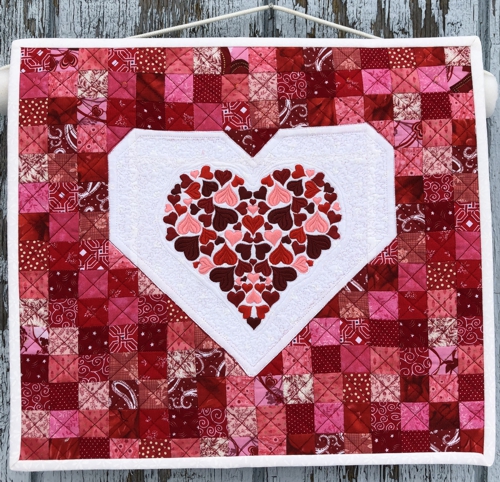
This small wall quilt is great for Valentine's Day or as a gift. We used the design Heart of Hearts. It's available in 3 sizes. We used the design for the mega hoop (6" x 10").
The finished size of the quilt is about 15" x 16".
|
|
You will need :
- embroidery threads, either polyester or rayon, in shades of pink and red,
- 1 fat quarter of white cotton fabric,
- scraps of cotton fabrics in pink and red shades,
- light-weight cut-away embroidery stabilizer,
- fabric for the backing,
- batting,
- quilter's ruler,
- rotary cutter,
- iron,
- #12 universal needle,
- #12-#14 quilting needle
- graphic or chalk pencil.
|
Cutting:
|
Out of white fabric, cut
- a square measuring 8 1/2" x 8 1/2",
- 2 strips measuring 1 1/2" x 4 1/2" and
- 2 strips measuring 1 1/2" x 5 1/2".
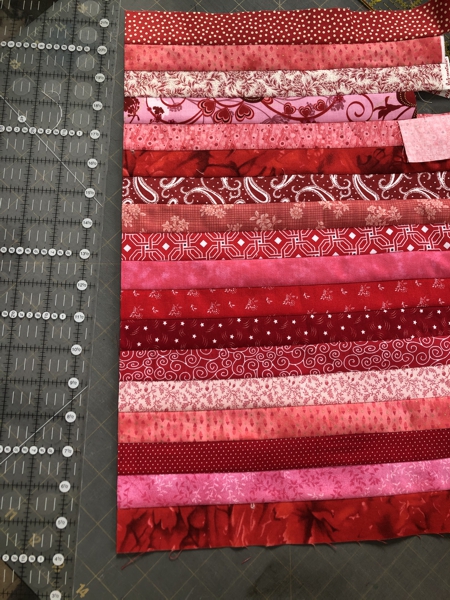
Cut the colored scraps into strips 1 1/2" wide.
|
Sew the strips together lengthwise. Press the seams.
|
|
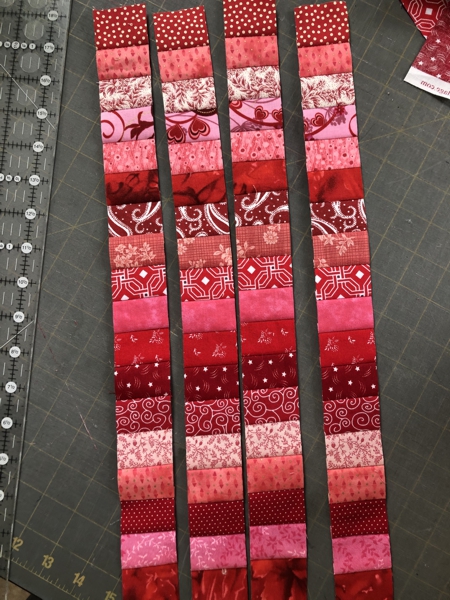
Subcut into strips 1 1/2" wide.
|
|
Assembly:
|
| Note: seam allowance is 1/4", if otherwise not stated; press the seam immediately after you make it. |
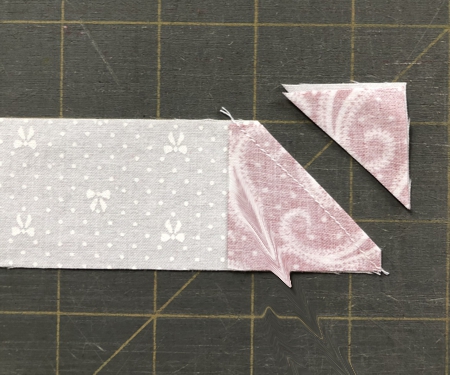
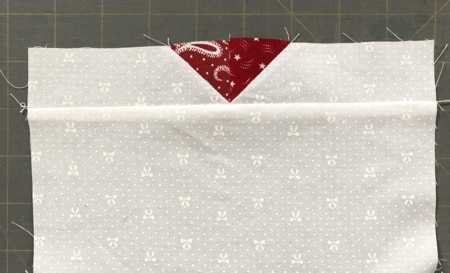
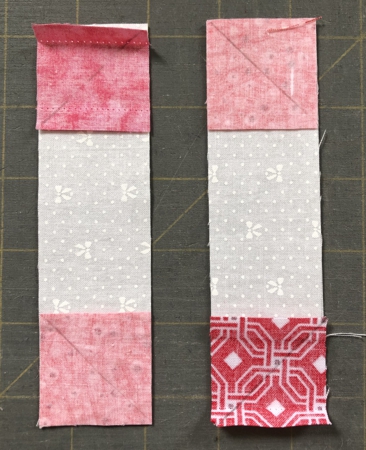
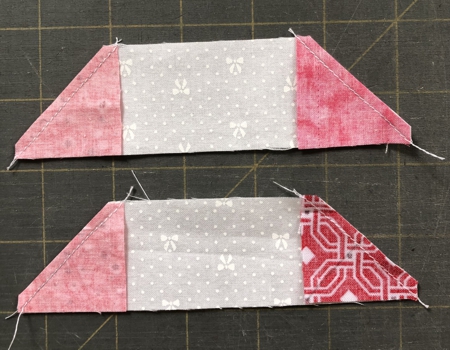
Take the 1 1/2" x 4 1/2" strips. Position them face up and cover the ends with the colored 1 1/2" squares, face down.
With a pencil and ruler draw diagonals - on the left square from the upper left to the lower right corner, on the right square from the upper right to the lower left corner.
|

|
Cut away the corners on both strips, seam allowance slightly larger than 1/8". Press the corner open.
|
|
Sew both strips together with the colored triangles together.
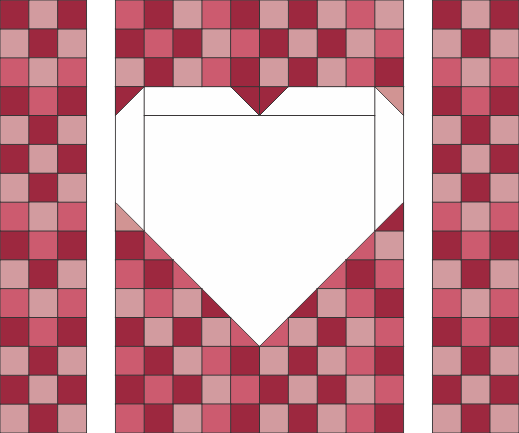
Sew the strip to the upper edge of the white 8 1/2" x 8 1/2" square.
|
|
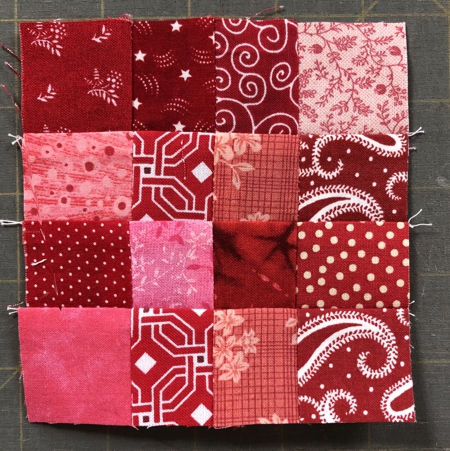
Using the multi-color strips, sew two squares measure 4 1/2" x 4 1/2".
|
|
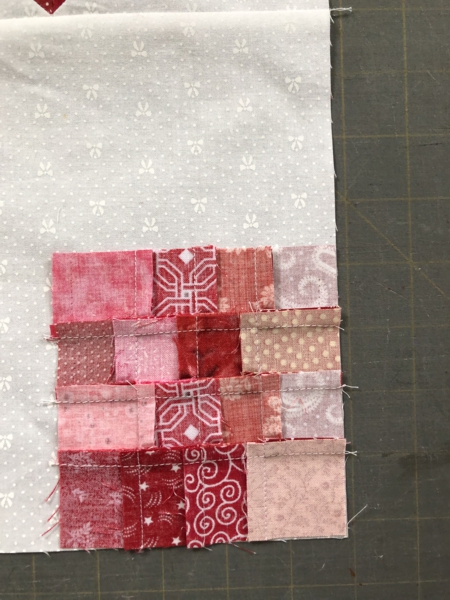
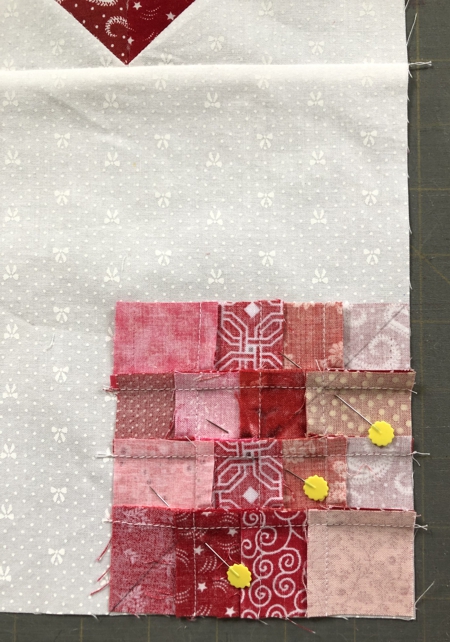
Position the first square, face down, on the white square, in its lower right corner, aligning the edges.
|
|
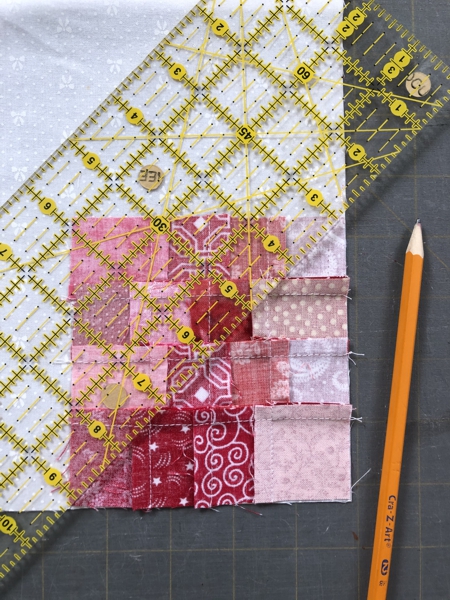
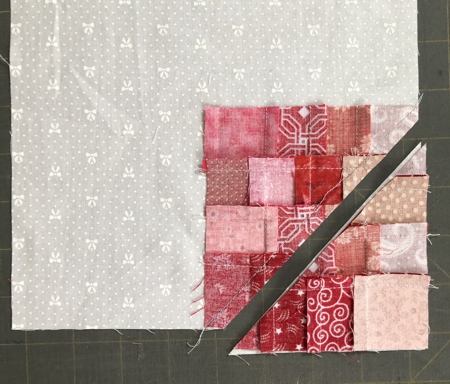
With the pencil and ruler draw a diagonal from the upper right to the lower left corners.
|
|
Pin the squares together.
|
|
Cut the corner away with seam allowance 1/4". Open the corner and press.
|
|
In the same way stitch the second square onto the the left lower corner of the white square.
|

|
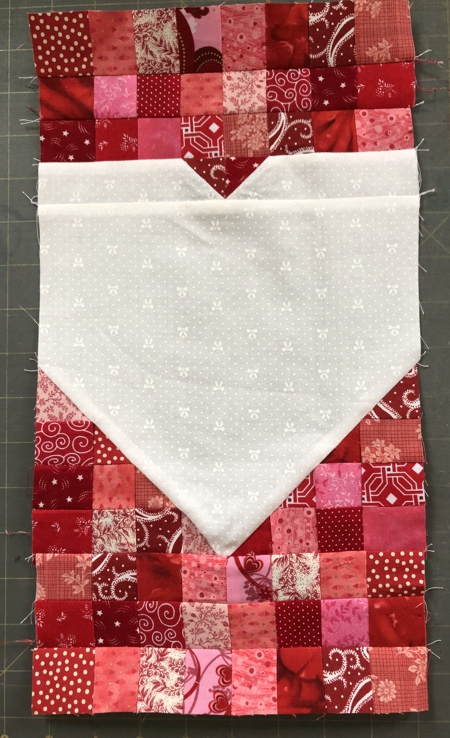
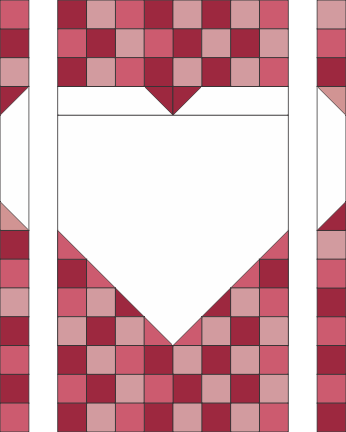
Sew together two blocks out of 3 rows of strips each, eight 1 1/2" squares in each strip. Sew one block to the upper edge and one block to the lower edge of the working piece.
|
|
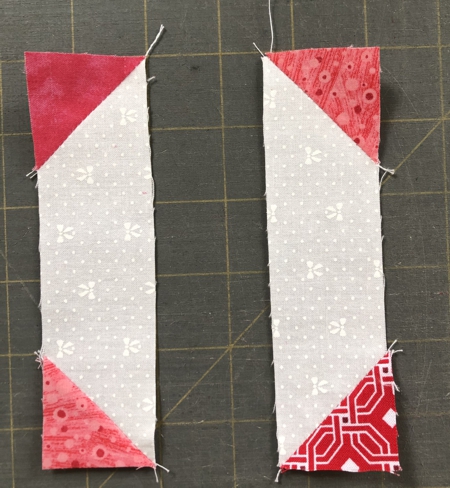
For the side borders, take the 1 1/2" x 5 1/2" white strips. Position the colored squares on the ends. Draw diagonals
|
|
Stitch along the diagonals and cut away the corners. Seam allowance slightly larger than 1/8".
|
|
Open and press the corners.
|
|
To each strip, sew 3 colored squares to the upper edge and 7 colored squares to the lower edge.
|
|
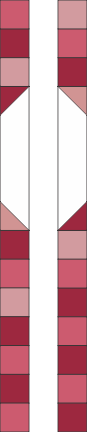
Sew the strips to the left and right edges of the central part.
|
|
To each side of the working piece add 3 rows of the colored squares. Each row consists of 15 colored squares.
|
|
Embroidery:
|
Mark the position of the embroidery on the central part. If you have a printer and embroidery software, print-outs of the design can be helpful. If you do not, determine the position of the embroidery by eye.
Stabilize the chosen area. Hoop the fabric tightly and embroider the design.
|
|
Quilting and Finishing
|
Now place the backing on a flat surface (table) face down. Cover with batting. Spread your working piece over it.
Pin all layers together.
We quilted in a free-motion style around the embroidery and with straight lines all over the quilt. |
|
| Press with heavy steam. Square the quilt. Finish the raw edges with the binding. |
|
| Have fun! |
|
|
|
Back to Heart of Hearts
|
Back to Projects Page
|


