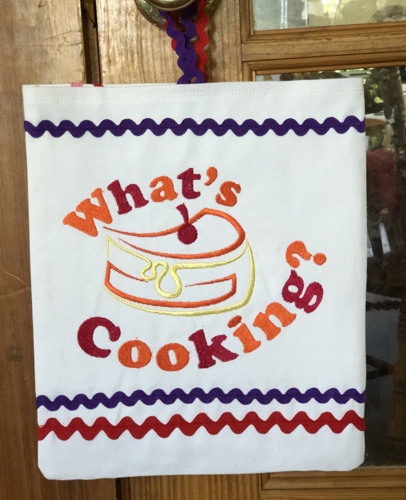
You can decorate your kitchen with easy to make slogans. We offer a project for a 2-sided sign, which you can put on a kitchen door. Designs used are from the Kitchen Slogan Set.
The finished size of the sign is about 10" x 11 1/2".
|

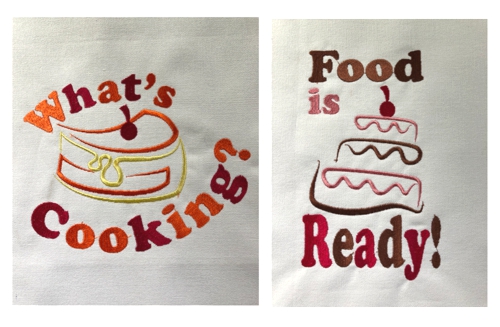
One side of the sign
|
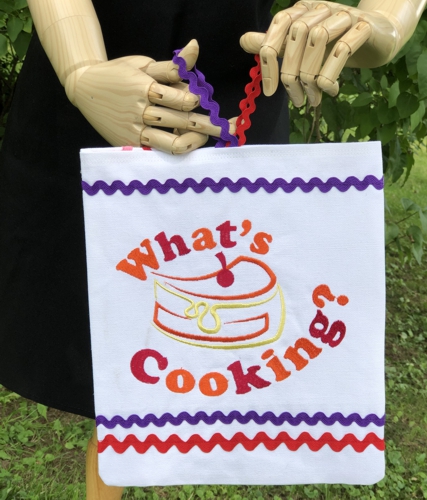
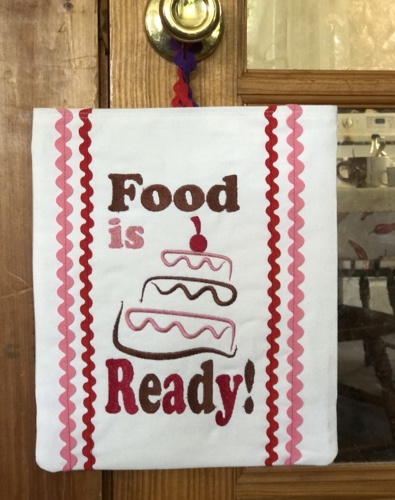
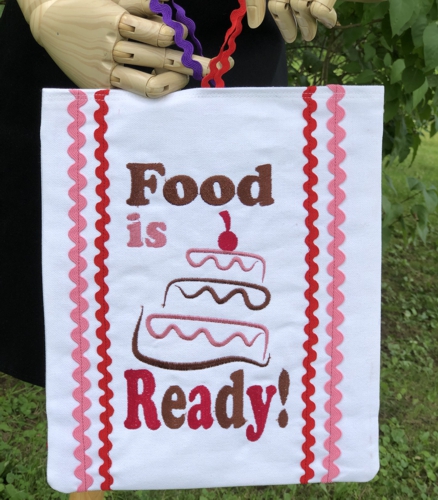
The other side of the sign
|
You will need :
- embroidery threads either polyester or rayon - either use our colors or choose them to your taste,
- duck cloth, we chose white, but it can be of any color,
- medium-weight cut-away embroidery stabilizer,
- any trims as additional embellishments (we chose large rick-rack),
- quilter's ruler and rotary cutter, or scissors,
- iron,
- #12-14 universal needle,
- a piece of plastic mesh or thin cardboard, measuring about 9 1/2" x 10 1/2", for additional stability of the sign,
- a small piece of Hoop and Loop (Velcro) tape.
|
Embroidery:
|
Stabilize the canvas with medium-weight cut-away stabilizer. Choose 2 slogans from the Kitchen Slogan Set.
Embroider the designs one by one.
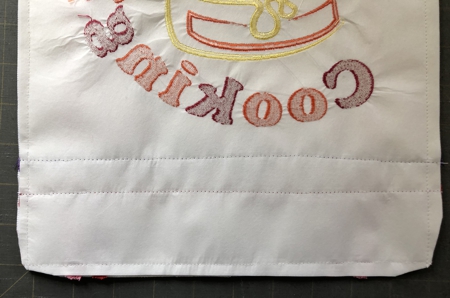
Trim the stitch-outs to10 1/2" x 12 1/2" pieces. Do not remove the cut-away stabilizer, it will add stability to the finished project.
|
|
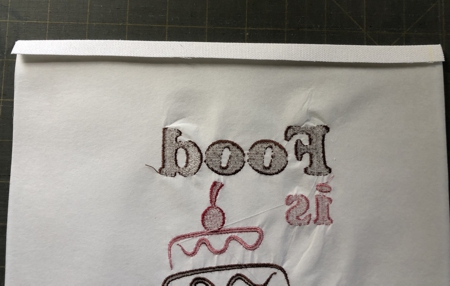
Fold the upper edge of each stitch out 1/2" back and press with steam. Cut away 1/2" of the stabilizer from under the crease.
|
|
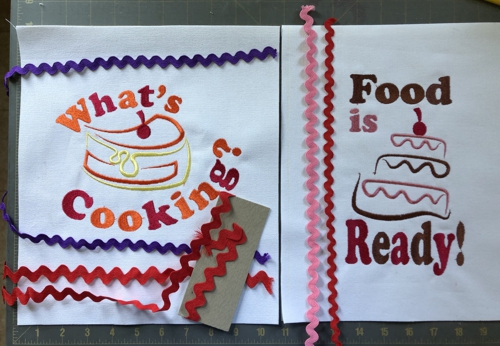
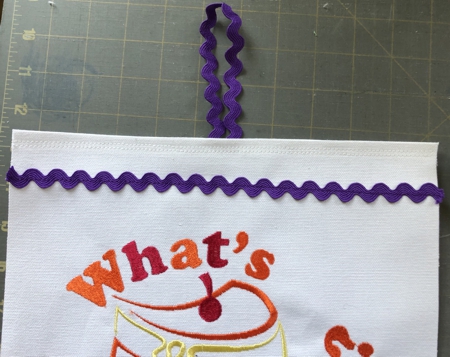
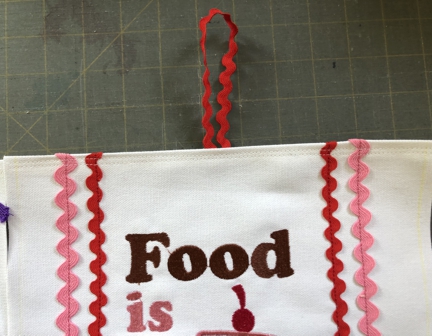
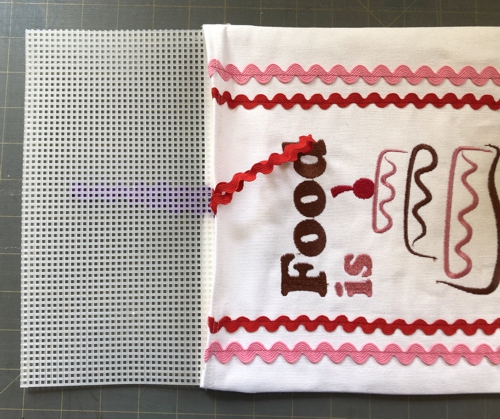
Position the placement of the additional trims, if any, on the stitch-outs.
|
|
Stitch the trims in place.
|

|
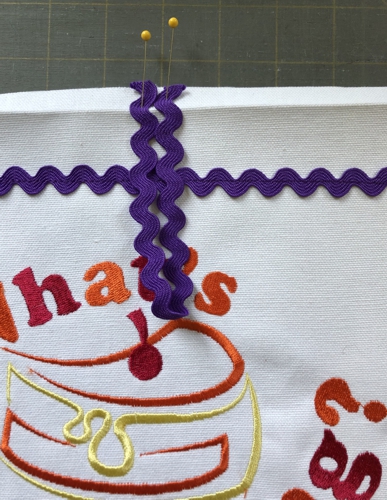
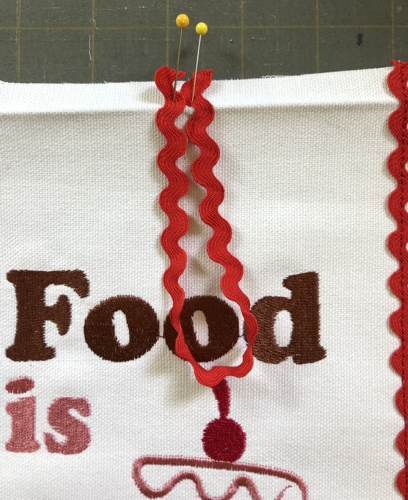
Cut a piece of trim about 7"-8" long, the length depends on the size of the hook (or door knob if you want to use it on a door). If you're going to put the sign on a hook or nail, it can be shorter.
Fold the piece in half to get a loop and pin the ends to the upper edge and 5" from the side edges of each stitch-out. |
|
|
Stitch the loops in place.
Fold the upper edges back along the creased lines and topstitch in place.
|
|
|
Place both stitch-outs face to face, align all edges. Pin together. Stitch the sides and bottom together. Seam allowance is 1/4". Cut away the stabilizer from the seam allowance.
Trim the corners.
|
|
Turn right side out. Press.
Insert a piece of plastic mesh or cardboard inside for stability.
|
|
Sew a piece of Velcro tape to the upper edge, if needed.
|
|
|
| Have fun! |
|
|
|
Back to Kitchen Slogan Set
|
Back to Projects Page
|


