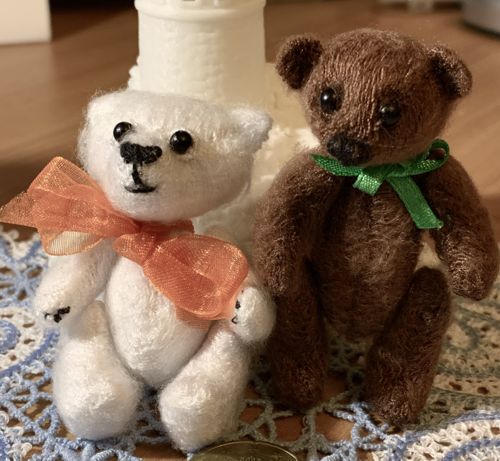
These are instructions on how to embroider and sew Miniature Teddy Bears.
There are 2 bears in the set. One is slightly more slender than the other. The assembly of both is the same. The finished size of the bears is 2 1/2" - 2 3/4" tall.
The assembly is done by hand and requires some sewing skills. Please read all instructions first before making a purchase.
|
|
You will need :
- embroidery cotton threads of any color you like, (we used Signature machine quilting cotton thread both in the needle and in the bobbin, but similar threads from other companies should work just as well. We also tried machine quilting polyester, it gives very good results, but beware of lint!),
- organza or tulle fabric ,
- watersoluble mesh stabilizer,
- small amount of polyester filling,
- small sharp scissors,
- a needle for hand sewing,
- small tweezers,
- #12-14 embroidery needle for the machine,
- black 3 mm beads for eyes,
- a small stiff brush,
- small amount of black thread for nose and mouth embroidery.
|
Embroidery:
|
Hoop a layer of watersoluble mesh and organza tightly. If you use tulle, sandwich it between the layers of the stabilizer. Hoop tightly.
Thread both the bobbin and the needle with cotton thread of the same color. Upload either of the files into your machine and embroider it.
Wash away the stabilizer and let the stitch-out dry.
|
|
Assembly:
|
| Note: we sewed the parts together with the same thread with which we made embroidery. |
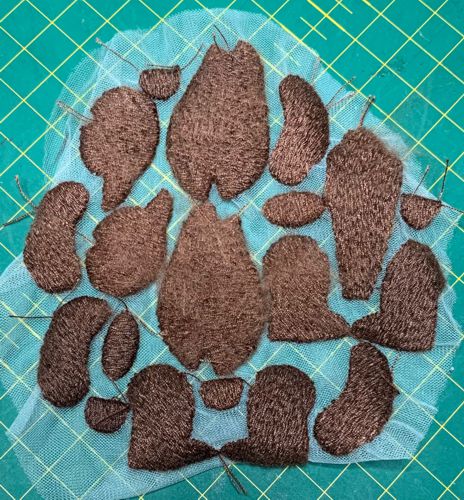
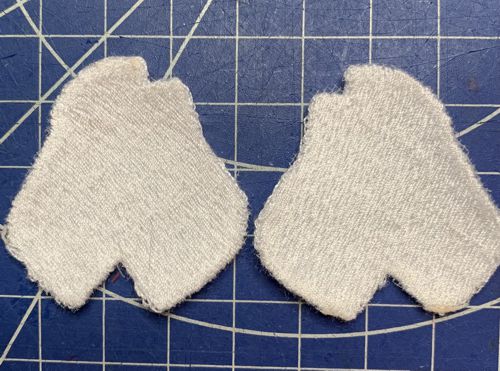
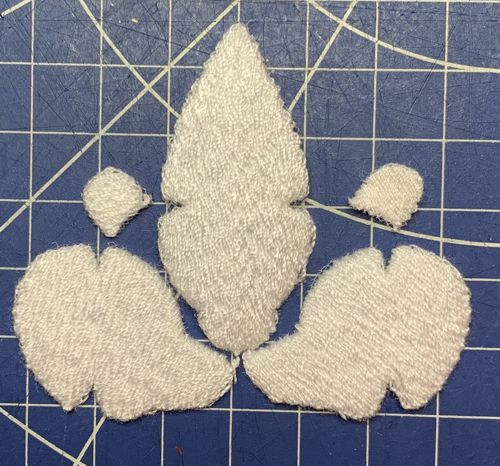
Neatly cut out the parts as close to the stitches as possible, but take care not to cut through the stitches.
Lay out the parts in groups as they are to be stitched. On the picture below: 1 - head;
2 - arms; 3 - body; 4 - legs.
|

|
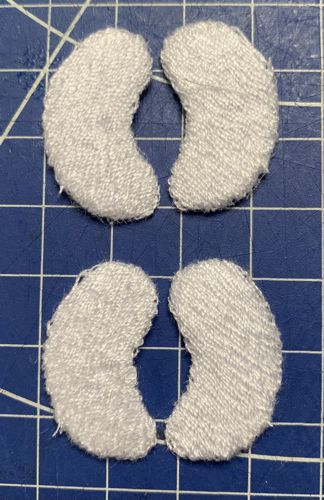
Arms
|
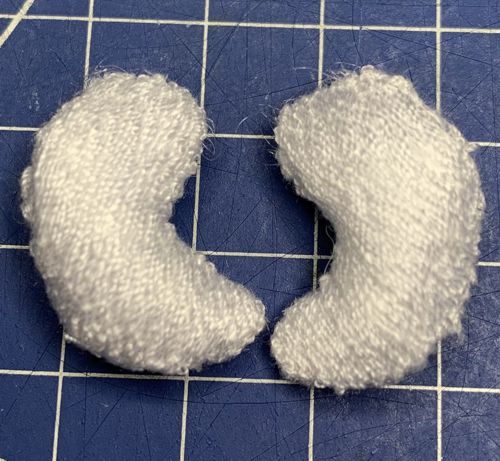
| Each arm consists of 2 mirror parts. |
|
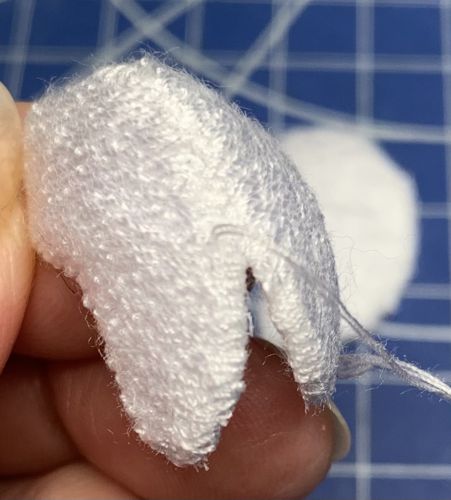
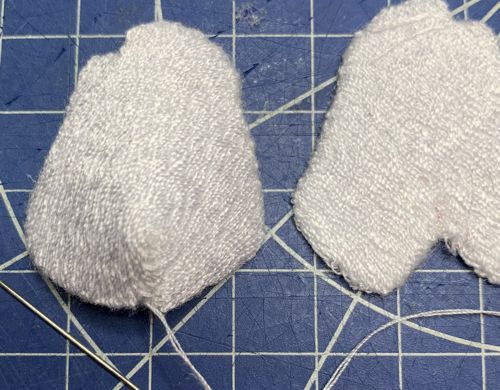
Place the parts back to back and, using the same thread with which you made the embroidery, start to sew the parts together right over the edges.
|
|
|
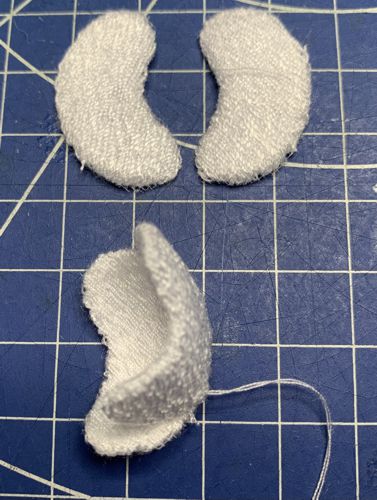
| Leave a small opening. |
|
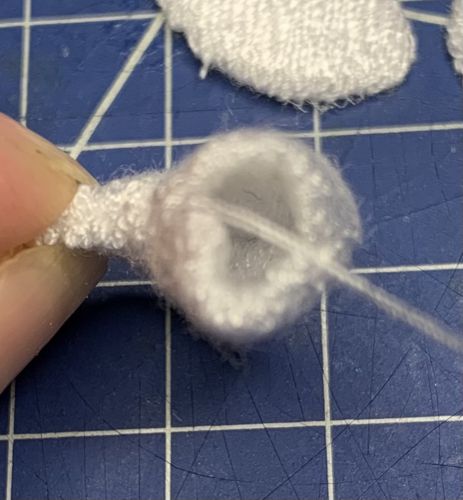
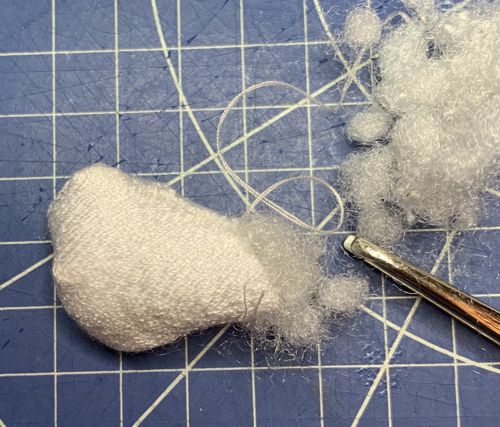
Insert some filling through the opening.
|
|
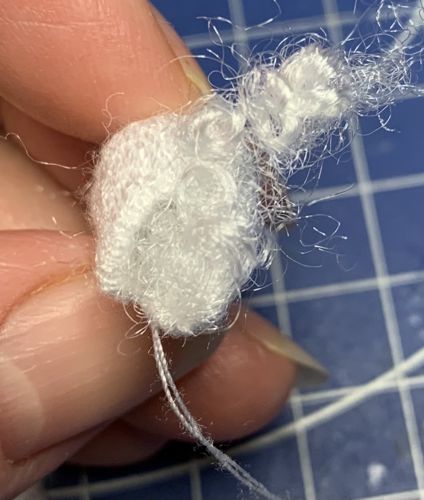
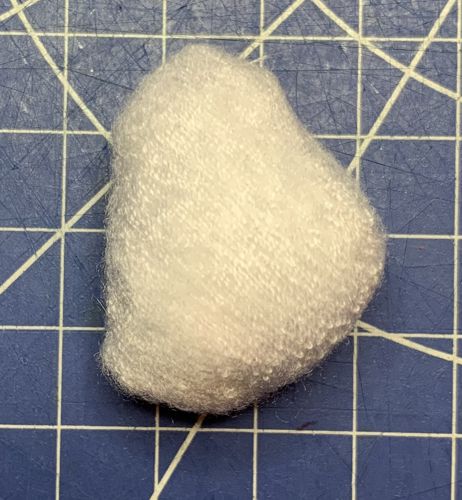
| Sew the opening closed. |
|
| Legs |
Each leg consists of 2 sides and a sole.
|

|
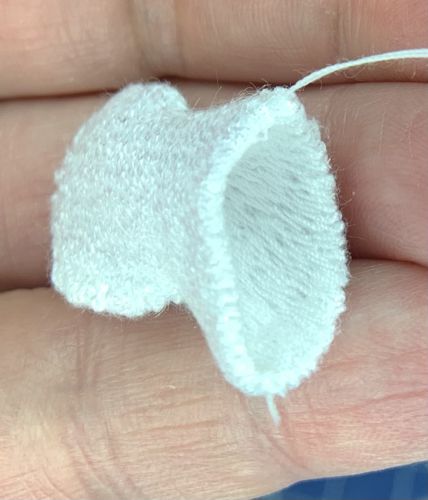
| Place the side parts together , wrong side to wrong side. Sew over the edges all along the sides, leaving the sole part open. |
|
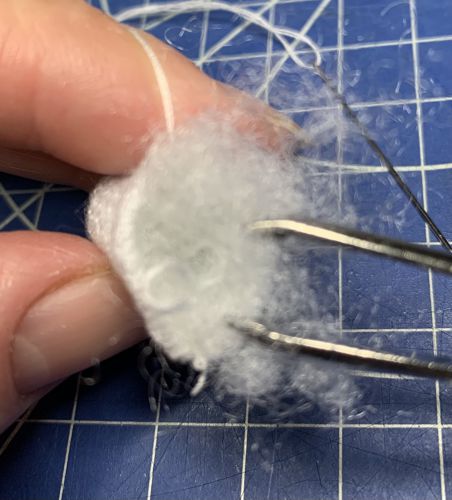
| Insert some filling through the opening. |
|
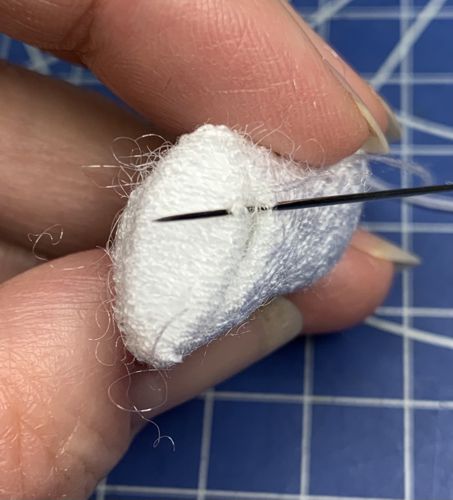
| Sew the sole in place over the edges. |
|
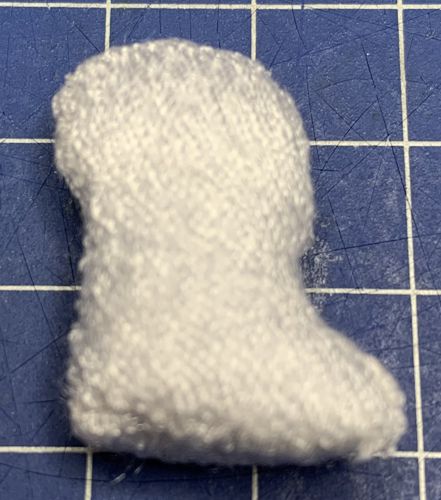
| The finished leg. Make 2. |
|
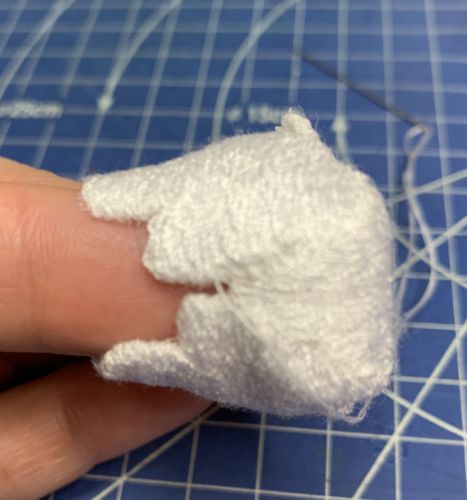
| Body |
| The body consists of 2 halves. On each part, there are large and small darts. |
|
| Sew the large dart on both halves. |
|
| Align the edges and sew both halves together over the edges, leave the upper dart open. Insert some filling through the opening. If you wish, you can sew the opening closed, or leave it as it is and later sew the head over it. |
|
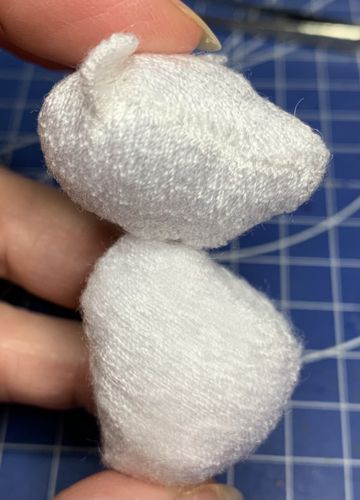
| The finished body. |
|
| Head: |
| The head consists of a front and back part, 2 sides and 2 ears: |
|
| Starting with the muzzle, sew the sides to the central (forehead-back) part up to the dart. Align the darts on the side and central part. Skip the darts and go on sewing over the edges till the sharp point on the central part. Then continue to connect the sides together along the back of the head up to the large dart. Stop, tie off. |
|
Starting from the muzzle nose point, sew the sides together to the large dart.
Sew in the ears into the small darts on the upper part of the head.
Insert some filing through the openning . |
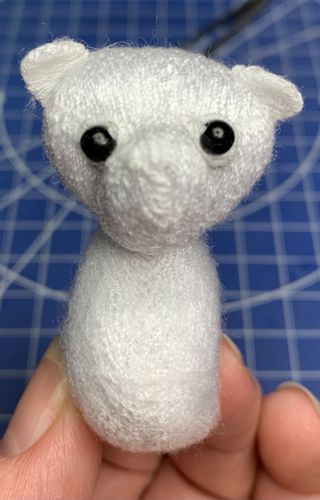
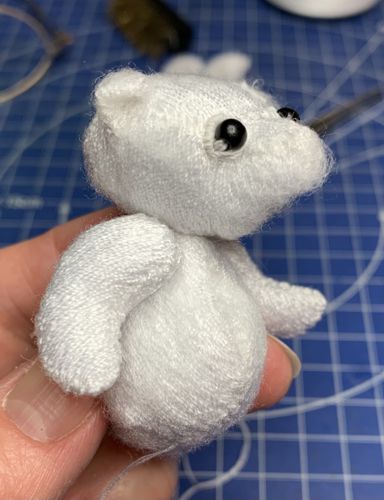
| Sew the head to the body. |
|
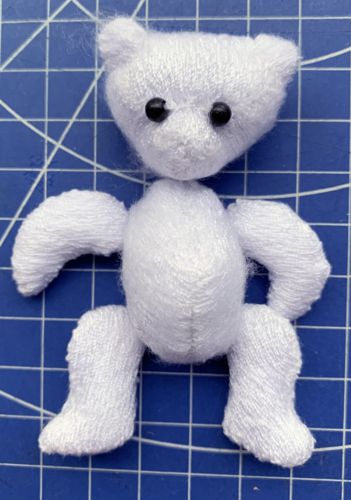
| Sew on black beads for eyes: sew on the first bead, then, without cutting off the thread, push the needle to the other side. Pull the thread slightly to shape the muzzle. Sew on the second eye. |
|
| Sew the arms and legs to the body. |
|
|
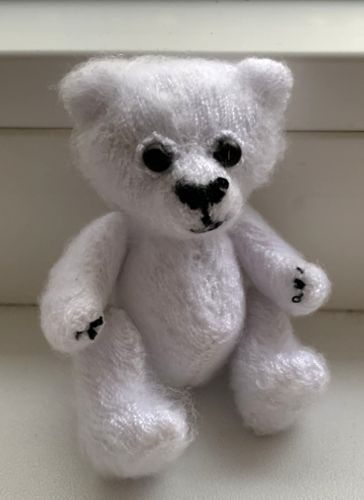
| With black thread, embroider the muzzle: make a nose and mouth. |

|
| With a small stiff brush, brush the teddy lightly to fluff the threads. |
|
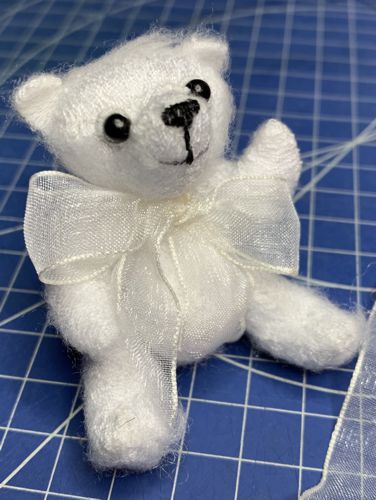
| Tie a bow. |
|
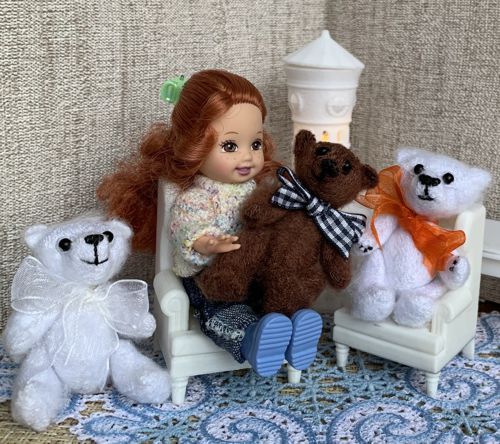
| You can make a whole family of mini bears. |

|
| Have fun! |
| Our Beth, a 4-inch doll, is happy with her bears. |
|
|
|
Back to Miniature Teddy Bears
|
Back to Projects Page
|


