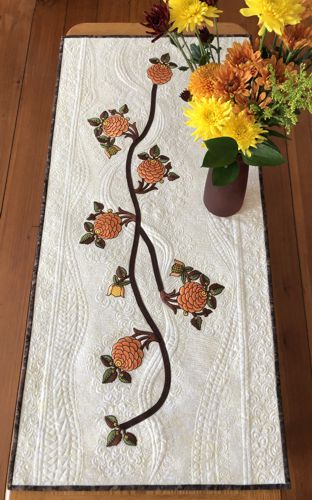
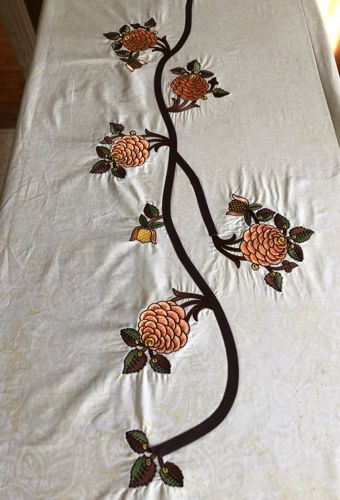
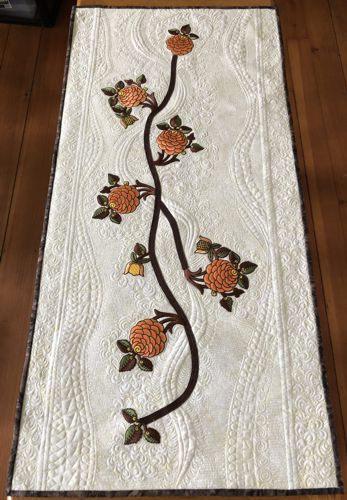
This wholecloth quilt requires minimal piecing. It's a lot of fun to put together. We used designs from the Zinnia Decorative Set.
The finished size of the tablerunner is about 20" x 42".
|
|
You will need :
- embroidery threads either polyester or rayon - we made flowers in burnt orange, dark yellow, and brown, but you can choose colors to your taste,
- 1 yard of of light cream fabric,
- a pack of brown 3/8" wide single folded bias tape,
- brown fabric for the binding,
- light-weight cut-away embroidery stabilizer,
- fabric for the backing,
- batting,
- quilter's ruler,
- rotary cutter,
- iron,
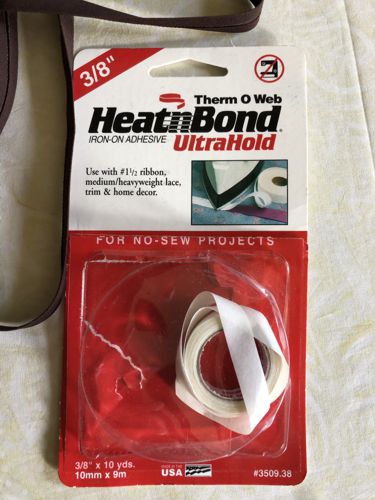
- Heat'n'Bond iron-on tape adhesive, or similar product,
- #12 embroidery needle,
- #14 quilting needle,
- fabric chalk pencil (erasable),
- sewing pins,
- quilting pins.
|
|
Embroidery:
|
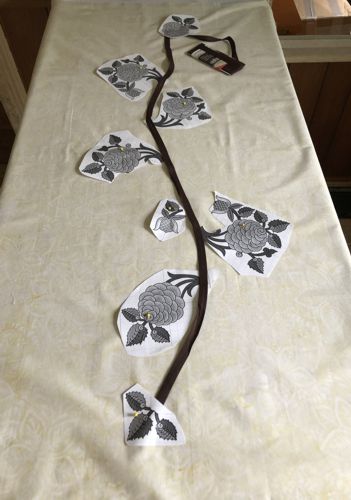
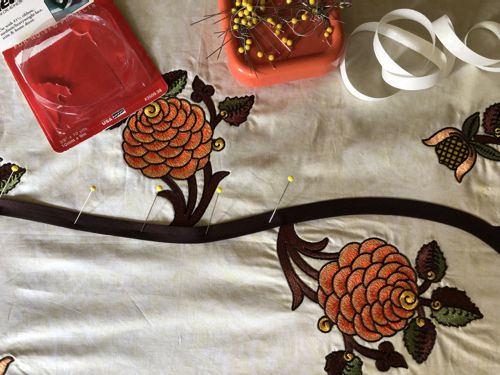
Spread the fabric for the top on a working surface. Using the ruler and chalk pencil mark the boundaries of the tablerunner. It should be a rectangle about 42"-43" long and 21"-22" wide. Mark the central axis. Position the bias tape over this line in a wave.
Mark the position of the embroidery on both sides of the "wave". If you have a printer and embroidery software, print-outs of the designs can be very helpful. If you do not, you can cut out rectangles of the same size as the designs and arrange them on the fabric to determine the position of the embroidery. Pin all print-outs. Remove the bias tape.
|
|
| Upload the designs into your machine. Working with one design at a time, stabilize the chosen areas. Hoop the fabric tightly and embroider the designs one by one. |
|
| Adhering the Bias: |
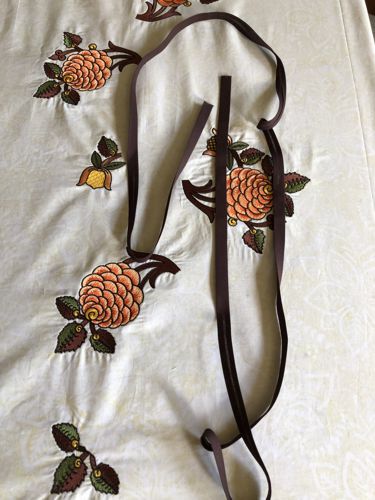
Remove the protective paper from one side of the Heat'n'Bond tape and arrange it in a wave among the stitched-out flowers so as to connect the stems of them all.
Remove the protective paper from the upper side of the tape and place the bias over it. If it does not hold in place, you can pin it in place.
|
|
Working in small sections, press with a hot iron to adhere the tape in place. You probably need to apply the hot iron from both sides - front and back.
|
|
|
Quilting and Finishing
|
Now place the backing on a flat surface (table) face down. Cover with batting. Spread your working piece over it.
Pin all layers together.
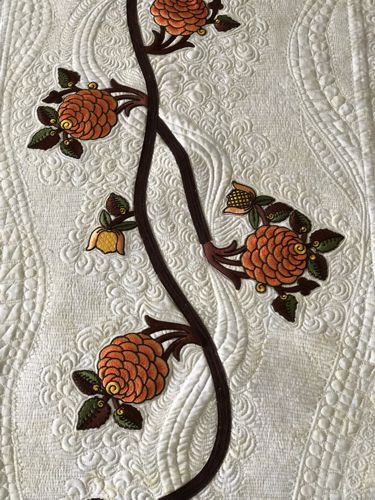
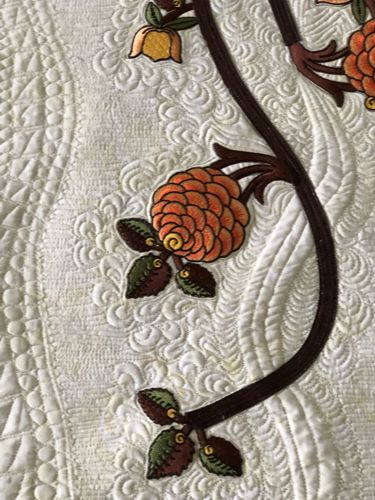
We quilted in a free-motion style all over the quilt. |
|
| Press with heavy steam. Trim the tablerunner to the size you need and square it. Finish the raw edges with the binding. |
|
| Have fun! |
|
|
|
Back to Zinnia Decorative Set
|
Back to Projects Page
|


