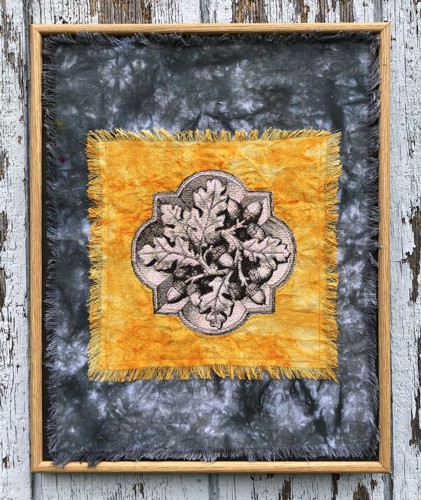
This panel features an eye-catching modern style. It's easy to make and it makes a great Fall touch for your home or office.
We used the design of the Acorn Panel for an 8" x 8" hoop.
The finished size of the project is 15 3/4" x 19 1/2", which was the size of our frame. Please note that you can use a differently sized frame, and adjust the fabric to it.
|
|
You will need :
- embroidery threads either polyester or rayon - according to our color card,
- 1 fat quarter of cotton fabric for the background (we chose gray hand-dye),
- 1 fat quarter of cotton fabric for the embroidery (we chose bright yellow hand-dye with orange splashes),
- a frame (the size of our frame is 15 3/4" x 19 1/2", you can use any size, but not smaller than the embroidery),
- black foam board,
- medium-weight tear-away embroidery stabilizer,
- cardboard knife,
- quilter's ruler,
- rotary cutter or scissors,
- iron,
- #12 universal needle,
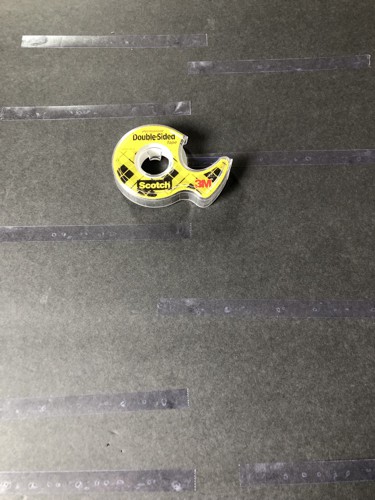
- double-sided scotch or universal glue.
|
| Embroidery: |
Stabilize the yellow fabric with medium-weight tear-away stabilizer. Hoop both layers tightly. Upload the Acorn Panel into the machine. Select threads.
Embroider the design. |

|
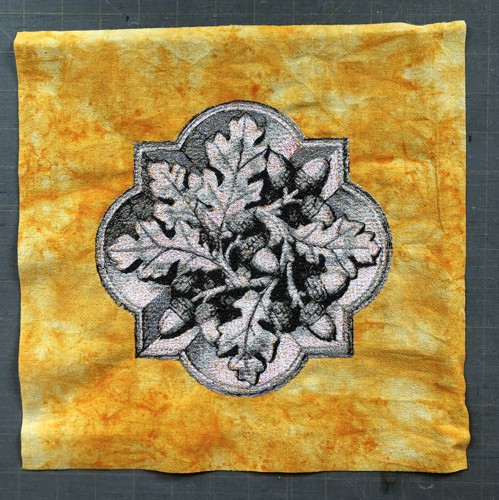
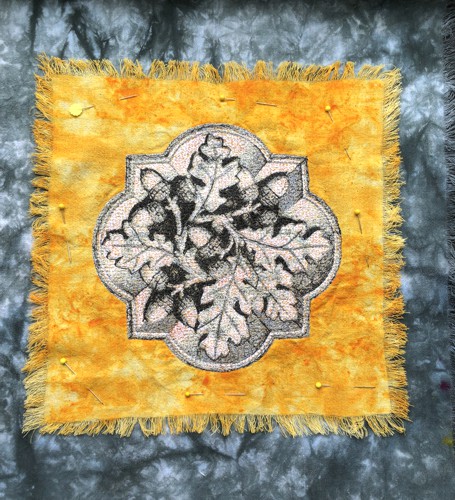
Remove the excess stabilizer around the embroidery. Cut into a square of desired size. In our case it's 11" x 11".
|
|
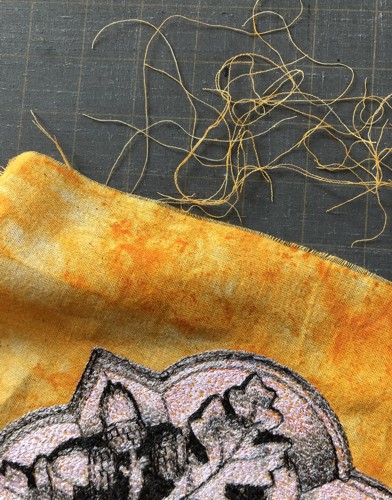
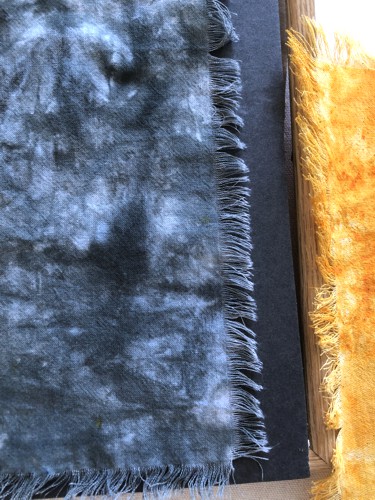
| Start pulling threads along all edges. |
|
Pull out threads untill the fringe is 1/2" wide.
|
|
Measure the inner size of the frame. Our frame measures 14 1/2" x 18 1/2". Cut the gray fabric to this size, then pull threads out of its edges until the fringe is 1/2" wide.
|
|
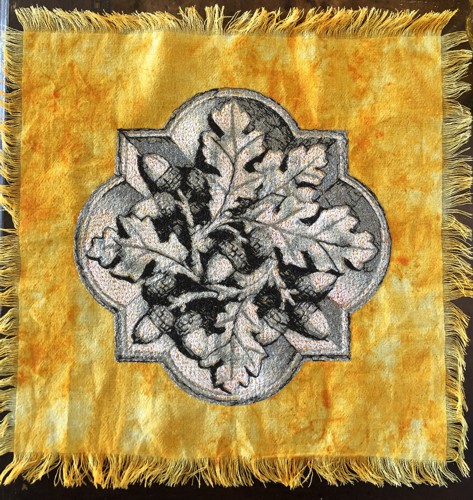
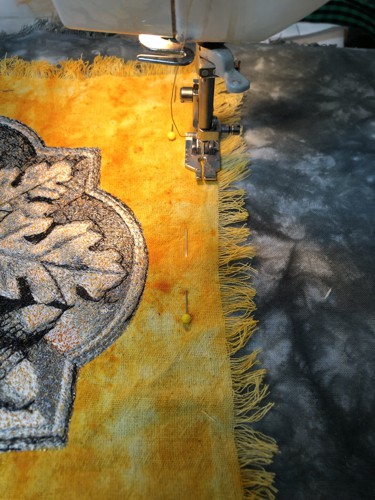
Place the stitch-out onto the gray piece. Check that it is centered. Pin.
|
|
Using thread of matching colors, topstitch the yellow piece to the gray one: first along the outer edges of the embroidery, then along the outer edges of the yellow piece, about 1/4" from the fringed edge.
|
|
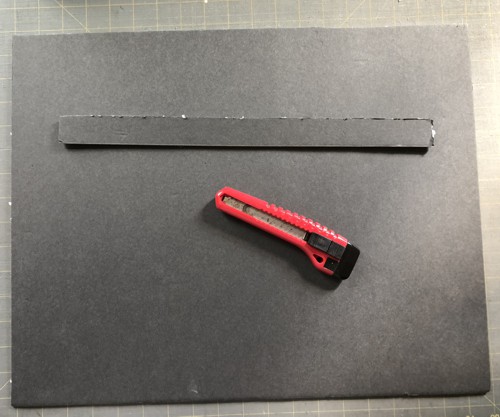
| Using the back cardboard panel of the frame as a template, cut your black foamboard to fit the frame. |
|
| Apply the strips of the double-sided scotch onto the board. |
|
| Place the fabric working piece over the foamboard and lightly press with your hands to adhere it to the scotch. |
| Place into the frame. |
| Have fun! |
|
|
|
Back to Acorn Panel
|
Back to Projects Page
|


