A handmade bib is an excellent baby shower gift. This project includes a free bib template!
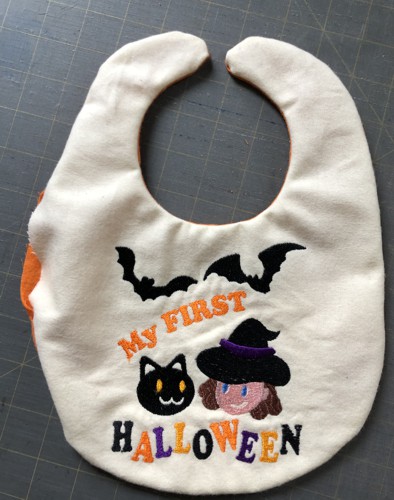
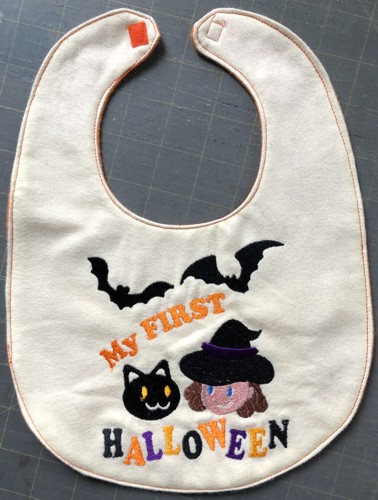
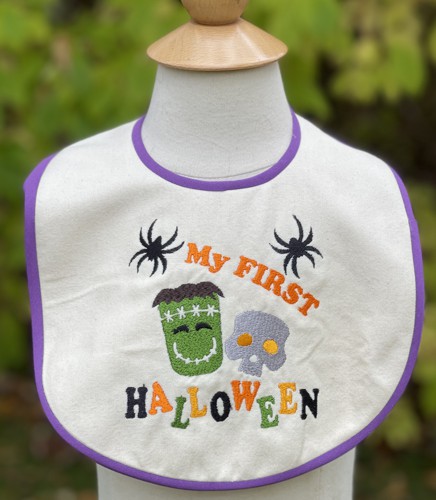
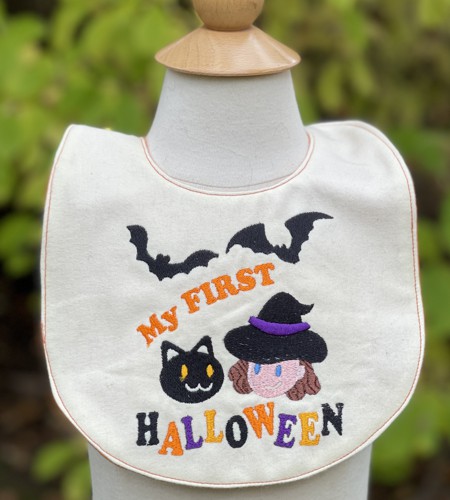
We used the designs from the My First Halloween Set. The designs are for the Large hoop (5" x 7"). They can be embroidered on a baby's sweat-shirt, fleece hat, blanket, etc. We offer to make bibs with them.
|

|
You will need :
- embroidery threads either polyester or rayon - either follow our color card, or choose your own colors,
- cotton flannel - we used pale yellow for the front and orange for the lining,
- light-weight cut-away embroidery stabilizer, (we prefer No-Show mesh by Floriany, but similar product of other companies will also work),
- scissors and/or rotary cutter,
- Scotch tape,
- printer and 3 sheets of Letter-size paper,
- bias tape (optional),
- either small pieces of thin Velcro tape, or snaps, or buttons for the closure,
- #12 universal needle,
- fabric marker or graph pencil.
|
Embroidery:
|
Stabilize a piece of light-colored flannel (the piece is about 12" x 15"). Hoop both layers tightly. Upload a design from the My First Halloween Set, select threads. Embroider the design.
|
Pattern:
|
Download the template for the top. To open and print the template, which is a PDF file, you will need Adobe Reader or a similar program. Adobe Reader is free to download and install.
Template Download (PDF file) |
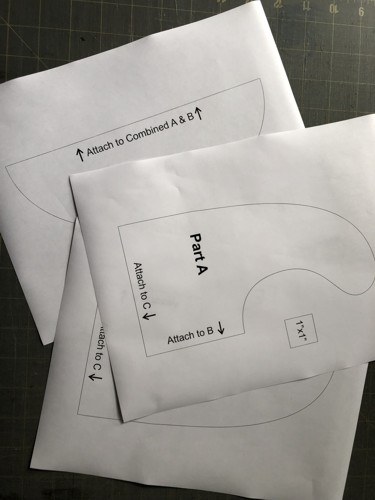
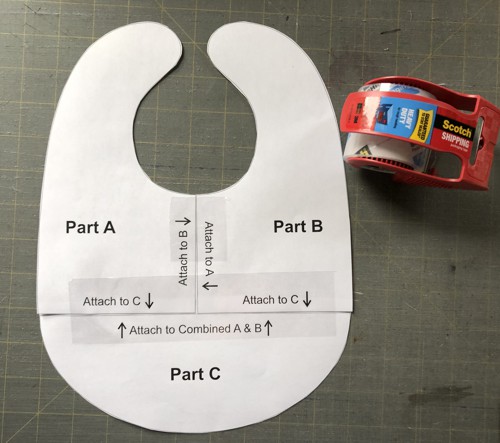
Print out the templates.
|
|
| Cut them out and connect together using Scotch tape. |
|
Cutting:
|
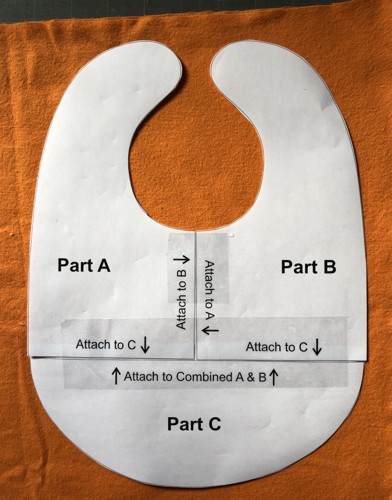
| Position the paper template over the stitch-out. Check that the embroidery is in the center. Trace the template. Cut out the fabric. |

|
Using the same paper template, cut out the lining.
|
|
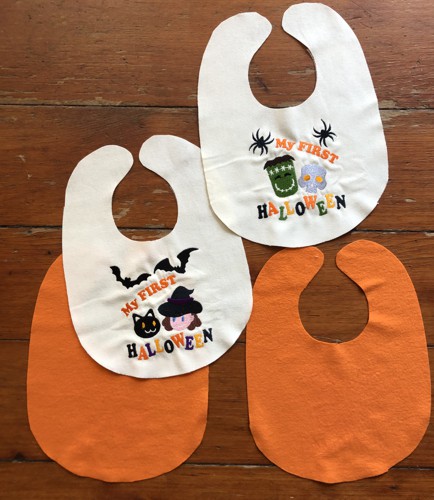
Here are the front and back parts for both bibs.
|
|
Assembly:
|
| You can assemble the bib in 2 ways - with and without bias tape. Both methods are described below. |
| Place the front and lining parts together right side to right side. Align and pin the edges. |
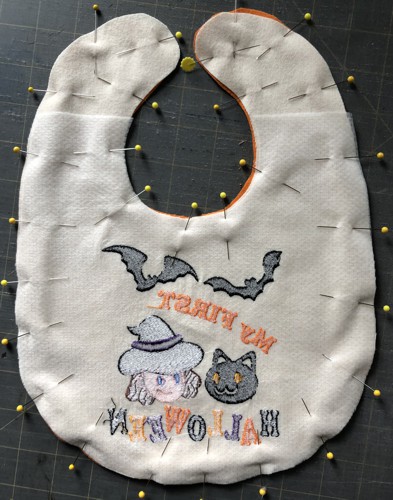
|
| Starting on a side edge, stitch along the edges with 1/4" seam allowance. Leave an opening of about 3" wide. |
|
Clip the concave curves and notch the convex curves:
|
|
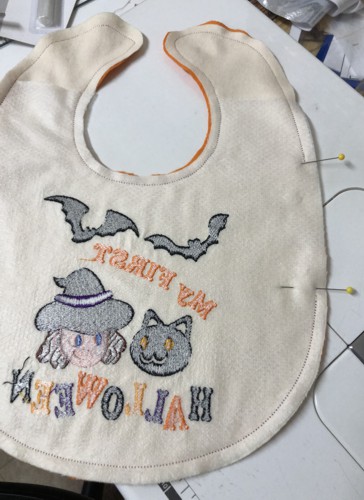
| Through the opening, turn the working piece out, straighten all seams. Press. |
|
Topstitch along the edges, 1/8" seam allowance. You can also make a decorative stitch along the edges, if your machine has this option.
Sew on small pieces of Velcro, or snaps to make a closure. If you use a button, sew a buttonhole and attach the button. |
|
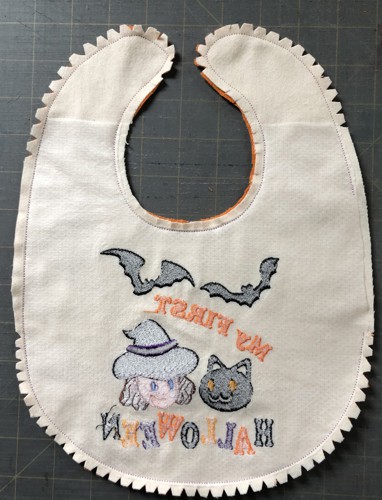
If you are going to use bias tape, position the front and lining together, back to back, align all edges. Stitch along the edges with seam allowance a little bit less than 1/4".
Finish the raw edges with the bias tape. |

|
| Have fun! |
|
|
|
Back to My First Halloween Set
|
Back to Projects Page
|


