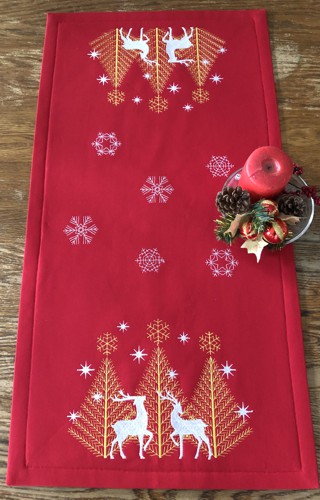
This small Holiday-themed table runner is quick and easy to make. You can use it to decorate your house for Christmas, or give it away as a unique gift.
This is a whole cloth tablerunner, which means that no quilting skills are required!
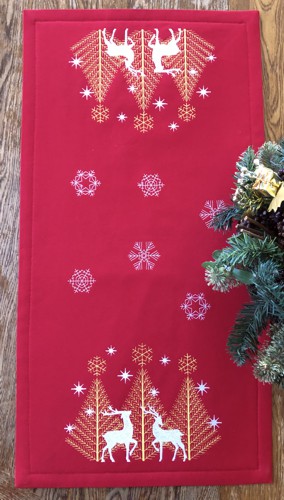
It uses designs from the Christmas Woods for the commercial hoop (8" x 12") and the smallest snowflakes from the Snowflake Set. The finished size of the tablerunner is 17" x 33", but you can make it longer or shorter if you wish.
|
|
You will need :
- embroidery threads either polyester or rayon - white and golden yellow;
- about of 1 yard of red (or blue, or green) duck cloth fabric;
- about 1/2 yard of red (or blue, or green) polyester craft felt;
- medium-weight cut-away embroidery stabilizer,
- quilter's ruler,
- rotary cutter or sharp scissors,
- chalk pencil;
- iron,
- #14-#16 universal needle and sewing thread of matching color.
|
Embroidery:
|
| Press the duck cloth. Using the ruler and chalk pencil, draw the margins of the tablerunner. Our margins were 17" x 33", but at least 3"- 4" should be left around the drawn margins. |
Mark the position of the embroidery: on the ends we used the Christmas Woods designs. In the center, we used the Snowflakes
If you have a printer and embroidery software, print-outs of the designs can be helpful. If you do not, you can cut out rectangles of the same size as the designs and arrange them on the fabric to determine the position of the embroidery. All designs should be within the marked margins, and the Christmas Woods designs should be centered on the ends.
Stabilize the chosen area. Hoop the fabric tightly and embroider the designs one by one. |

|
Sewing:
|
Cut away the excess stabilizer around the stitch-outs. Do not remove the stabilizer under the stitch-outs. Press the working piece. Trim it, leaving 1 1/2" around the drawn margins. Our piece was trimmed to 20" x 36".
|
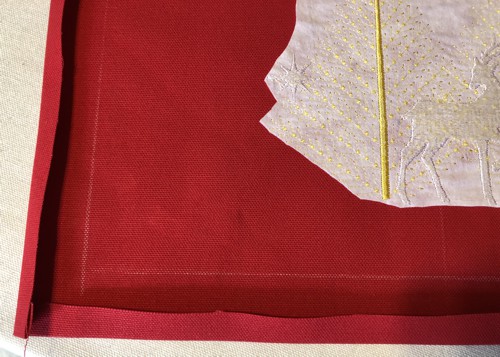
With the wrong side facing and working with one edge at a time, fold each edge 1/2" back and press.
|
|
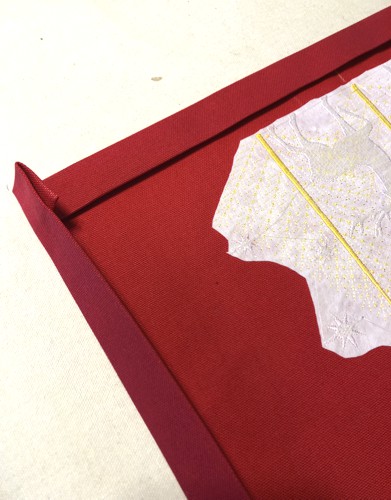
Fold again, now 1", and press.
|
|
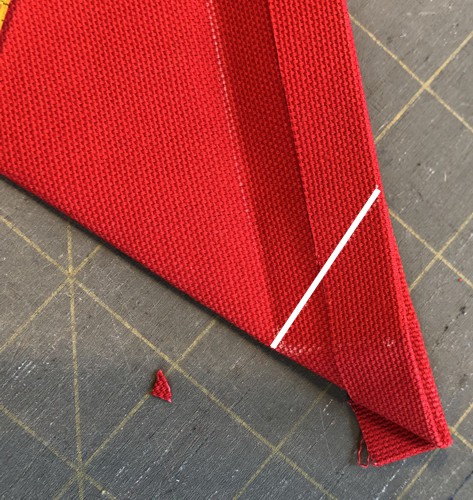
Working with one corner at a time, unfold the 1" fold, but leave the 1/2" as it is. Fold the working piece at a corner on the diagonal, align the edges.
|

|
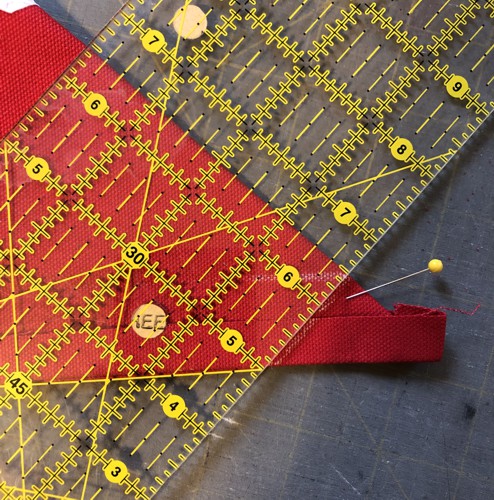
Using a quilter's ruler and a chalk pencil, place the ruler so that the 45 degrees marking goes along the folded edges. Draw a line.
|
|
Stitch along the marked line.
|
|
| Trim the corner, leaving 1/4" seam allowance. |
|
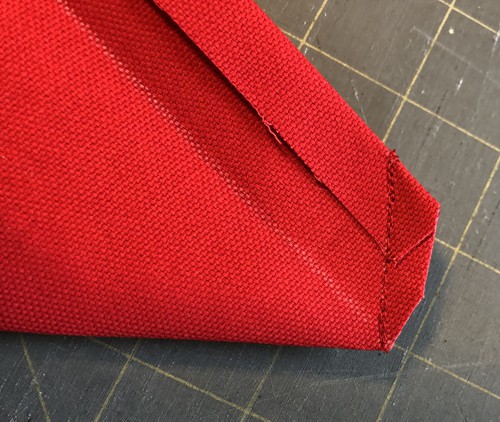
| Unfold the seam and press. Repeat for all corners. |
|
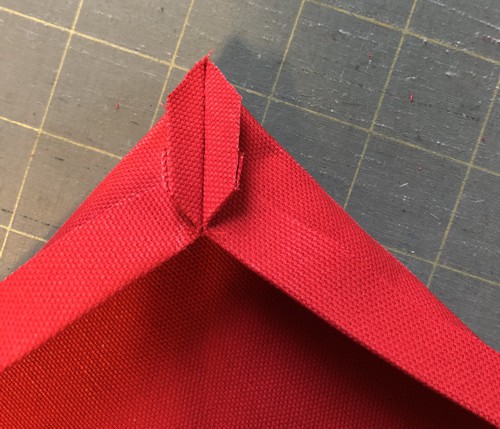
| Fold all the corners out. Press with heavy steam. |

|
Measure the top. Out of the felt, cut the lining 1/4" smaller than your tablerunner. Thus, for our tablerunner which measures 17" x 33", we cut the lining 16 3/4" x 32 3/4".
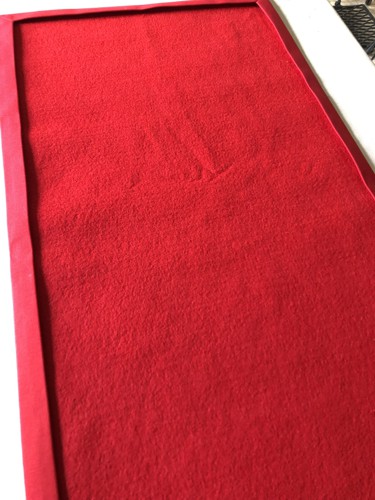
Insert the lining under the folded edges. Smooth the lining evenly with your hand. |
|
| Topstitch along the folded edges, seam allowance 1/8". You will need a #14-16 sewing needle, because you'll stitch through 3 layers of duck cloth and a layer of felt. |
| Have fun! |
|
|
|
Back to Christmas Woods and Snowflake Set.
|
Back to Projects Page
|


