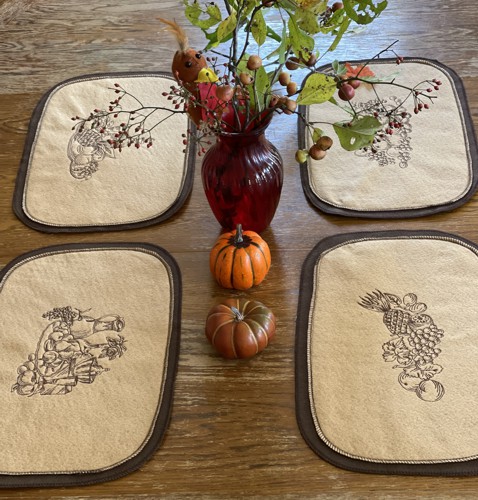
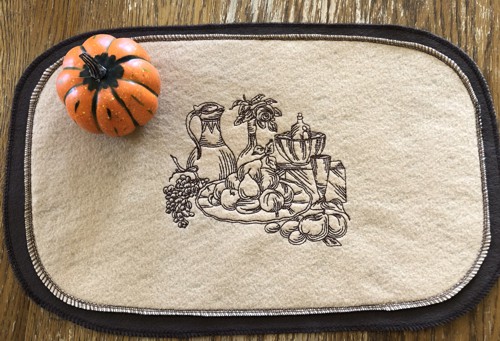
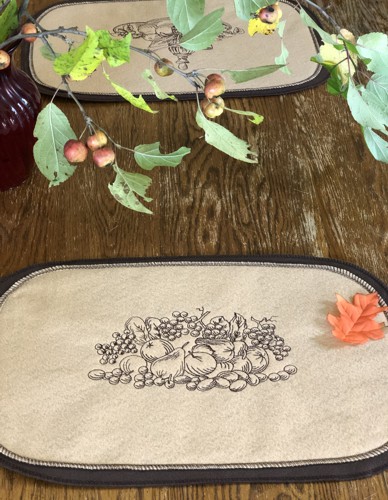
These felt placemats are very easy to make and make a cute addition to your dining room for the Fall season. We used the designs from the One-Color Fruit Set. The designs are available for the large hoop (5" x 7") and mega hoop (6" x 8"). We used the mega sizes.
The finished size of each placemat is 12" x 18".
|
|
You will need :
- embroidery threads either polyester or rayon - dark brown, or any other very dark color,
- 1/2 yard of 74" wide craft felt each: light camel and dark brown ,
- light-weight cut-away embroidery stabilizer,
- quilter's ruler,
- chalk pencil or removable fabric marker
- rotary cutter or scissors,
- #12 universal needle,
- matching sewing thread.
|
Cutting:
|
Cut the camel felt into 4 equal rectangles, about 18 1/2" x 16" (you will trim them later to the needed size, but for now this is needed for hooping).
Cut the brown felt into 4 equal rectangles measuring 12" x 18" each.
|
Embroidery:
|
Mark the position of the embroidery in the center of camel felt pieces.
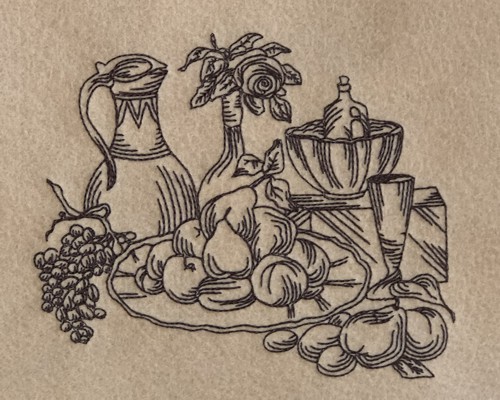
Stabilize the felt. Hoop the felt together with the stabilizer tightly. Upload the chosen files into the machine. Embroider the designs. |
|
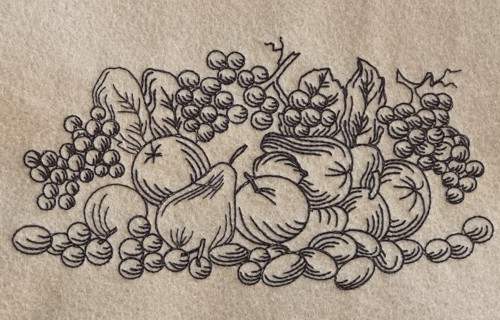
| Remove the stabilizer around the embroidery. Be careful not to cut through the stitches and fabric. |
|
Assembly:
|
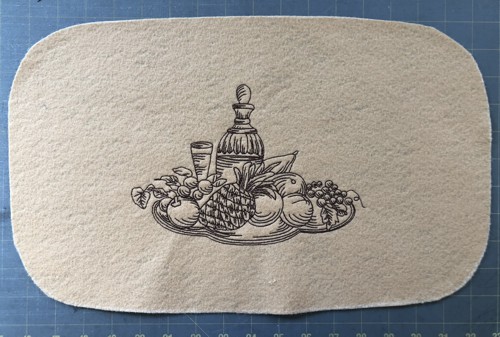
| Trim the working pieces to 11" x 17" rectangles. You can leave this shape, but if you like an oval shape more, use a plate and a chalk pencil or marker to round the corners. Cut them away. |
|
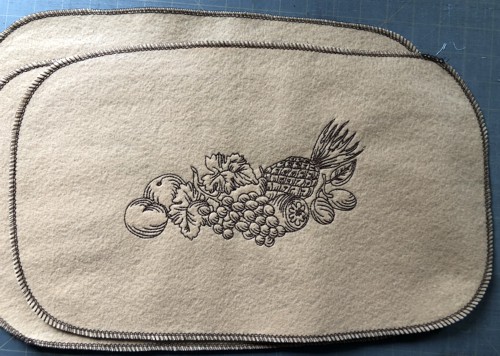
Finish the edges with zig-zag or blanket stitch, or any other decorative edge finish stitch from your machine.
|
|
Position the embroidered pieces on brown rectangles so that there are 1/2" margins. Round the corners, if needed.
|
|
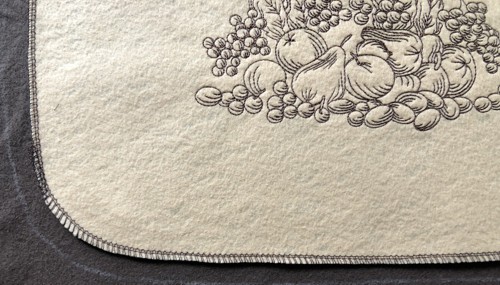
| Cut away the corners and finish the raw edge. |
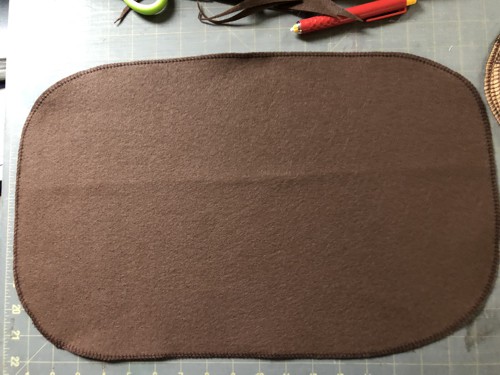
|
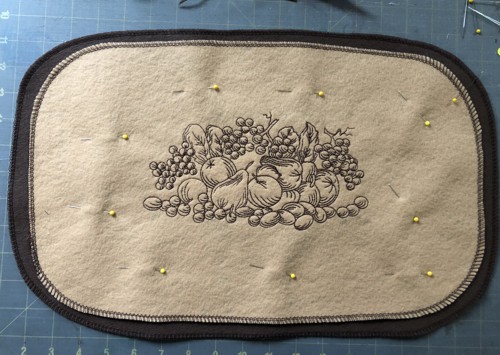
Position the embroidered piece over the brown piece. Pin together.
|
|
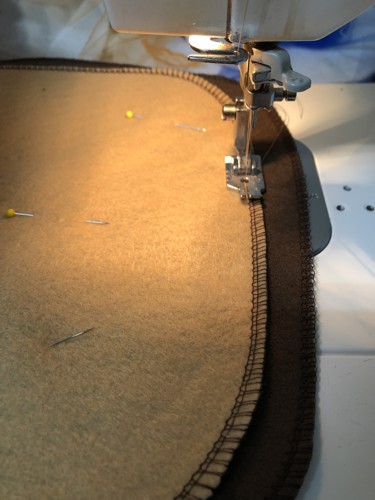
| Topstitch along the edges with 1/4" seam allowance. |
|
| And you are done! It's that easy! |
|
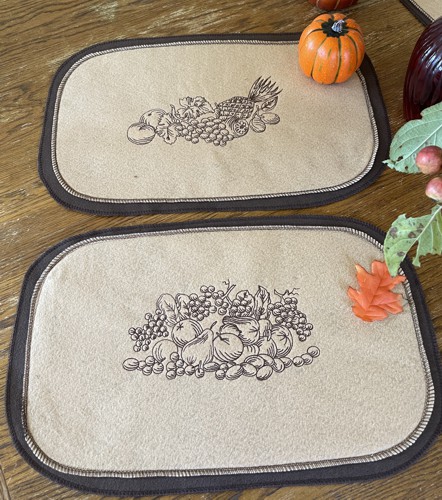
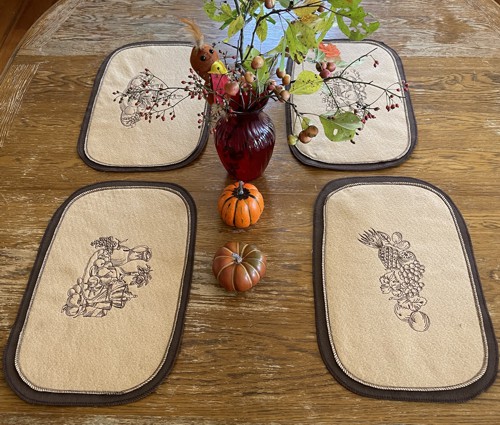
In this way you can make Christmas, winter-themed, Easter-themed, spring-themed, etc. placemats, using felt of different colors and different one-color embroidery. We have a large selection of one-colored designs in the Redwork section of the catalog!
|
|
| Press with heavy steam. Square the quilt. Finish the raw edges with the binding. |
|
| Have fun! |
|
|
|
Back to One-Color Fruit Set
|
Back to Projects Page
|
