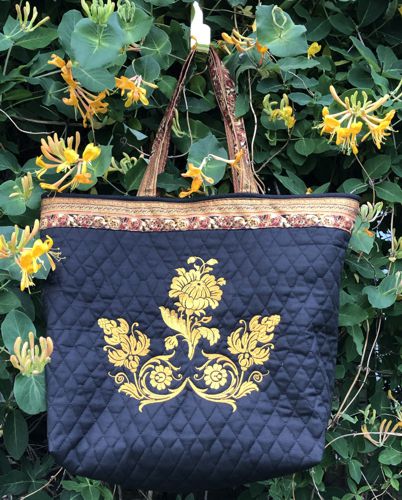
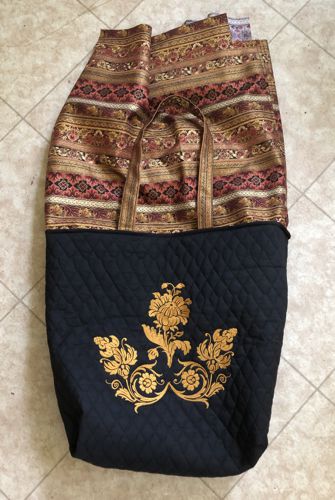
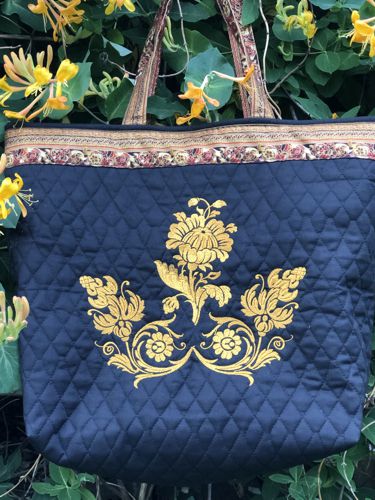
This elegant tote is super easy and quick to put together, thanks to its use of pre-quilted fabric.
We used designs from the Fairy Flower Vignette Set.
The finished size of the bag is about 17" wide x 13" high x 5" deep.
|
|
You will need :
- embroidery threads either polyester or rayon - the choice of colors is yours,
- about 1/2 yard of solid-colored pre-quilted fabric (we used black),
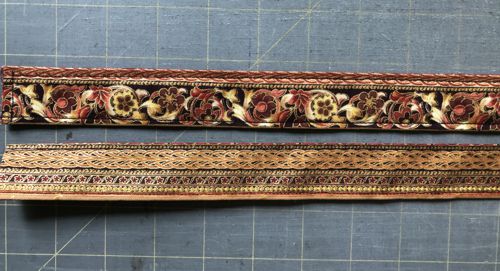
- about 3/4 yard of patterned fabric for the lining, pocket and handles,
- a piece of contrast fabric for the pocket, about 9" x 18"
- light-weight cut-away embroidery stabilizer,
- iron-on fusible interfacing,
- quilter's ruler,
- rotary cutter,
- iron,
- chalk pencil,
- #12 universal needle,
- dual strength sewing thread of matching color.
|
Cutting:
|
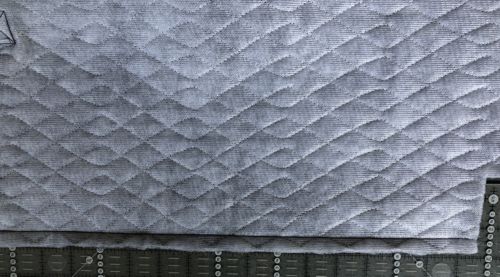
Out of pre-quilted fabric, cut a rectangle 18" wide and 36" long.
Out of fabric for the lining, cut
- 2 rectangles 18 1/2" wide and 18" long for the lining,
- 2 strips measuring 2 1/2" x 26" each,
- optional: 1 strip 2 1/2" wide and 38" long for decorating the upper edge of the bag.
Out of sewing intefacing, cut 2 strips measuring 1" x 26" each.
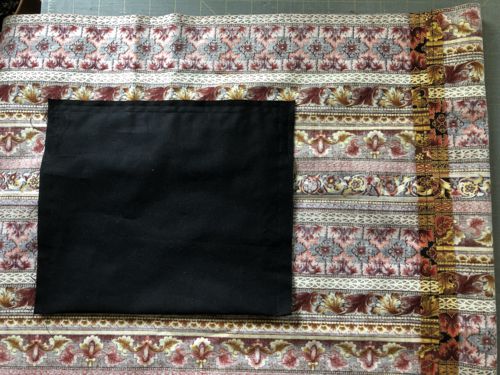
Out of fabric for the pocket, cut a piece measuring 9" x 18".
|
Embroidery:
|
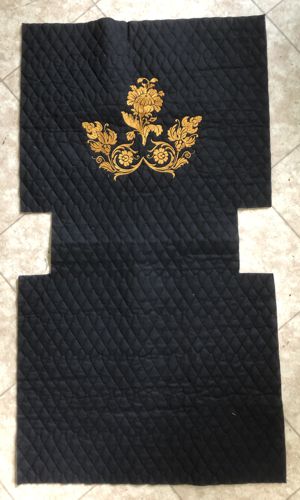
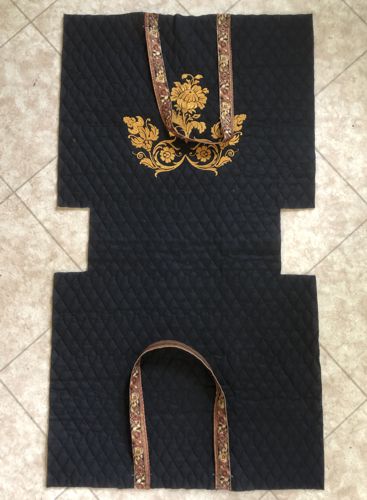
Fold the pre-quilted piece in half widthwise, align all edges, lightly press to mark the bottom line. Mark the position of the embroidery, approximately 5" from the bottom line, and equal distance from the sides.
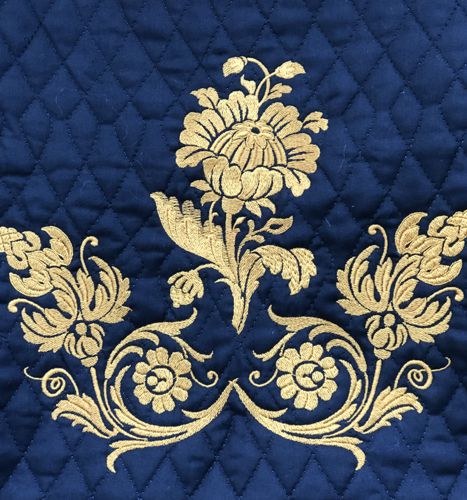
Stabilize the area. Upload the files from the Fairy Flower Vignette Set to your embroidery machine. There are 3 files in the set, we used only 2.
Make any composition you like. Decide on the color of the embroidery. We chose a golden threadS because our lining fabric is black, red and gold.
Embroider the files. |
|
The Outer Bag:
|
| Note: seam allowance is 1/2". |
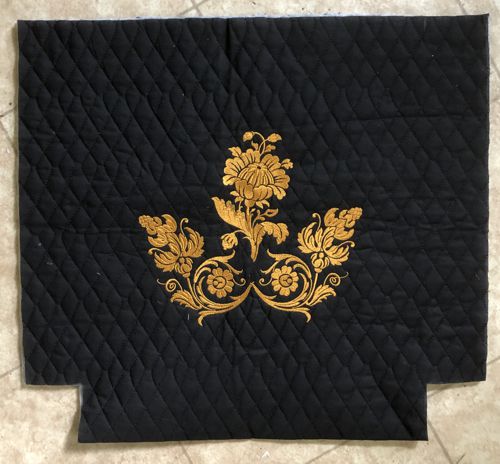
| Fold the working piece widthwise in half, align all edges. On the lower folded edge, cut out 2 1/2" x 2 1/2" squares at the corners. |
|
This is how the working piece should look like after the corners are cut out.
|
|
Handles:
|
With back sides together, fold the strips lengthwise inside. Press.
Place the interfacing strip between the folds close to the crease. Press to stick the interfacing.
Fold the raw edges inside so they meet at the crease. Press.
Topstitch 1/8" from the long edges. |
|
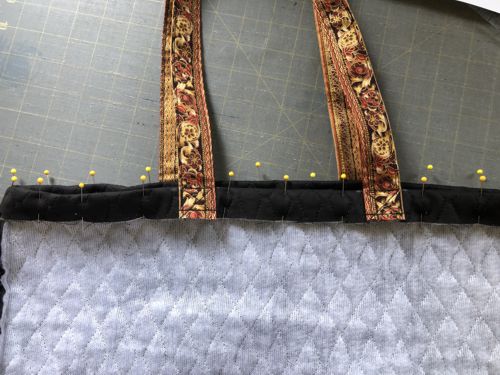
Working with one handle at a time, pin the short ends to the upper edge of the outer bag, approximately 6" from the sides.
|

|
Measure 1" from the edge along the handle, mark. Topstitch the handle end in place.
|
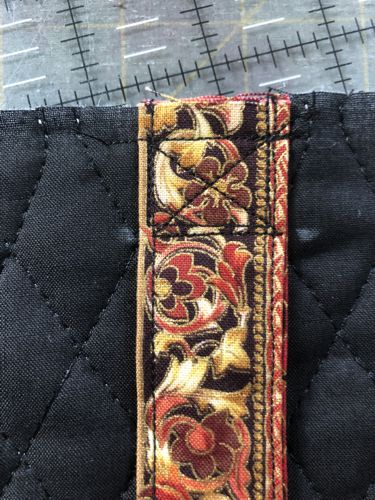
|
| Repeat for the other handle end. |
|
| In the same way attach the other handle. |
|
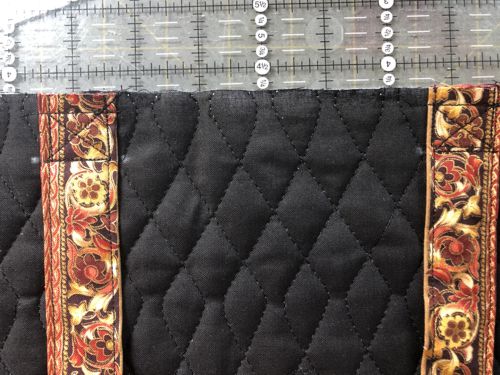
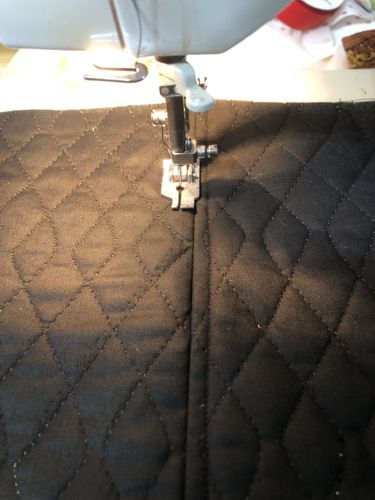
| With right sides together, fold the working piece in half, align the upper and side edges. Pin. Stitch the sides. |
|
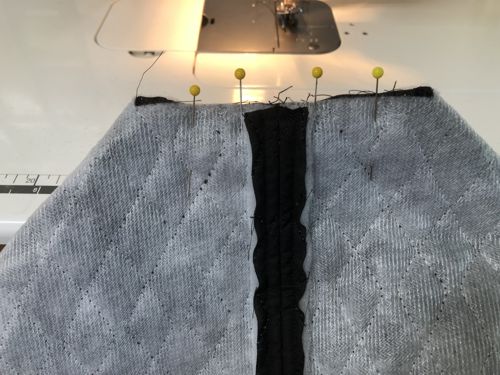
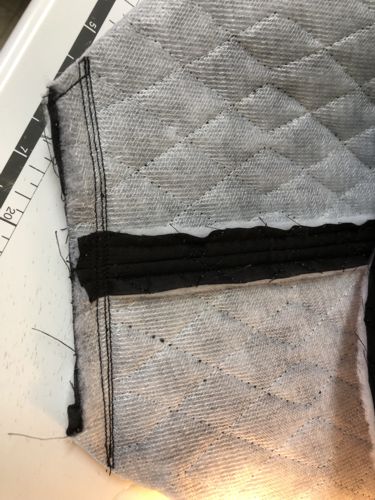
| Press the seams open. Topstitch 1/4" on both sides of the seam. |
|
|
|
|
| To shape the bottom, fold the working piece to align the side seam and the central bottom line. Stitch twice, seam allowance 1/2". Repeat for the other bottom corner. |
|
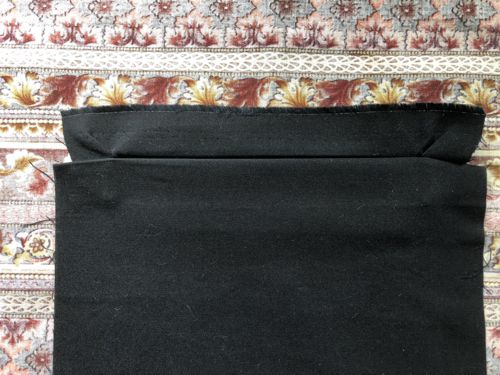
| Fold the upper edge of the bag 1" back. Pin. Topstitch 1/8"-1/4" from the upper edge. |
|
| The Lining with a Welt Pocket: |
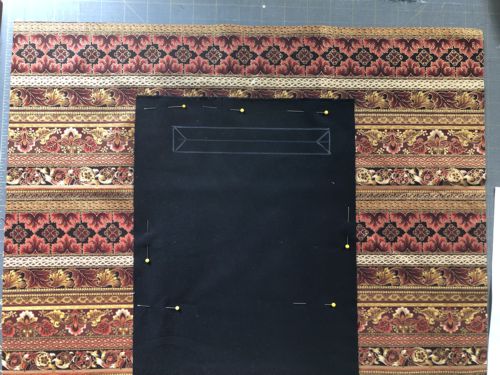
With right sides together, pin the the pocket 9" x 18" piece to one of the lining panels on equal distance from the sides and approximately 3" from the upper edge.
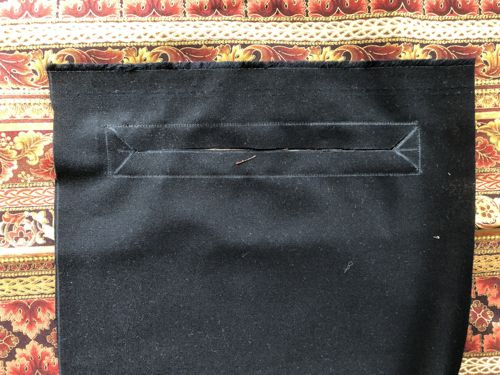
With the chalk pencil and ruler, draw a line 1" from the upper edge, starting and stopping 1" from the sides. Draw a parallel line 1/2" from the first, and draw the third parallel line 1/2" from the second. Connect the ends of the lines with short vertical lines. |
|
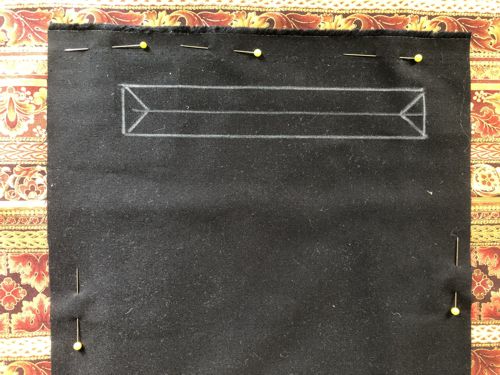
| Measure 1/2" from the ends of the middle line, mark. Draw lines to the corners. |
|
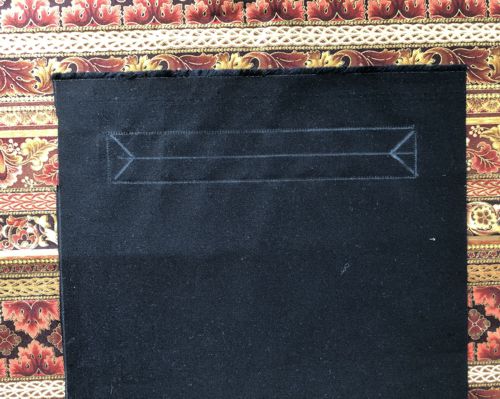
| Stitch along the first and third parallel lines. |
|
| Cut through the second line from one top of the triangle to the top of the other triangle. Then cut through along the triangle sides. |
|
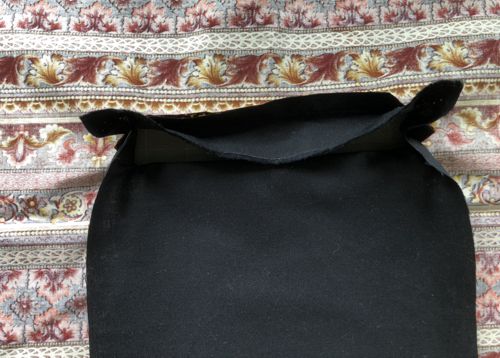
| Turn the pocket through the opening onto the wrong side. |
|
| Press. |
|
Fold the pocket and align the lower edge with the upper edge. Pin.
Stitch along the edges. Stitch the upper edge to the lining. |
|
| On the right side, topstitch along the short ends of the welt. |

|
There are many instructions on how to sew welt pockets on the Internet. You might like some videos at
https://www.youtube.com/watch?v=6MOuOLkLqQM , or
https://www.youtube.com/watch?v=GUUHIcpG71g , or
https://www.youtube.com/watch?v=DzryycrhTYY |
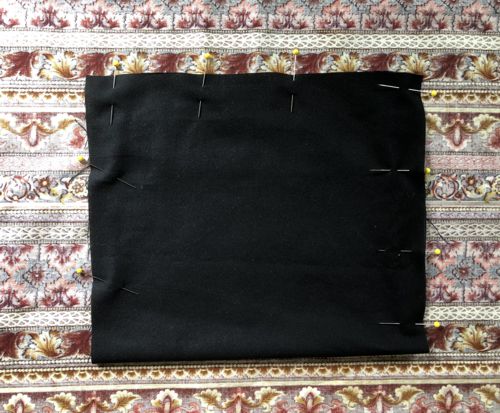
| Align all edges of the lining pieces. Pin and sew the sides. Open and press seam allowance. Topstitch 1/4" on each side of the seam. |
|
| With right sides together, pull the lining over the outer bag. Align the side seams. Align and pin along the upper edges. |
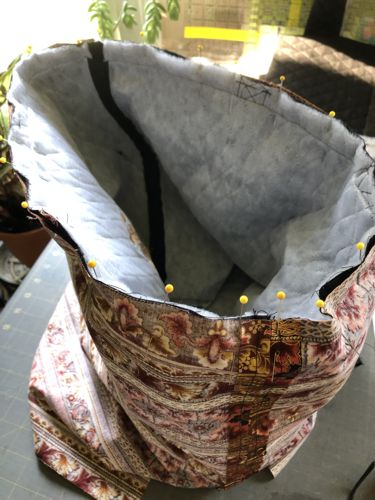
|
| Stitch. Unfold the lining. |
|
| Press the bottom edges of the lining approximately 1/2" inside. Topstitch. To shape the bottom, fold the lining to align the side seam and the central bottom line. Pin. Measure 1 1/2" from the corner along the bottom seam. Draw a line perpendicular to the seam. Cut along the line. Fold the edges 1/4" - 1/2" inside. Press. Stitch. Repeat for the other bottom corner. |
|
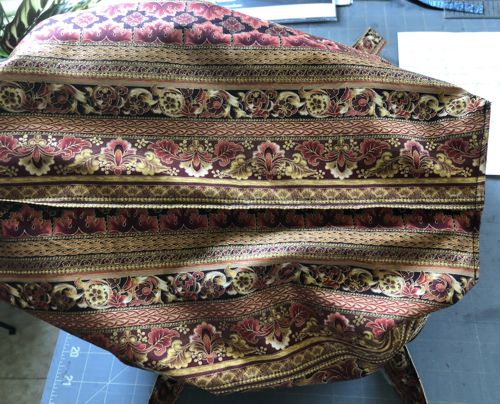
| Tuck the lining inside. |
Optional: Fold the long edges of the 2 1/2" x 38" strip 1/4" to the wrong side and press.
Pin to the upper edge of the bag. Topstitch in place. |
| Have fun! |
|
|
|
Back to Fairy Flower Vignette Set
|
Back to Projects Page
|


