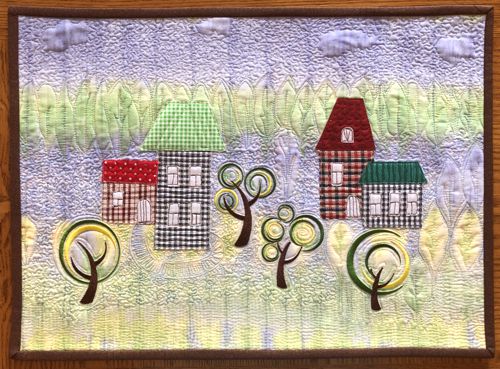
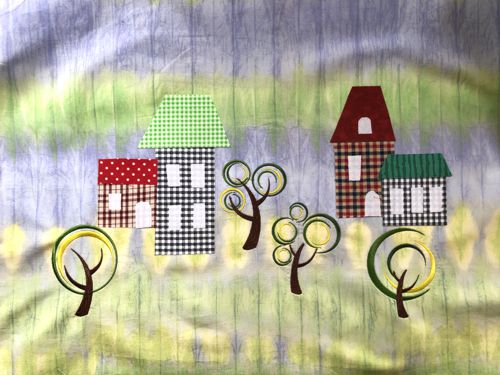
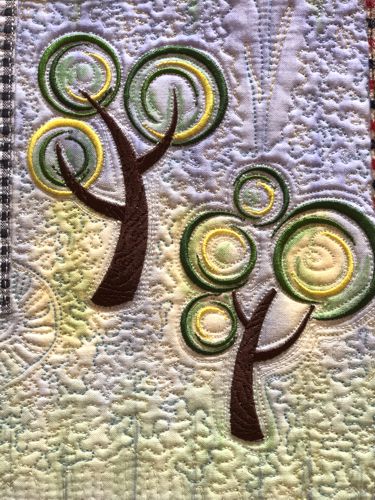
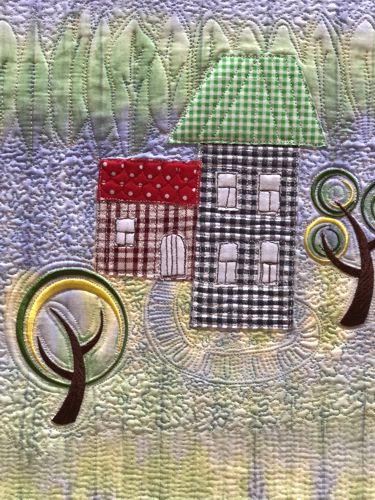
This small ute wall quilt features raw applique houses and embroidered trees. The embroidery designs used are from the Art Nouveau Crescent Tree Set.
The finished size of the tablerunner is about 14 1/2" x 20".
|
|
You will need :
- embroidery threads either polyester or rayon - colors to your taste,
- fabric for the background, any neutral or pale green, pale blue, very light yellow;
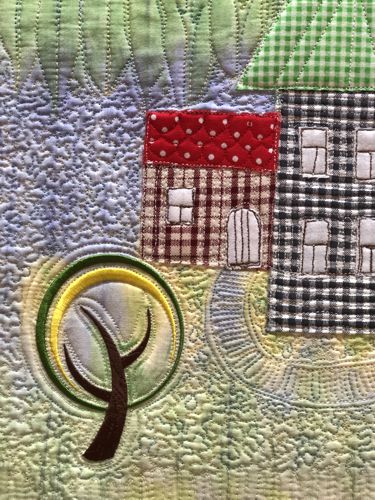
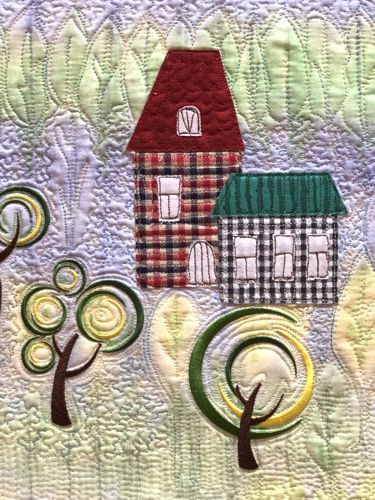
- scraps of gingham fabrics for the houses;
- light-weight cut-away embroidery stabilizer;
- fabric for the backing;
- batting;
- Steam-a-Seam fusible mesh, or any similar product;
- quilter's ruler;
- rotary cutter, or a pair of scissors;
- iron;
- ironing spray starch (optional);
- #12 universal needle,
- #12-#14 quilting needle
- paper and graph pencil or marker,
- embroidery soft and printer (optional).
|
Sketch:
|
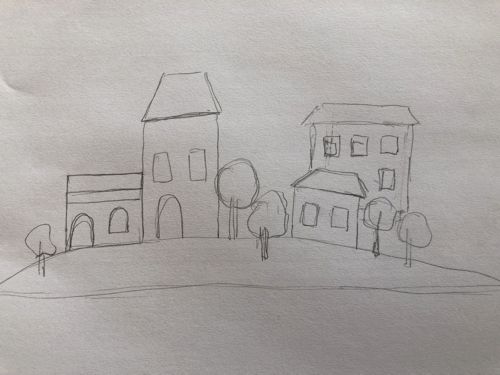
On a piece of paper make a sketch of your future quilt. You do not need to be an artist, just make a quick sketch where you want to place the houses and the trees.
The houses are supposed to be a raw applique, and the trees should be embroidered.
|
|
Cutting:
|
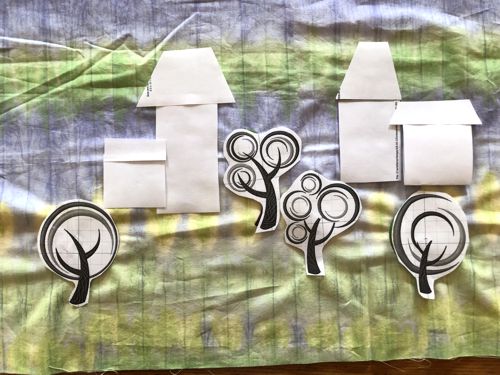
Now we need to transfer the sketch to our background. If you have a printer and embroidery software, print-outs of the designs can be helpful. If you do not, you can cut out rectangles of the same size as the designs and arrange them on the fabric to determine the position of the embroidery.
For the houses, cut out squares, rectangles, and trapezoids (for roofs). Our square houses are 2" x 2" and 2 1/2" x 2 1/2", the rectangle houses are 2" x 3" and 2" x 4". The roofs are a little wider than the houses.
|
|
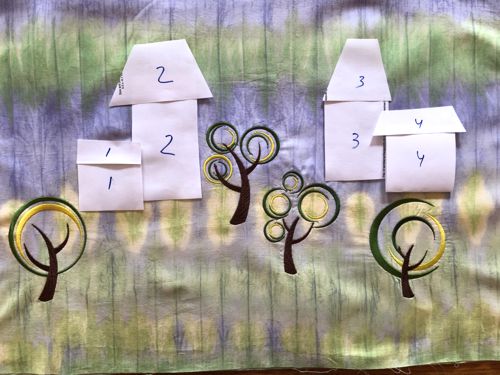
Write numbers on the houses and their roofs. Remove the house templates for the time being and set them aside. Pin the tree templates to the background.
|
Embroidery:
|
Stabilize the area for the first stitch-out. Hoop the fabric tightly, remove a tree template and embroider the design. Repeat for the remaining trees.
Return the templates of the houses in place. You might need to correct the size or the placement of the houses.
|
|
Starch the scraps with ironing spray, press them. Cut each part of the houses.
Remove one side of the protective paper on Steam-a-Seam2 film, place the fabric parts onto it. Cut out.
Remove the protective paper on the other side of the film. Place the parts on the working piece. |
Remove one side of the protective paper on a scrap of Steam-a-Seam2 film and place a scrap of white or pale yellow/blue fabric. With scissors cut out small rectangles for the windows and doors. Remove theprotective paper on the other side of the film. Place the parts on the houses.
When you're satisfied with the composition, press the applique in place. |
|
Quilting and Finishing
|
Now place the backing on a flat surface (table) face down. Cover with batting. Spread your working piece over it.
Pin all layers together.
We quilted in a free-motion style all over the quilt, through the applique and around the embroidery. |
|
| Press with heavy steam. Square the quilt. Finish the raw edges with the binding. |
|
| Have fun! |
|
|
|
Back to Art Nouveau Crescent Tree Set.
|
Back to Projects Page
|


