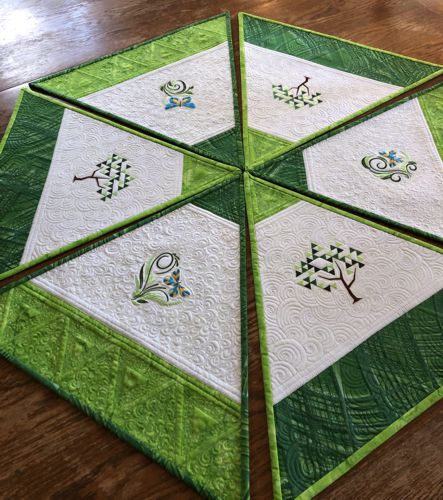
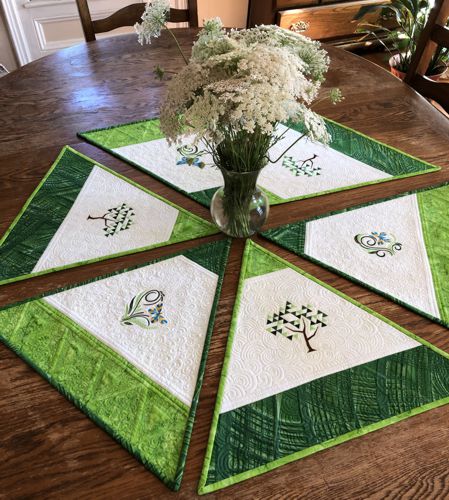
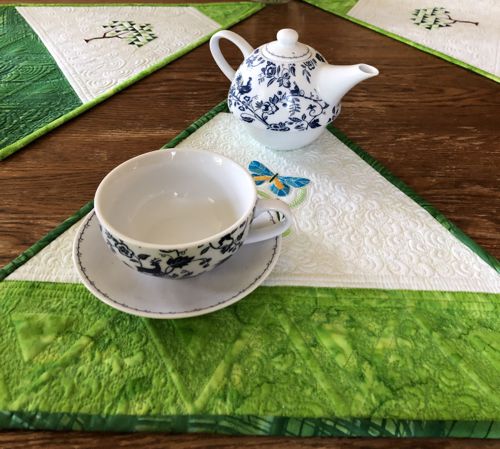
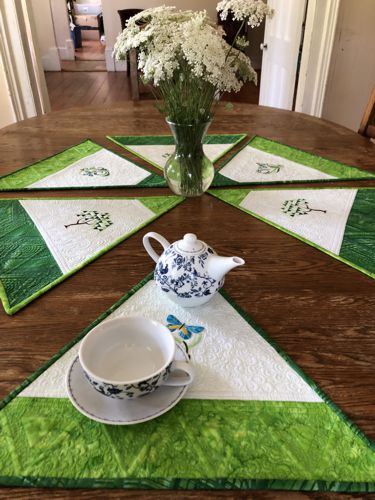
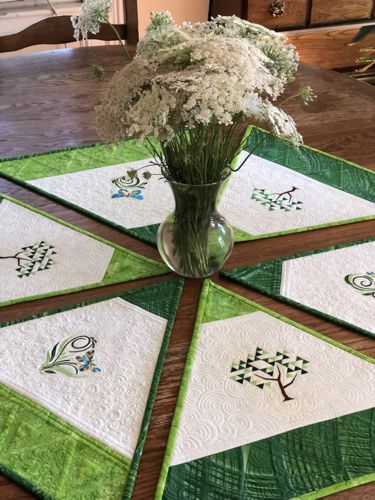
This unique concept is for a table topper that splits up into 6 triangular place mats.
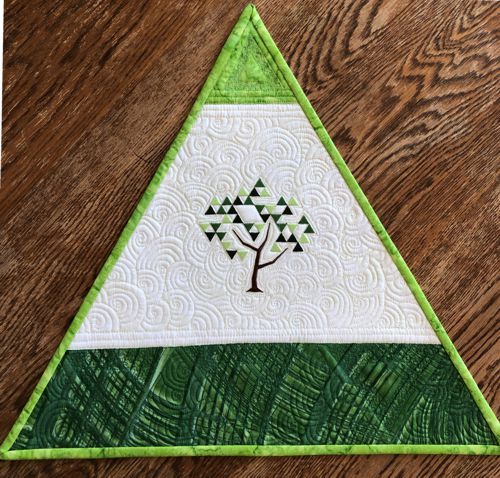
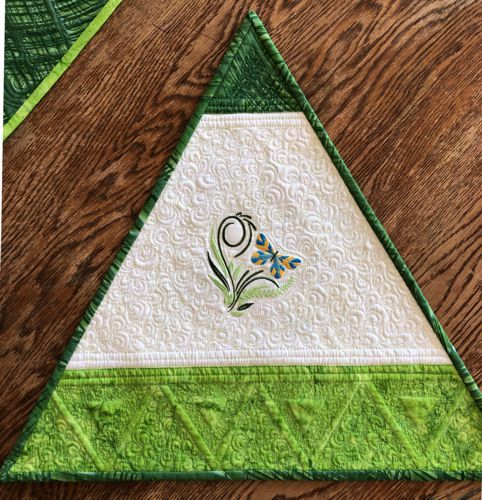
It features designs from the Abstract Triangle Mosaic Tree Set and Butterflies in the Spring Grass.
The finished size of each placemat is about 19 1/2" x 17 1/2". The table topper is about 35" wide.
|
|
You will need :
- embroidery threads either polyester or rayon;
- 1/2 yard each of light green and dark green fabric;
- about 1 yard of cream fabric for the central part;
- light-weight cut-away embroidery stabilizer,
- fabric for the backing,
- batting,
- quilter's ruler,
- rotary cutter,
- iron,
- #12 universal needle,
- #12-#14 quilting needle.
|
|
Cutting:
|
Out of the cream fabric, cut 2 strips 10 1/2" x 40 1/2",
Out of each green fabric, cut 2 strips measuring 4 1/2" x 40 1/2";
Use the remaining green fabrics for the binding.
|
|
Assembly:
|
| Note: seam allowance is 1/4", press the seam immediately after you make it. |
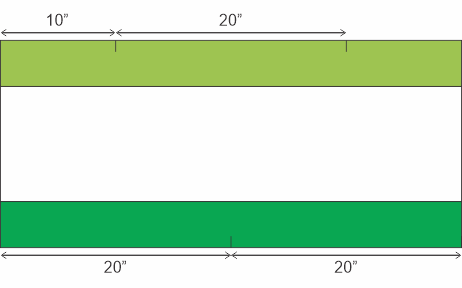
Sew a light green strip to the top edge of the cream strip Sew a dark green strip to the bottom edge of the cream strip. Repeat for the remaining set of strips.
|

|
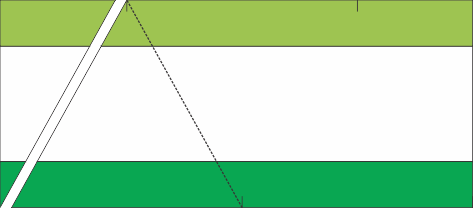
Press the seams. Cut one of the short edges even. Place one of the pieces on the working table, face up with the dark green strip at the bottom. Using either pins as markers, or chalk pencil, measure 20" along the bottom edge, mark, measure another 20", mark.
Along the upper, light green, edge, measure 10", mark. Measure 20", mark.
|
|
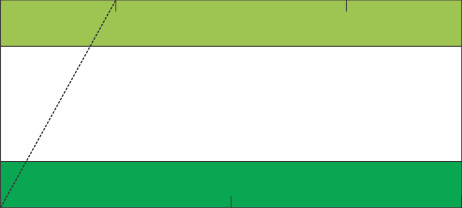
If you use a rotary cutter, connect the 10" mark on the upper edge and the left lower corner on the working piece with the ruler, and cut along it. If you use scissors, draw a line with the chalk pencil, then cut along the line.
|
|
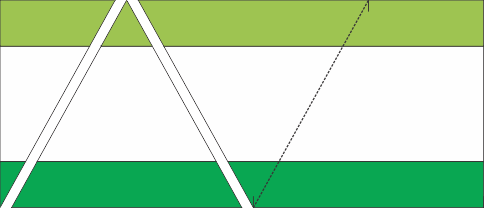
Connect the 10" mark on the upper edge and the first 20" mark on the lower edge. Cut along the line.
|
|
| Connect the 20" mark on the upper edge with the first 20" mark on the lower edge. Cut along the line. |
|
| Connect the 20" mark on the upper edge with the second 20" mark on the lower edge. Cut along the line. |

|
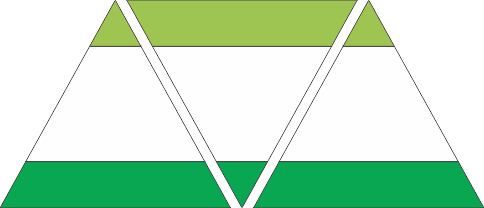
You get 3 triangles - 2 with the dark bottom and 1 with the light bottom.
|
|
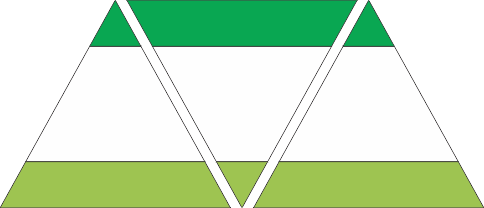
Now you need to repeat the procedure with the remaining strip, but be sure to place the lighter strip as the bottom strip and the darker green strip to be the upper strip. Then you'll get 2 triangles with the light botttom and 1 triamgle with the dark bottom.
All in all there are 6 triangles - 3 with a light green strip and 3 with a dark green bottom strip. |
|
Embroidery:
|
Mark the position of the embroidery on the central part. For the triangles with the dark green bottom line, we used the Abstract Triangle Mosaic Tree designs, for the ones with the light green bottom line, we used the Butterflies in the Spring Grass designs.
Stabilize the chosen area. Hoop the fabric tightly and embroider the designs one by one.
|
|
|
Quilting and Finishing
|
Now place the backing on a flat surface (table) face down. Cover with batting. Spread your working piece over it.
Pin all layers together.
We quilted in a free-motion style all over the mats. |
|
| Press with heavy steam. Even the raw edges and finish them with the binding. |
|
| Have fun! |
|
|
|
Back to Abstract Triangle Mosaic Tree Set and Butterflies in the Spring Grass.
|
Back to Projects Page
|


