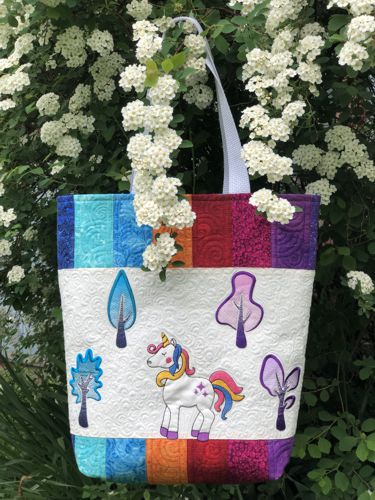
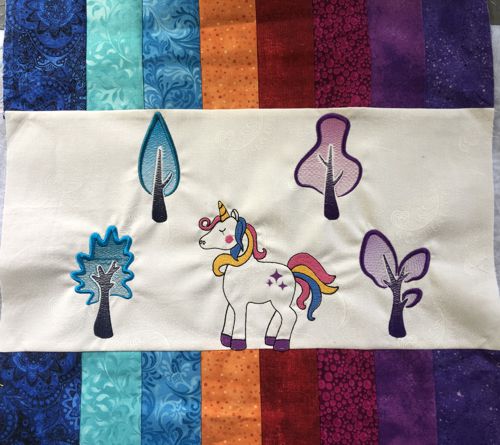
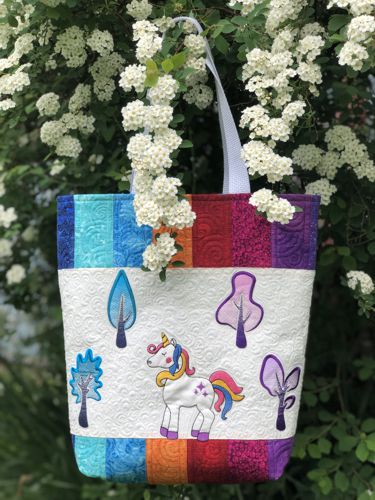
This small tote bag is a birthday gift for a young girl who loves unicorns. The designs are from the Unicorn Set and Art Nouveau Tree Set.
The finished size of the tote is about 14" W x 13" H x 4" D.
|
|
You will need :
- embroidery threads either polyester or rayon - the colors are up to you, we chose threads to match the colors of the fabrics;
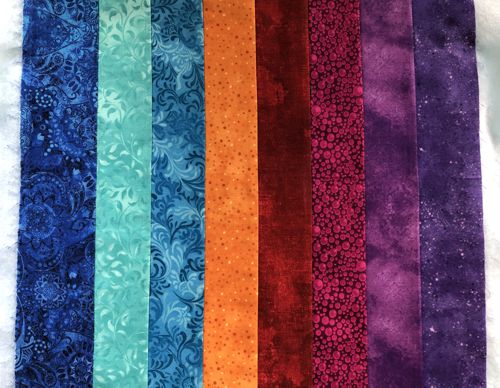
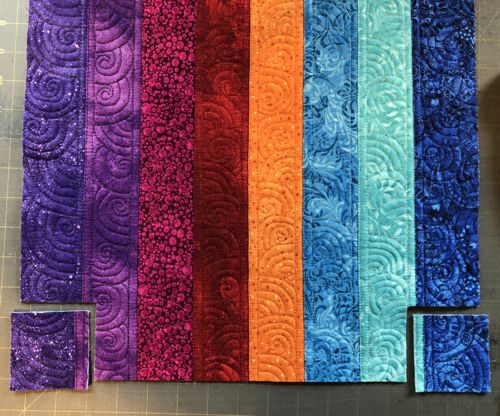
- 2 1/2" strips the length of the width of the fabric, of 8 colors, (pre-cut strips from Jelly Rolls are ideal for the project);
- a piece of light-colored fabric for the front part with embroidery;
- about 3/4 yard of fabric for the backing, pocket and bindings;
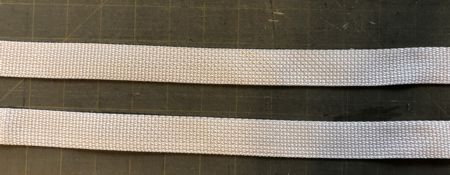
- about 42" of 1" wide light-weight polypropylene webbing for the handles;
- light-weight cut-away embroidery stabilizer;
- batting;
- quilter's ruler;
- rotary cutter;
- iron;
- #12 universal needle;
- #12-#14 quilting needle.
|
Cutting:
|
If you do not have a Jelly Roll, cut your fabrics into 8 strips 2 1/2" wide and the length of the width of the fabric.
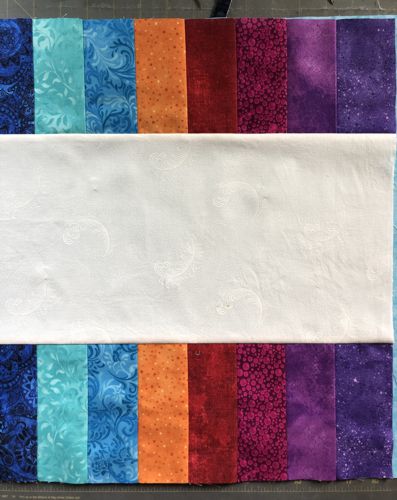
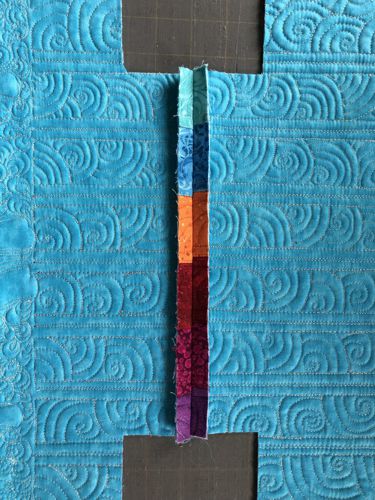
Sew all strips into a panel with seam allowance 1/4". Press the seams.
Cut this panel into:
- 16 1/2" x 4 1/2" strip,
- 16 1/2" x 5 1/2" strip and
- 16 1/2" x 18" panel.
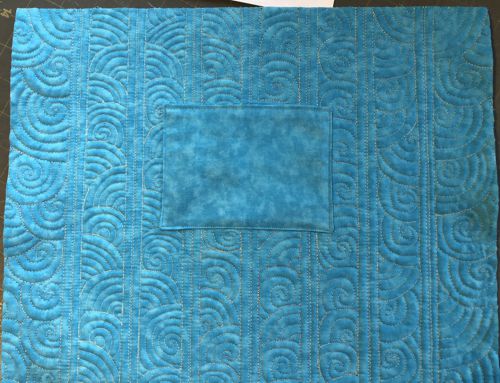
Out of light-colored fabric, cut a strip measuring 8 1/2" x 16 1/2".
Out of fabric for the backing, cut
- 2 pieces measuring 18" x 20" each,
- 2 pieces measuring 5 1/2" x 6 1/2" for the pocket,
- 1 strip measuring 1 x 16",
- 2 strips measuring 1 3/4" x 18",
- 2 strips measuring 1 3/4" x 6" and
- 1 strip 2 1/2" wide and about 32"-33" long.
|
|
Sewing the Panels:
|
| The 16 1/2" x 18" part is used for the back panel. |
|
Sew the front panel by attaching the 4 1/2" strip to the top, and 5 1/2" strip to the bottom of the light-colored 8 1/2" x 16 1/2" strip.
|
|
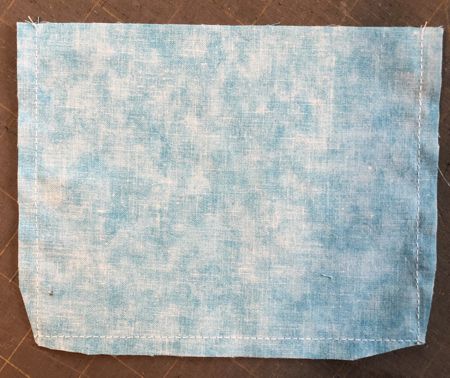
| Pocket: |
| Place the 5 1/2" x 6 1/2" pieces face to face. Align all edges. Sew along 3 sides. Trim the corners. |
|
Tirn the pocket right side out. Press. Tuck the unfinished edges about 1/2" in. Press. Topstitch.
Set aside for the time being. |
Embroidery:
|
Mark the position of the embroidery on the light-colored part. If you have a printer and embroidery software, print-outs of the designs can be helpful. If you do not, you can cut out rectangles of the same size as the designs and arrange them on the fabric to determine the position of the embroidery. Select the threads.
Stabilize the chosen area. Hoop the fabric tightly and embroider the designs one by one.
|
|
Quilting:
|
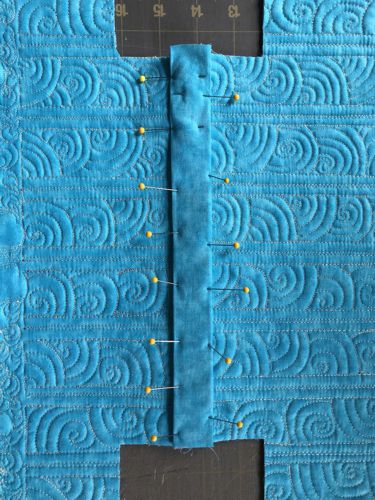
Now place each backing piece on a flat surface (table) face down. Cover with batting. Spread your panels over them.
Pin all layers together.
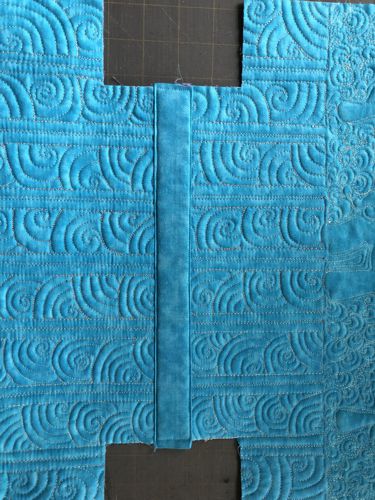
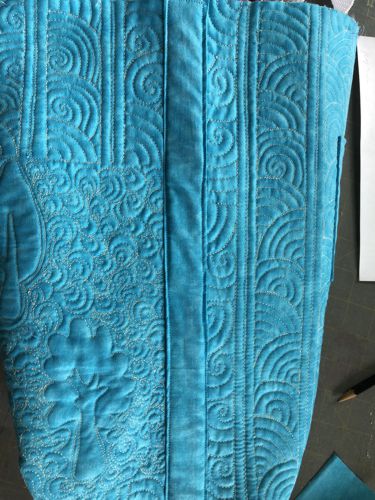
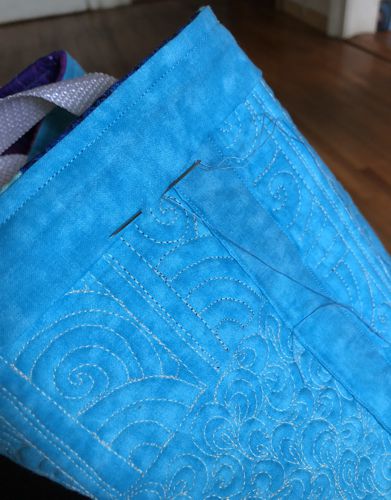
We quilted in a free-motion style all over the panels. |
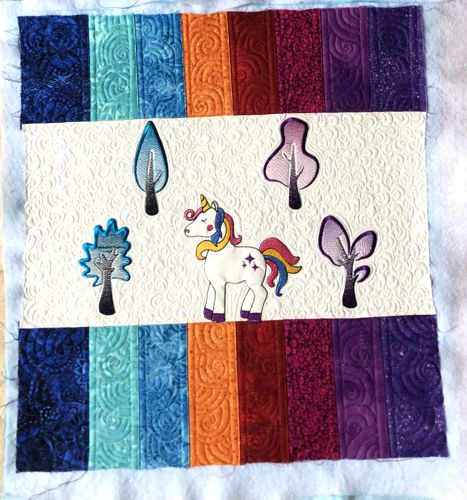
The front panel. |
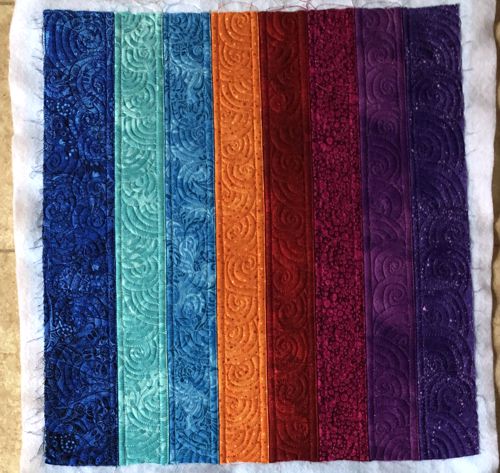
The back panel.
|
| Press with heavy steam. Square the panels. Check that they are of the same size. |
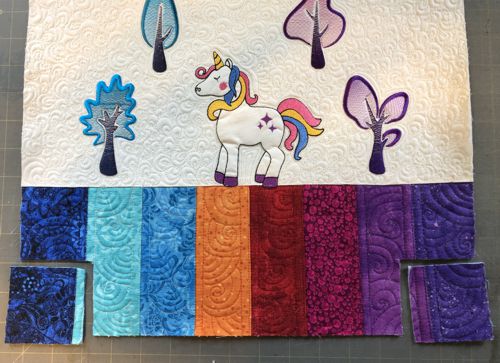
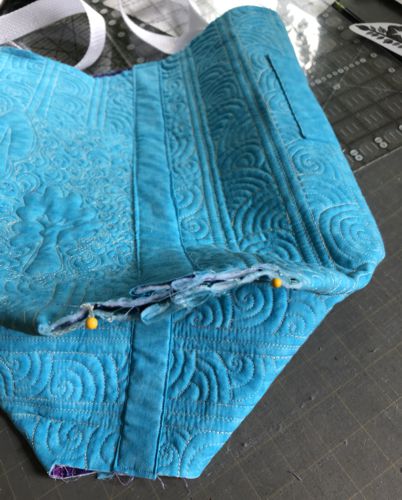
| Assembly: |
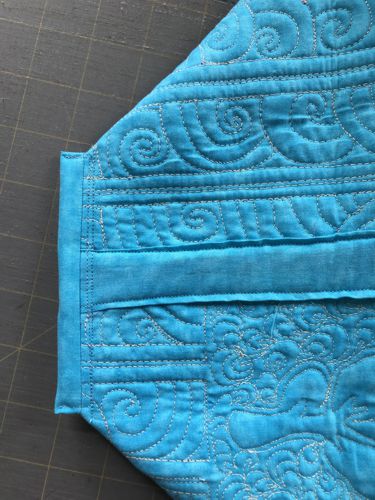
| On the lower edge of both panels, cut out 2 1/2" x 2 1/2" squares at the corners. |
|
|
| Place the pocket on the back panel 3" from the upper edge and equal distance from the sides. Pin. |
| Stitch the pocket in place along the side and lower edges. |
|
| Cut the webbing into 2 equal strips, each about 20" - 21" long. |
|
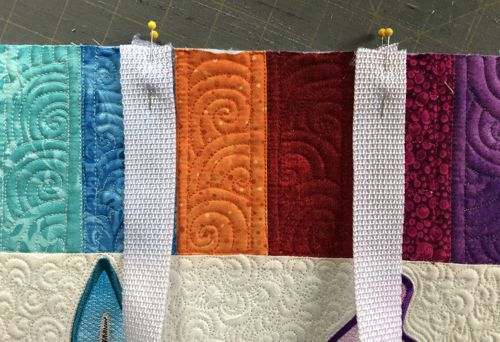
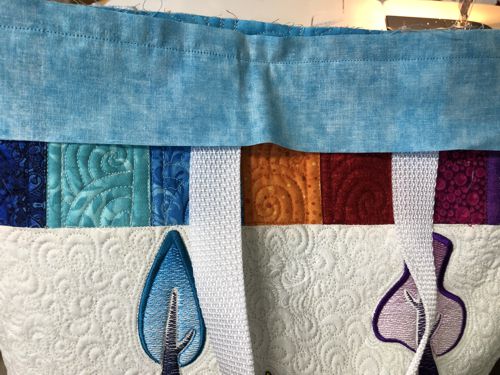
Pin the ends of each handle to the upper edge of the panels on equal diatance from each side.
Stitch in place with seam allowance 1/4". |
|
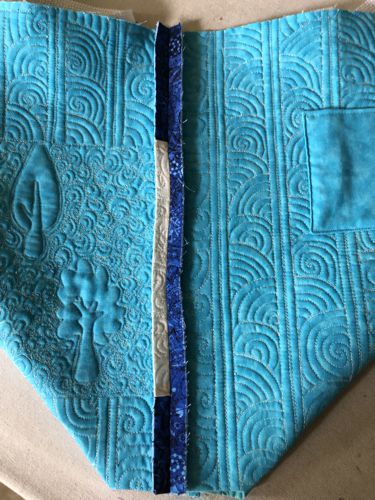
| Place the panels face to face, align all edges. Pin the bottoms. Stitch together with seam allowance 1/2". Press the seam open. |
|
| To finish the seam, press the long sides of the 1 3/4" x 16" strip, 1/4" back. Pin the strip over the seam. Cut the protruding short edges. |
|
| Topstitch along each side close to the edges. |
|
| Fold the panels, face inside, align the side edges. Stitch one side, seam allowance 1/2". Press the seam open. |
|
| Finish the raw edges in the same way as described above. Repeat for the other side. |
|
Fold the bottom of the bag so that the bottom and the side seams align. Pin.
Stitch. Seam allowance 1/2". |
|
| Finish the raw edges with the binding 1 3/4" x 6" strips. |
|
| Fold a short edge of the 2 1/2" strip. Starting with the finished edge, pin the strip along the upper edge of the tote, right side to right side. overlap with the finished edge. Cut away the excess length. |
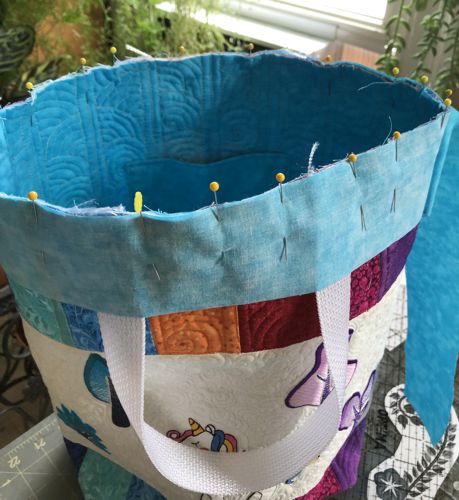
|
| Stitch seam allowance 1/2". |
|
Fold the strip back. Turn the tote wrong side out. Press the upper edge. Topstitch 1/4" from the edge.
Fold the lower edge 1/2" to the wrong side. Press. Stitch by hand in place, or machine stitch. |
|
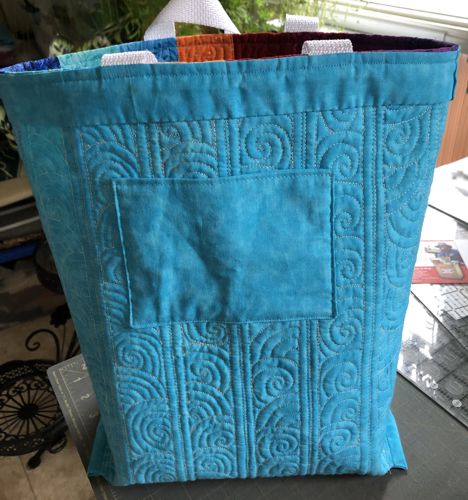
| The finished tote bag from the wrong side. |
|
| Have fun! |
|
|
|
Back to Unicorn Set or Art Nouveau Tree Set.
|
Back to Projects Page
|


