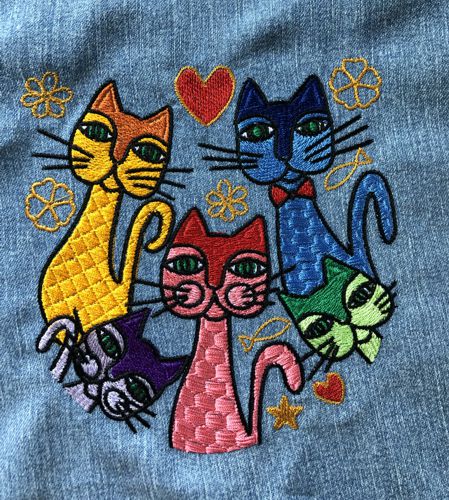
Here are some super easy upcycling ideas using the Whimsical Cat Set.
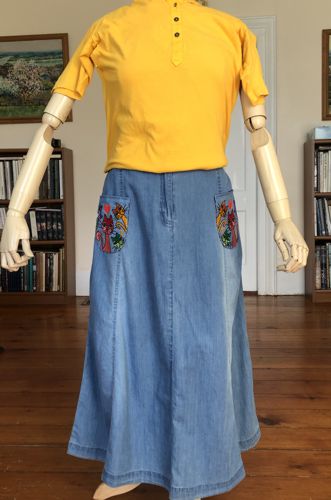
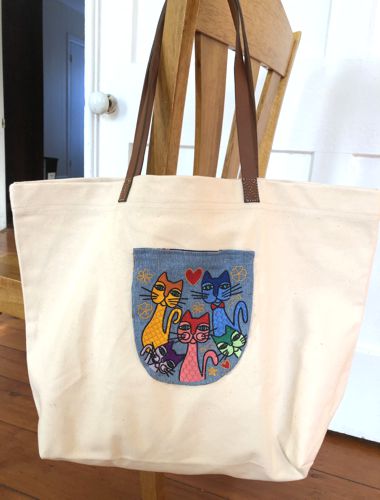
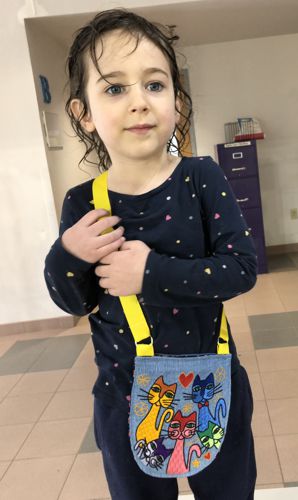
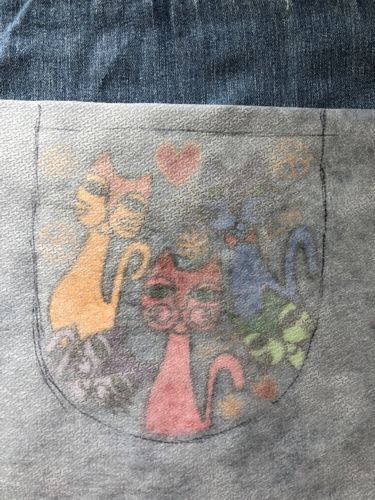
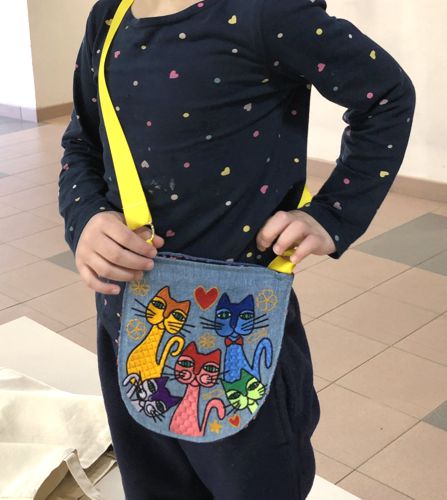
We used the smaller design to make funny patch pockets for a denim skirt, and used the larger design to make an outer patch pocket for a canvas marker tote and a cross-body purse for a kid.
|
|
|
|
You will need :
- embroidery threads either polyester or rayon - you can either follow our color cards or choose your own colors,
- fabric for the outer part of the pockets (for all projects we used an old denim shirt),
- light-weight cut away embroidery stabilizer,
- 1 fat quarter of cotton fabric for the lining (it's enough for all 3 projects),
- sewing threads
- scissors,
- iron,
- chalk pencil or removable fabric marker,
- a piece of partchment paper,
- for the purse, you 'll also need two 1" rings and 7/8" wide grosgrain ribbon or a cord for the handle.
|
Embroidery:
|
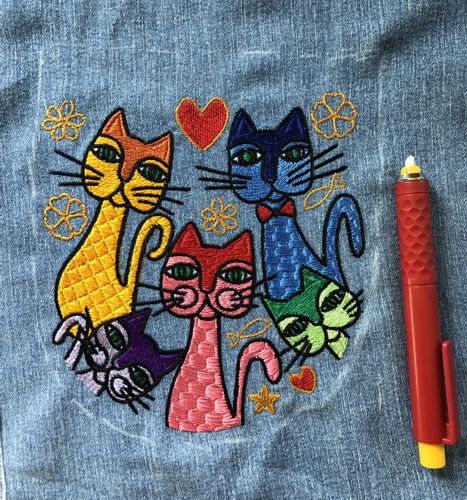
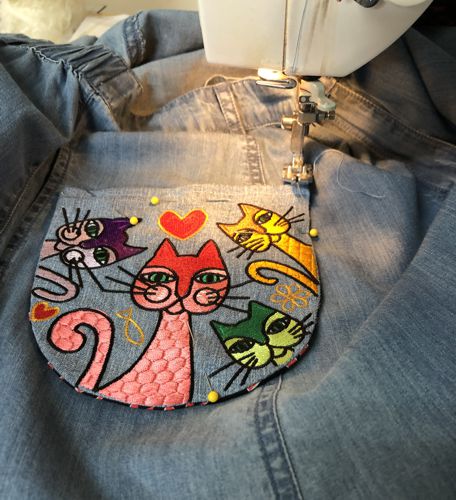
Upload a file, or both files, from the set into your embroidery machine. Select and prepare threads. Stabilize the fabric, hoop it tightly and embroider the design.
|
|
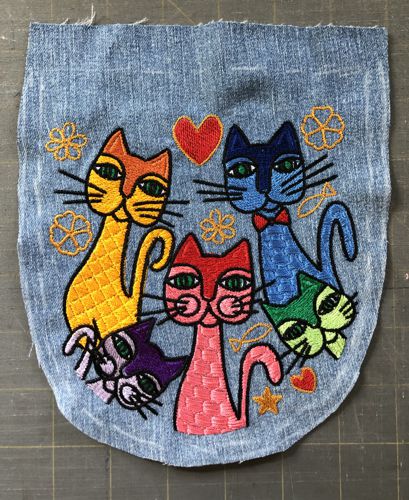
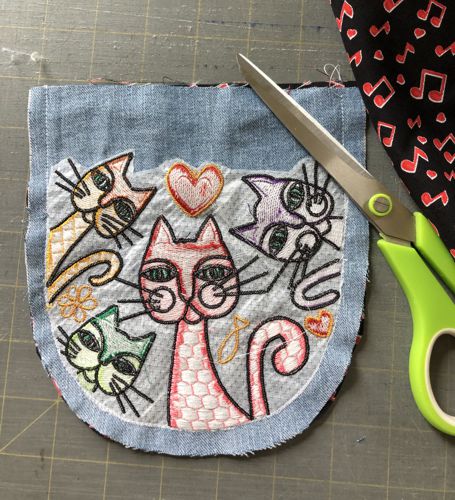
| Cut away the excess stabilizer around the embroidery. Press, if needed. |
Making a Patch Pocket:
|
| Position a piece of parchment paper over the stitch-out. Trace the outline of the embroidery. Cut out the paper template. |
|
Place the template over the stitch-out.
|
|
Trace the template with the chalk pencil.
|
|
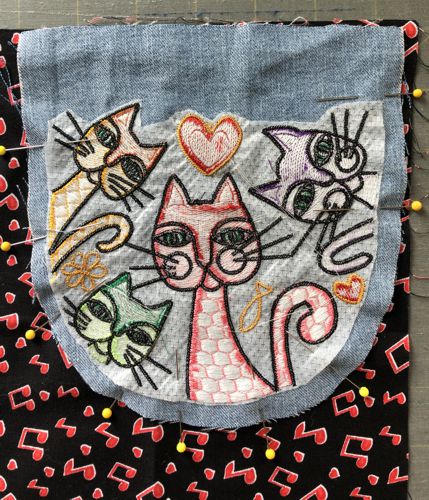
| Add 1/4"- 1/2" for seam allowance around the embroidery and up to 1" over the upper edge of the embroidery. Cut out. |
|
| Position the stitch-out over the fabric for the lining, face to face. Pin along the edges. |
|
Stitch together along the sides and bottom, leaving the upper edges open. Cut out.
|
|
| Notch the curve. |

|
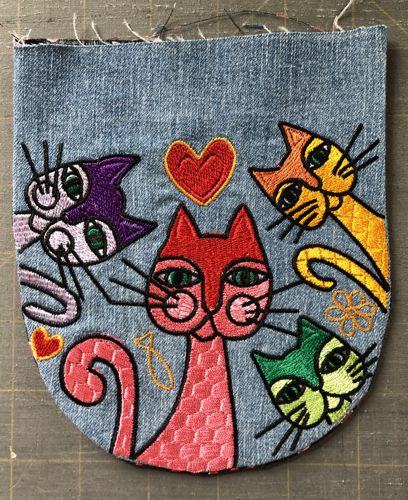
| Turn the working piece out . Carefully press. |
|
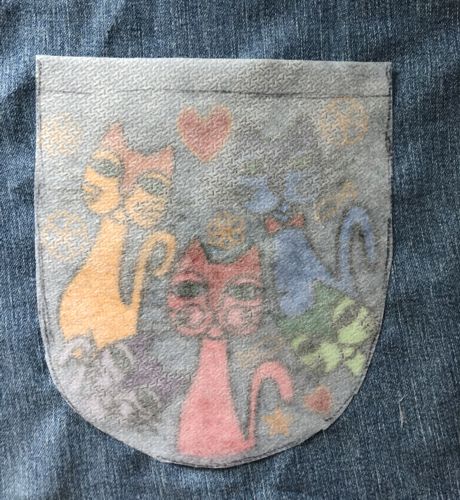
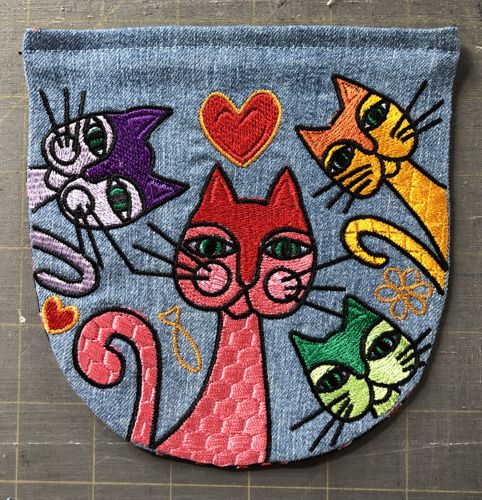
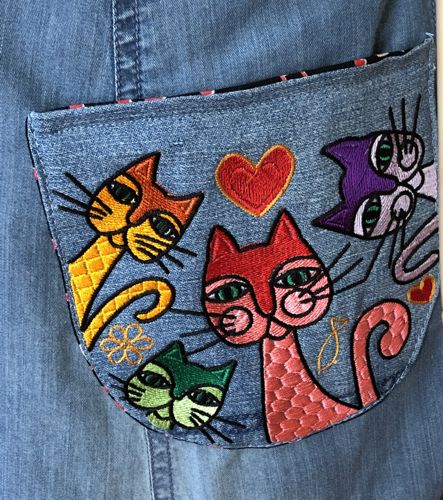
| Tuck the upper edges 1/2" in. Press. Topstitch along the upper edge, seam allowance 1/4". The patch pocket is ready. |
|
| Now we can stitch the pocket wherever we want it. For example, an apron, or a market tote. |

|
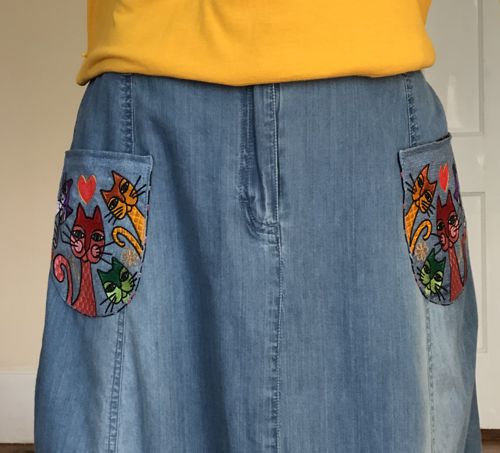
| Or a skirt: |
|
| For our skirt, we used 2 pockets and made the stitch-outs in mirror image. |
|
|
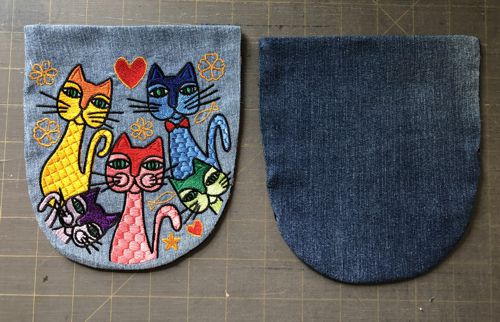
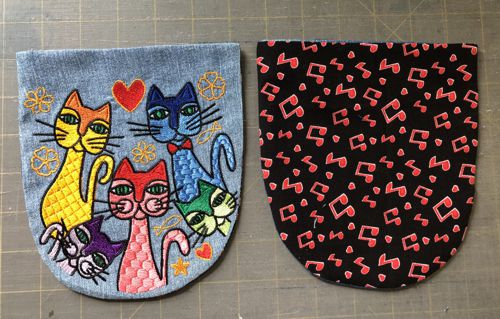
| For the cross-body purse, make one pocket with the stitch-out and another one without embroidery. Use the same paper template as for the embroidered part. |
|
| The pocket with the embroidery is the front panel of the purse, while without it is the back of the purse. |
|
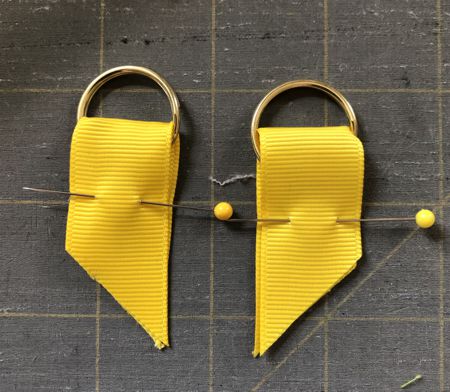
| Out of grosgrain ribbon cut 2 pieces 4" long each. Thread them through the rings. Align the short ends and pin together. |
|
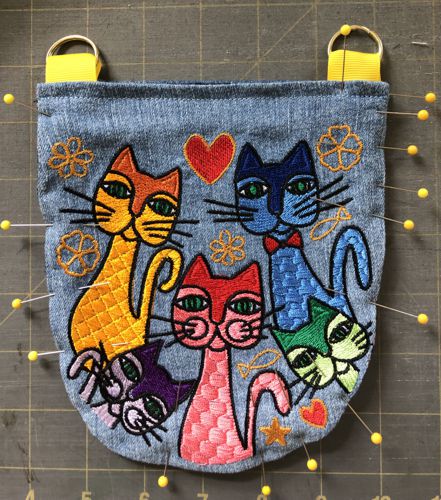
Place 2 patch pockets, wrong sides together, align the edges, pin together.
Insert the ends of the ribbons with rings between 2 pockets at the upper edge. Pin. |
|
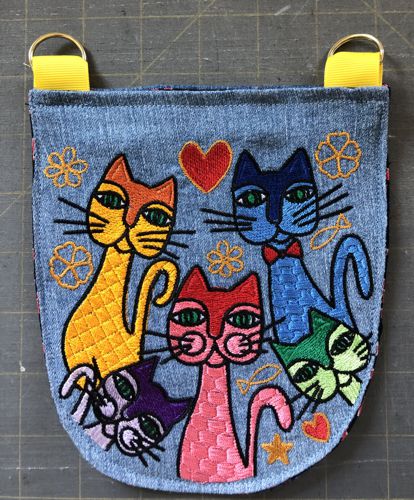
| Topstitch along the edges to sew the pockets together. Topstitch the ribbons with rings in place. |
|
| Cut a length of the grosgrain ribbon for the handle. The length depends on the height of the child. Thread the ends of the ribbon through the rings, fold and stitch in place. |
|
| Have fun! |
|
Back to Whimsical Cat Set
|
Back to Projects Page
|


