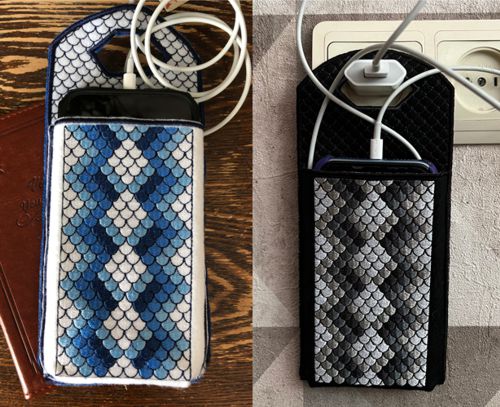
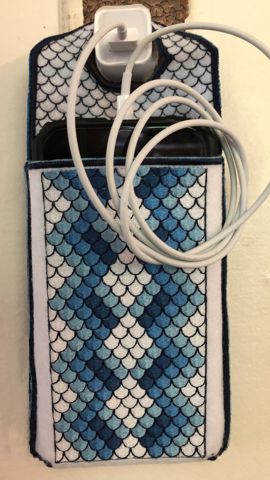
When your phone is charging, it can be quite the balancing act to find a convenient place for it to perch that's also close enough to the electrical outlet. This charger case solves that problem: the case hangs right from the charger, and the phone is slipped inside it. It also works great when you're travelling.
It's a fantastic gift for family or friends. This case can be embroidered in any colors to your taste. It's big enough to accomodate a smart phone measuring up to 6.3" x 3.07" (161 mm x 78 mm)
These are instructions on how to embroider the files from the Smartphone Charger Case Set III.
|
|
You will need
- embroidery thread (either polyester or rayon),
- medium-to heavy -weight cut-away stabilizer,
- non-fraying dense fabric like polyester felt, thin leatherette, etc.
|
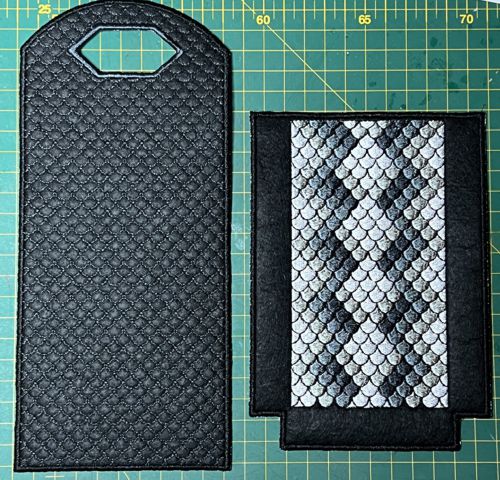
There are 3 files in the set: one for the front and 2 for the back panels- with square and rectangular openings.
|
Embroidery:
|
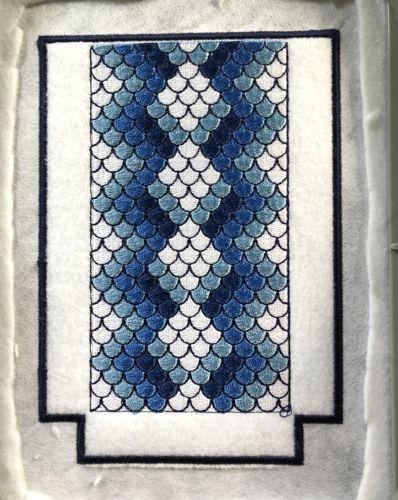
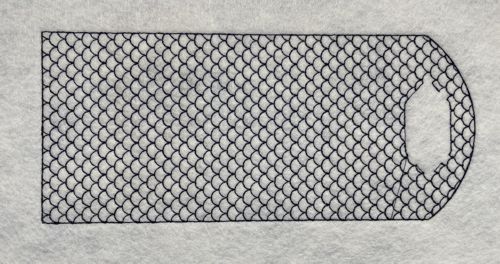
Front Panel:
|
Hoop the fabric with medium-weight cut-away stabilizer. Select threads. Upload the file into your machine. Embroider the file up to the last color.
|
|
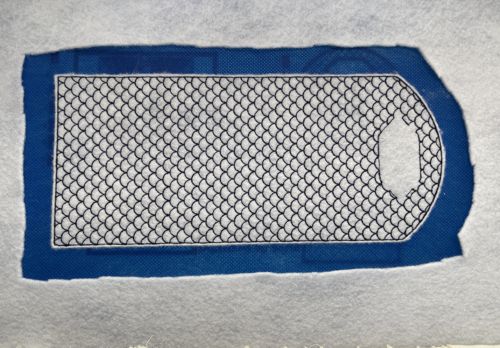
With a pair of sharp scissors cut the fabric around the stitch-out as close to the stitches as possible. Take care not to cut through the stitches and the stabilizer.
|
|
The last color will finish the raw edges of the stitch-out.
|
|
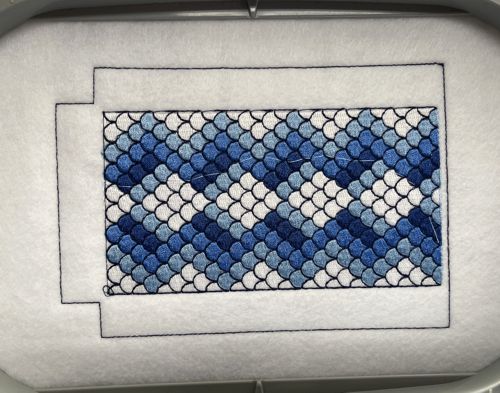
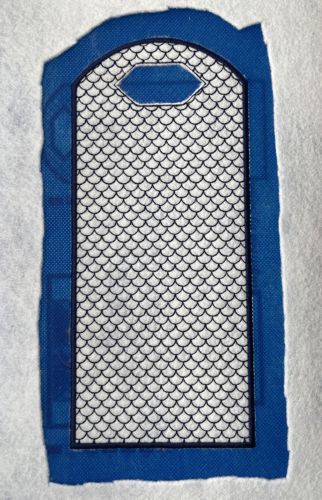
Back Panel
|
| Hoop the fabric with medium-weight cut-away stabilizer. Select threads. Upload the file into your machine. Embroider the first 2 colors. |
|
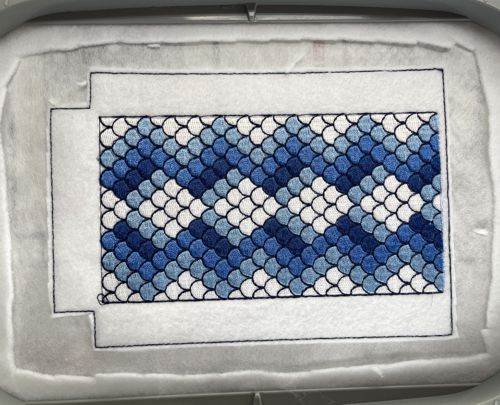
| With a pair of sharp scissors cut the fabric around the stitch-out as close to the stitches as possible. Take care not to cut through the stitches and the stabilizer. |
|
| Embroider the next color, it will finish the raw edges of the stitch-out. |

|
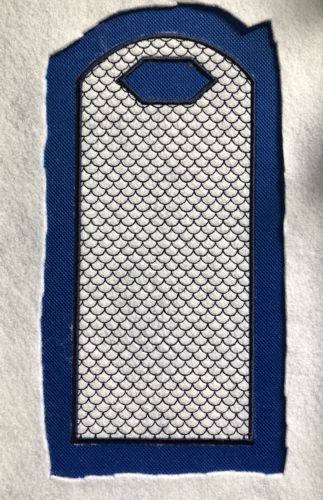
Embroider the next color.
With a pair of sharp scissors cut the fabric inside the stitch-out as close to the stitches as possible. Take care not to cut through the stitches and the stabilizer.
|
|
| Embroider the last color. It will finish the raw edges of the opening for the charger. |
|
| Take the stitch-outs out of the hoop. Cut them out. |
|
| Assembly: |
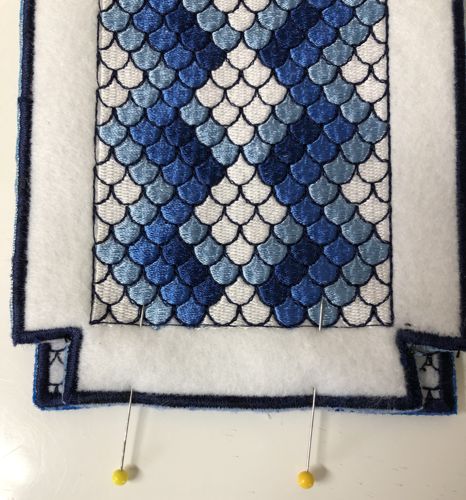
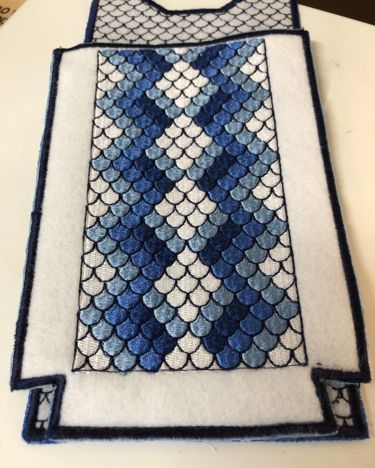
| Place the front panel over the back one. Align the bottom edges. Please note that the front panel bottom is shorter than that of the back panel. Try to leave the same distance from the sides. Pin together. |
|
| Stitch as close to the outline stitches as possible. |
|
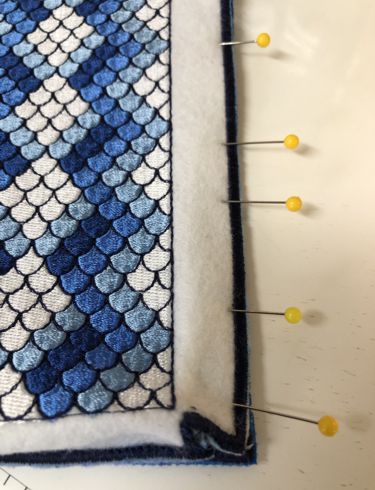
| Fold the sides of the front panel so that the corners of both panels are aligned. Pin. Stitch the sides together very close to the outer stitches. |
|
| Do not stitch the box corners, leave them open. |
|
Your charger case is ready. Enjoy!
|
|
Back to Smartphone Charger Case Set 3
|
|


