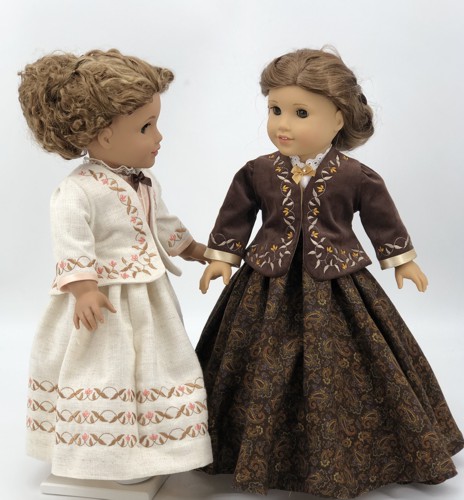
This tutorial explains how to embroider and assemble the files from the Victorian Style Jacket for 18-inch Dolls set. This jacket is designed to fit 18-inch dolls with a soft body, such as American Girl, Our Generation, My Life As and similar dolls.
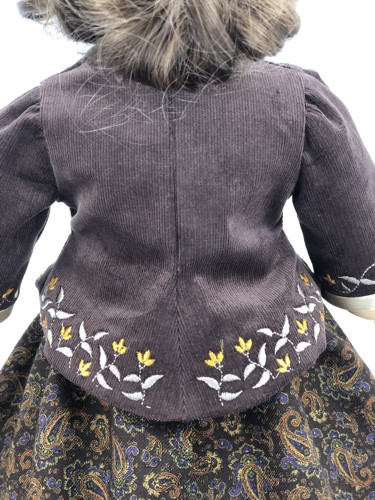
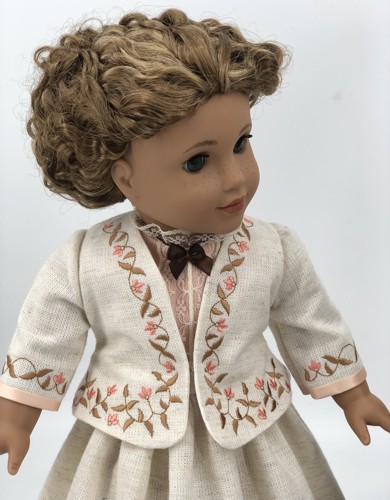
The the designs that make up the jacket feature a floral border motif. There are additional border designs that come in the set, which can be used to embellish a skirt, blouse or an apron. |
|
For the jacket you will need :
- embroidery threads, either polyester or rayon , (you choose the colors),
- about 1/2 yard of solid-colored light- to medium-weight fabric, we used medium-weight linen/polyester blend for the oatmeal jacket and light corduroy for the brown jacket;
- small amount of lighter weight fabric (we used batiste and light-weight polyster silk) for the lining of the bodice,
- light-weight cut-away or tear-away embroidery stabilizer,
- small sew-on hooks and eyes,
- satin or cotton bias tape in a color matching either the fabric or the embroidery thread;
- chalk or graph pencil,
- small rotary cutter or scissors,
- sewing pins,
- iron,
- #12 universal needle,
- fray check glue.
|
Embroidery:
|
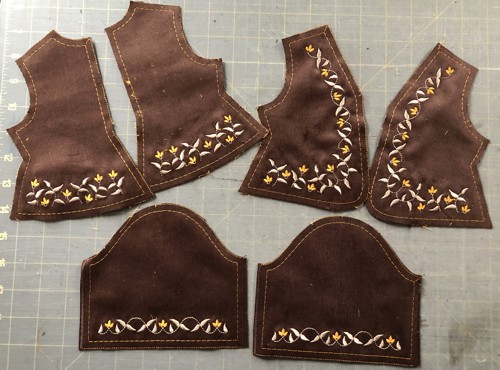
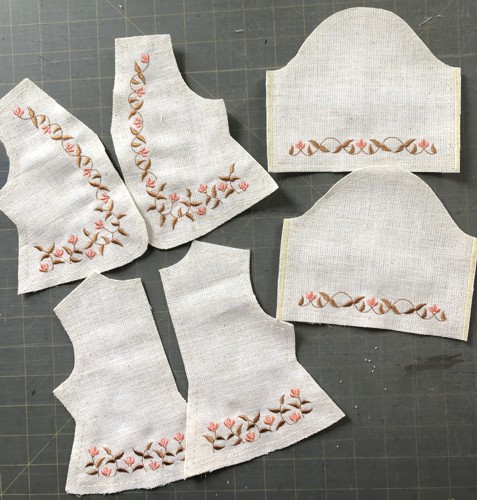
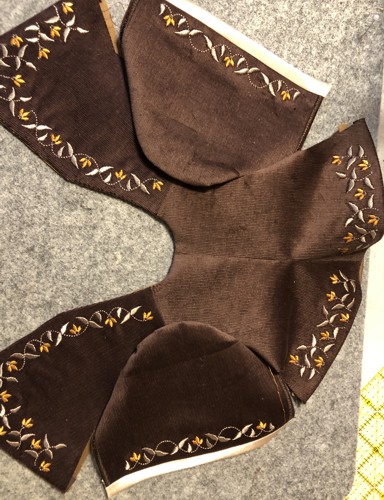
Upload the files from the set into the embroidery machine. Stabilize and hoop your fabric tightly. Embroider the files one by one.
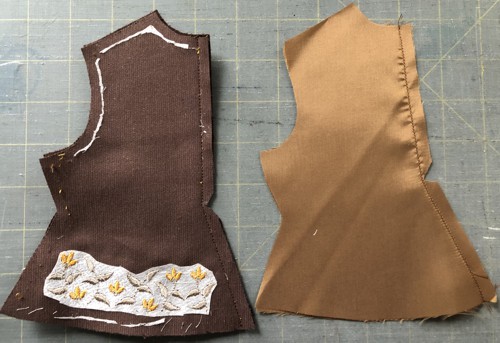
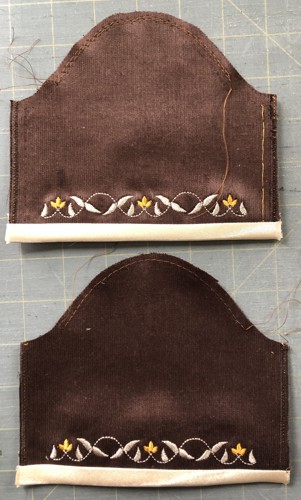
Cut them out along the outer short running stitch.
|
|
| The inner, longer, running stitch shows the seam allowances. Remove the excess stabilizer. |
|
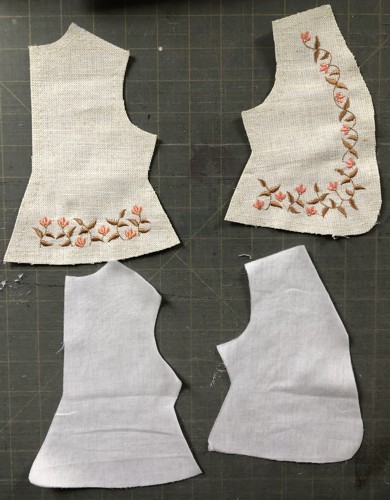
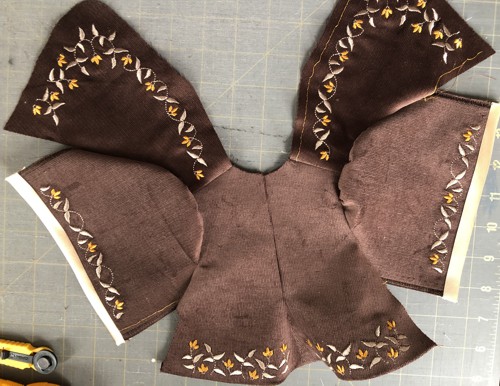
| Using the stitch-outs as templates, cut the lining for the 2 front and 2 back parts. |
|
Assembly:
|
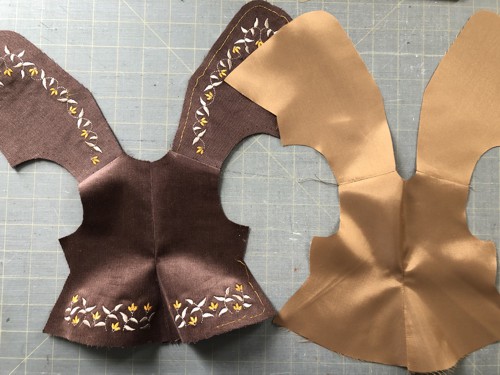
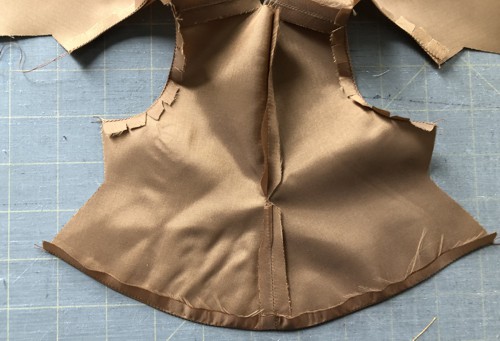
With face sides together, stitch the the central seam on the back. Repeat for the lining. Notch the seam allowance as shown. Press the seam open.
|
|
| With right sides together, sew the shoulder seams. Repeat for the lining. Press the seams open. |
|
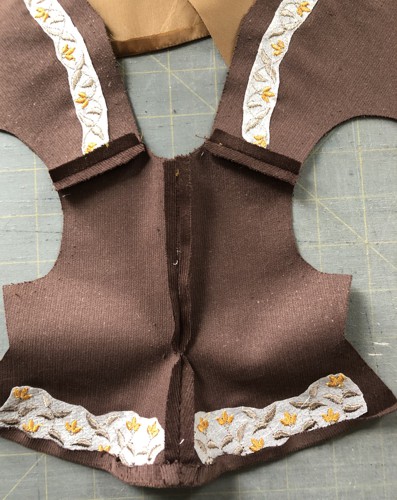
Fold the lower edge of the back part 1/4" back and press.
|
|
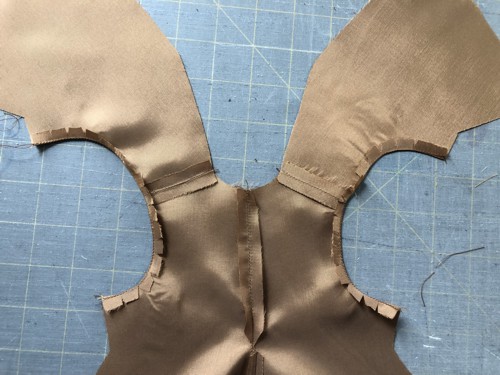
On the lining, stay-stitch the armholes with 1/4" seam allowance. Clip the curves, fold the edges 1/4" back and press.
|
|
Stay-stitch 1/4" away from the edge along the hem of the back part, fold and press.
|
|
Finish the sleeve edge with bias tape.
Sew 2 rows of gathering stitches along the sleeve head.
|
|
| With right sides together, pin the sleeve to the bodice, matching the center of the sleeve with the shoulder seam. Pull the gathering threads of the sleeve cap and distribute the gathers evenly. |

|
| Stitch. Seam allowance is 1/4". Remove the gathering threads. Clip the curves. Press the seam allowance to the shoulder. Repeat for the other sleeve. |
|
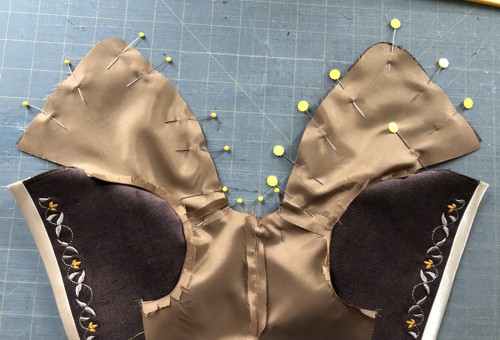
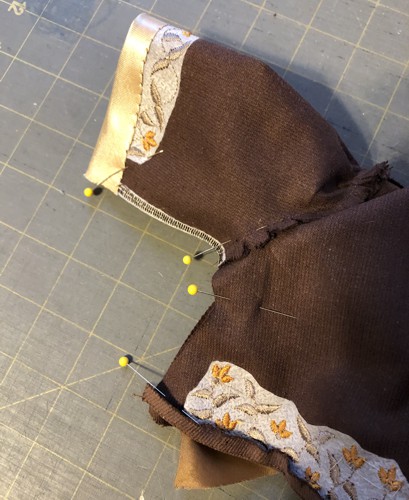
With right sides together, pin the lining to the jacket along the neck and front opening. Align the lining at shoulder seams.
Stitch, starting and finishing 1/2" from the sides of the front parts.
|
|
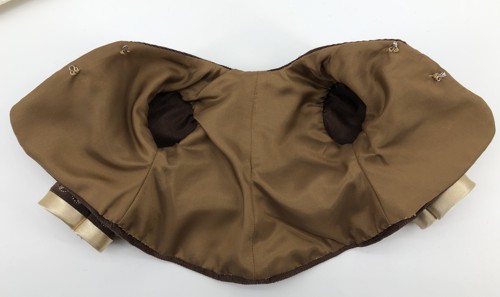
| Clip the curves. Turn the right side out and carefully press the seams so that the lining doesn't show up. |
|
Keeping the lining out of the way, right sides together, fold the jacket and match the sleeve underarm seams and waistline. Align and pin the edges.
Stitch. Make a notch at the waistline. Press the seam open. Repeat for the other side.
In the same way, sew the sides of the lining. Press the seam open. |
|
| Hand-stitch the lining around the armholes and the hem to the jacket. |
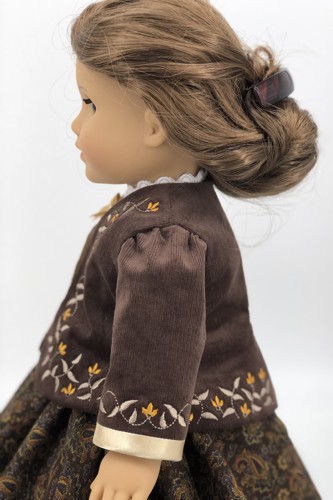
Put the jacket on a doll, mark the placement of the hooks and eyes. Please note that for correct fit you need to put the jacket on a blouse or chemisette. Sew the hooks and eyes in place.
|
|
| Have fun! |
|
|
|

|
|
|
Back to Victorian Style Jacket for 18-inch Dolls
|
Back to Projects Page
|


