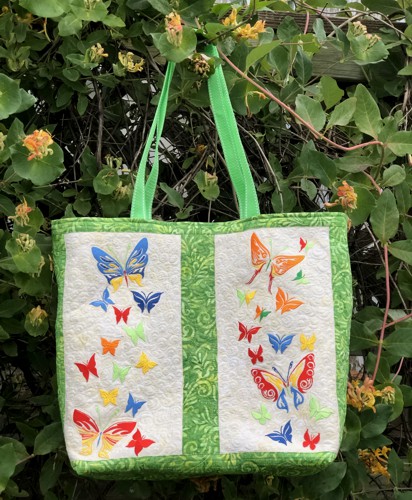
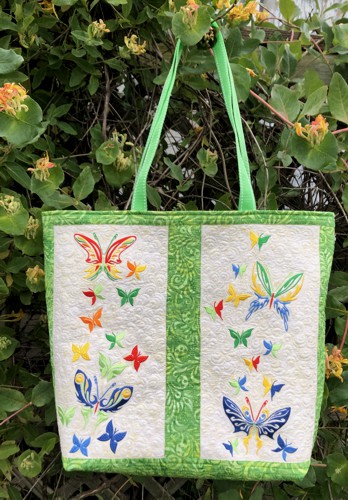
Introducing our Quilted Tote Bag with Butterfly Embroidery—a perfect fusion of quilting and embroidery artistry. The bag panels are embellished with delicate butterfly embroidery, exuding charm and whimsy. The vibrant colors evoke the essence of spring and summer, making it a stylish accessory for any occasion. With meticulous quilting for added texture and durability, this tote bag is both practical and captivating.
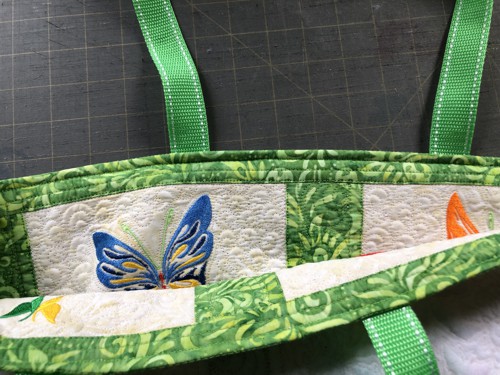
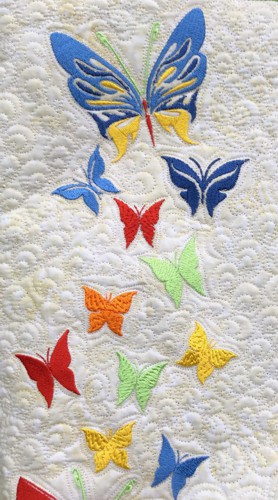
This roomy, soft tote bag features embroidery of butterflies on both front and back panels.
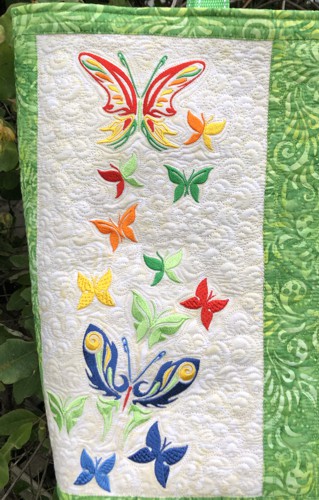
The designs we used are from the Butterfly Set.
The finished size of the bag is about 18"W x 14"H x 5"D. |
|
You will need :
- embroidery threads, you can choose any colors you like,
- about 1/2 yard of light-colored fabric for the embroidered panels,
- about 1/2 yard of green floral patterned fabric for the outer bag,
- about 1/2 yard of cotton fabric for the lining,
- medium-weight cut-away embroidery stabilizer,
- about 1 1/2 yard of light-weight 1" wide polyurethane webbing to match the fabric,
- low-loft batting,
|
You will also need:
|
- quilter's ruler,
- rotary cutter and/or scissors,
- tailor's chalk pencil,
- iron,
- #12 universal needle, and sewing thread,
- #14 universal needle and extra strong thread ,
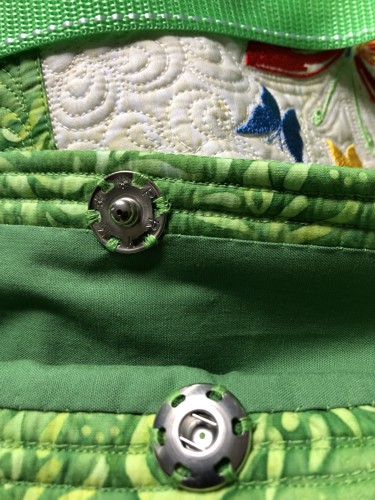
- a sew-on snap closure 1/2" large.
|
Cutting:
|
Out of the light-colored fabric, cut
- 4 panels measuring 7 1/2" x 13 1/2" each,
Out of the green fabric, cut
- 6 strips measuring 2 1/2" x 13 1/2" each,
- 2 strips measuring 2 1/2" x 20 1/2" each, and
- 2 strips measuring 4 1/2" x 20 1/2" each.
Out of the fabric for the lining, cut
- 2 pieces measuring 17 1/2" x 19" ;
- 1-2 pieces measuring 8" x 13", for the inner pockets.
|
Assembly of the Outer Panels:
|
| Note: seam allowance is 1/4", press the seam immediately after you make it. |
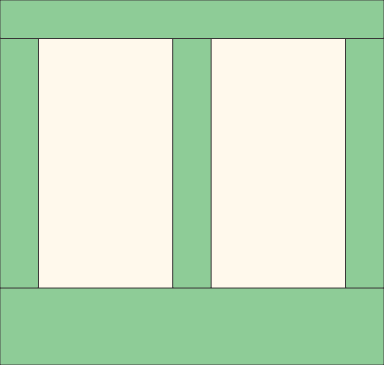
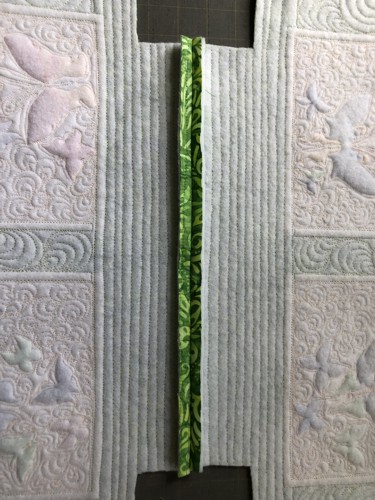
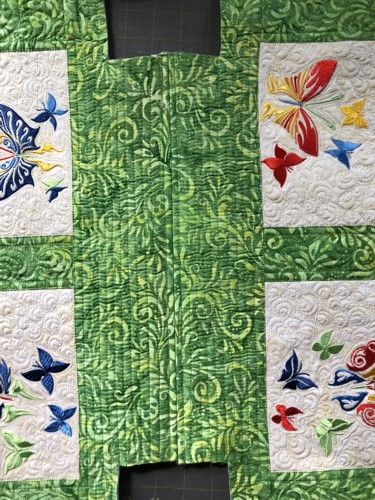
Sew three green 2 1/2" x 13 1/2" strips and two light-colored pieces 7 1/2" x 13 1/2" into a panel.
Repeat for the remaining green and light-colored parts. |

|
Sew the green 2 1/2" x 20 1/2" strips to the upper edges of the panels; sew the green 4 1/2" x 20 1/2" strips to the lower edges of the panels.
|
|
Embroidery:
|
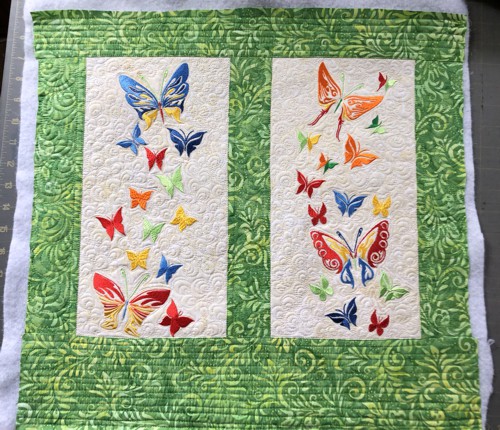
Select threads. Upload the designs from the Butterfly Set into the machine.
Mark the position of the embroidery on the light-colored parts of the panels. Stabilize the fabric. Hoop the fabric with stabilizer tightly and embroider the designs. Please make sure the embroidery is oriented correctly - the narrow green border of the panel is the top edge of the finished tote. |
Quilting:
|
We did not use backing. If you feel uncomfortable quilting without backing, you may use it, but use a very light fabric. Spread the embroidered panels over the batting.
Pin all layers together.
First we echo-quilted around the embroidery, then in a free-motion style all over the panels. |
|
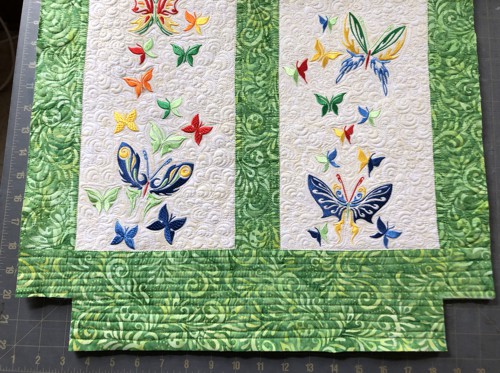
| Press with heavy steam. Trim both panels to 19" wide and 18" high. |
Assembly:
|
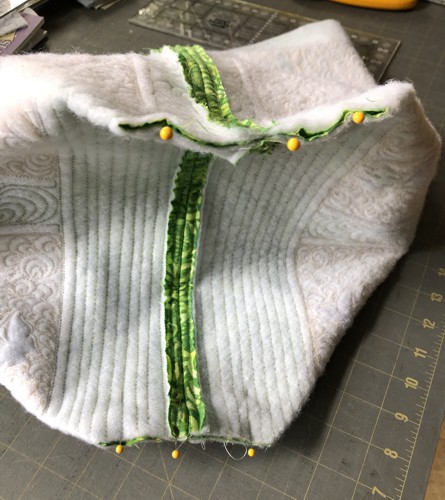
| On the lower edge of both panels, cut out 2 1/2" x 2 1/2" squares at the corners. |
|
Position the panels face to face, align all edges. Pin the bottom. Stitch together with seam allowance 1/2".
Press the seam allowance open. Topstitch 1/4" on both sides of the seam. |
|
|
Fold the bag with right sides together, unfold the upper edges and align all edges. Stitch one of the sides, seam allowance 1/2".
Press the seam allowance open. Top-stitch 1/4" on both sides of the seam.
Repeat for the other side |
Fold the bottom of the bag so that the bottom and the side seams align. Pin.
Stitch. Seam allowance 1/2". Stitch several parallel lines. |
|
| Fold the upper edge of the bag 1" back and press with steam. |
Handles:
|
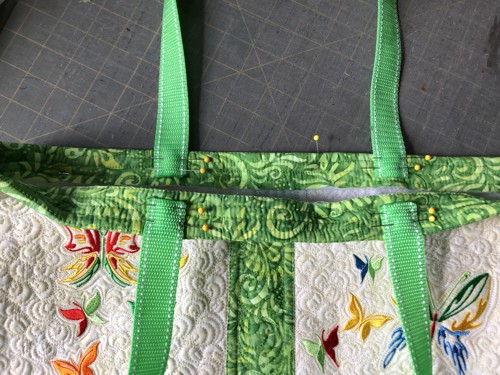
Cut the webbing into 2 equal pieces. Our handles are 28" long, but you should adjust them to the length you need.
|
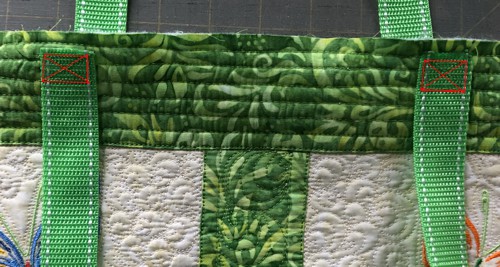
| Pin the handles to the upper edge of the front and back panels, equal distance from the side seams. |
|
| Stitch in place within the folded margin (shown in red). |
|

|
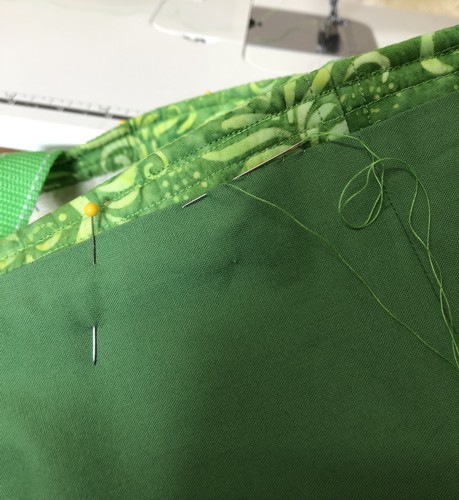
Fold back along the creased line. Pin. Top-stitch around the bag's circumference following the quilted lines of stitches.
|
|
The Lining:
|
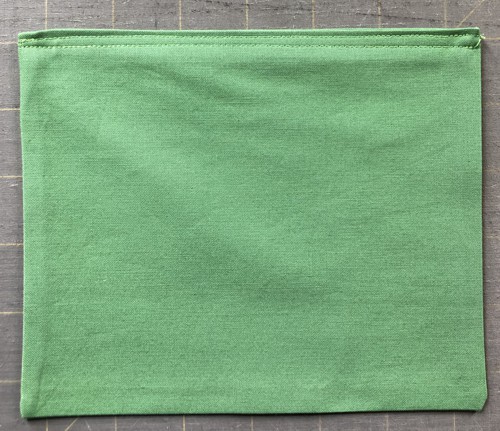
Pockets: Fold the 8" x 13" piece widthwise in half, face inwards. Stitch along 2 sides, seam allowance 1/4". Turn right side out. Press.
Tuck the unfinished raw edge 1/2" inside. Press. Topstitch it closed.
|
|
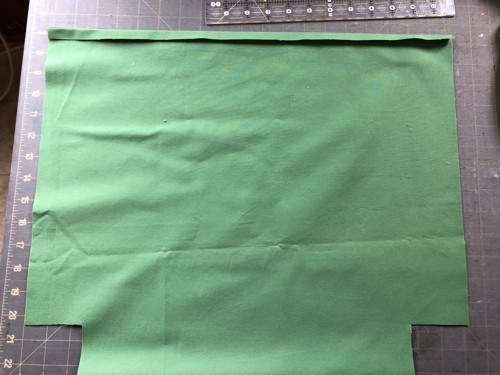
Fold the short edges of the lining pieces 1/2" back and press.
Pin the pocket 3" from one of the folded edges and equal distance from the sides.
Topstitch the pocket in place.
|
| On the lower edge of both panels, cut out 2 1/2" x 2 1/2" squares at the corners. |
|
Unfold the upper edges. Align the edges of the lining panels. Following the instructions as given before for the outer bag, sew the lining: first sew the bottom edge, then the side edges, then shape the bottom. Don't forget to press the seams open.
|
Turn the outer bag wrong side out, insert it into the lining. Line up the side seams.
Pin the upper edge of the lining to the bag, overlapping the folded edge slightly by 1/4".
|
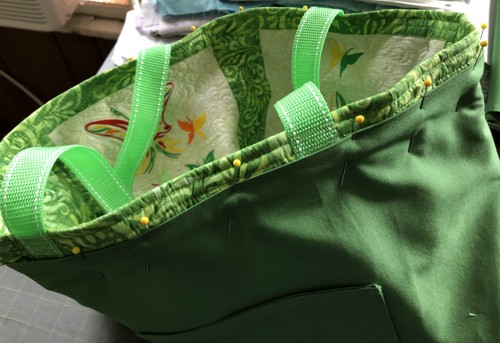
|
| Stitch the lining to the bag by hand. |
|
Sew the sew-on snap.
|
|
| Have fun! |
|
|

|
|
|
Back to Butterfly Set
|
Back to Projects Page
|


