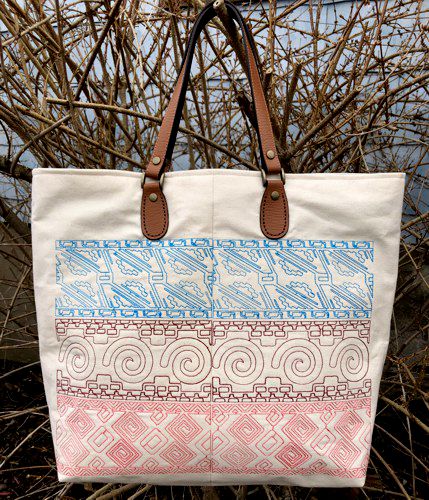
Welcome to this free sewing project on how to create a beautiful canvas tote bag with a Southwestern flair! In this project, you will learn how to sew a sturdy and spacious tote bag made of durable canvas fabric, and add a touch of machine embroidery. The bag features ready-made leather handles to complete the look.
This project is perfect for those who want to create a unique and personalized bag that can be used for everyday use, a day at the beach or a picnic in the park. The embroidery design will add a touch of charm and character to the bag, making it a great conversation starter. So, gather your sewing supplies and let's get started!
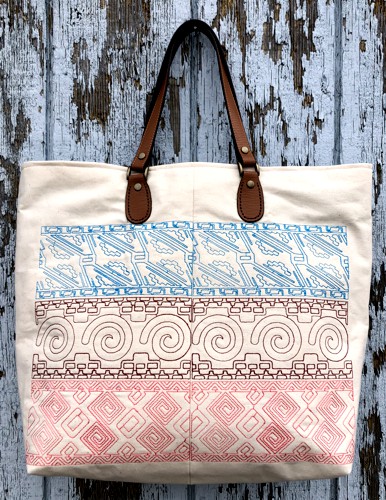
The designs used are from the Mexican Motif Set II.
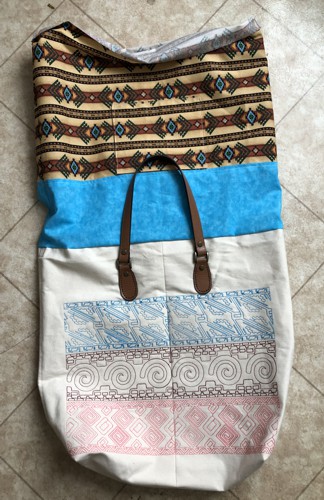
The finished size of the tote is about 15" H x 19" W x 5" D.
|
|
You will need :
- embroidery threads, either polyester or rayon, for embroidery;
- about a yard of natural colored canvas / duck cloth fabric;
- medium-weight cut-away embroidery stabilizer;
- about 1 yard of cotton fabric for the lining
- quilter's ruler, rotary cutter, and/or scissors;
- safety pins;
- chalk pencil;
- ready-made pair of leather handles (alternatively, you can sew a fabric pair yourself);
- iron;
- #12-14 and #18 (heavy-duty) universal needles;
- sewing pins;
- sewing threads - regular #40 and heavy duty (we used thread for upholstery).
|
| Embroidery: |
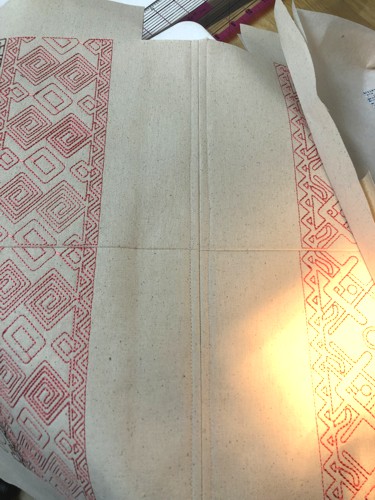
Prepare the fabric for embroidery. The Mexican Motif Set II has 20 designs. Choose the ones you like most. Upload them into the embroidery machine.
Cut the canvas into 4 pieces, each approximately 12" x 22".
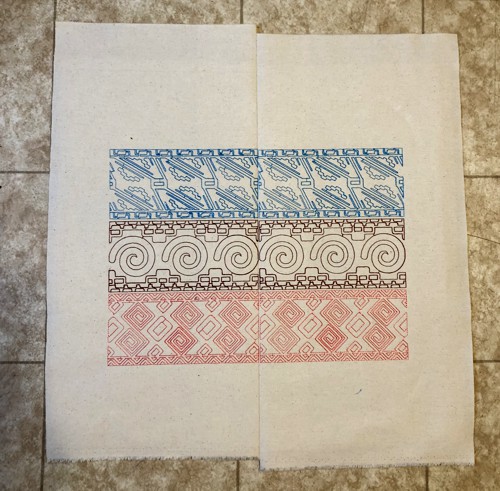
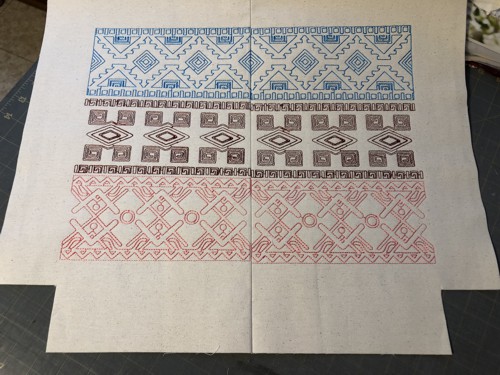
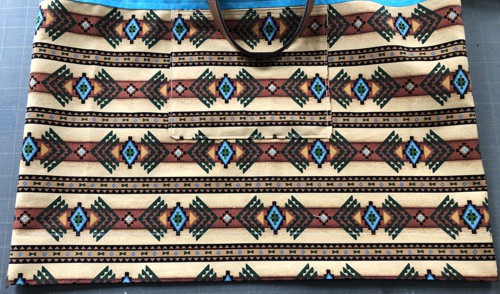
We chose 6 motifs and embroidered each of them twice, so that we have 4 pieces 2 with one set, and 2 with another set of motifs. |
| We embroidered each design twice on top of itself, to make the embroidery appear bolder.. |
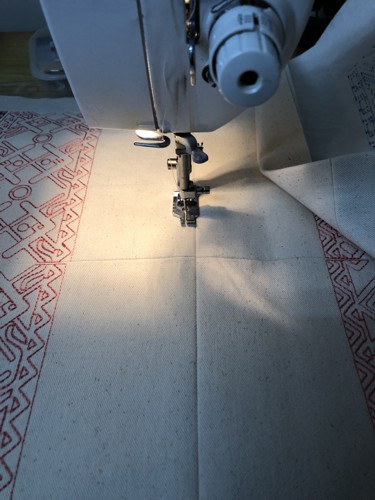
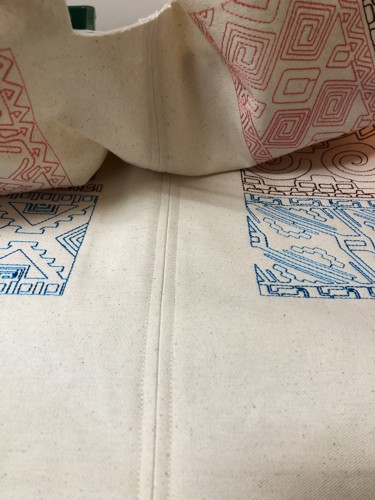
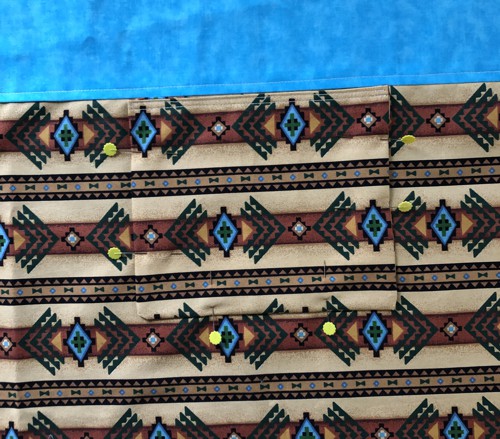
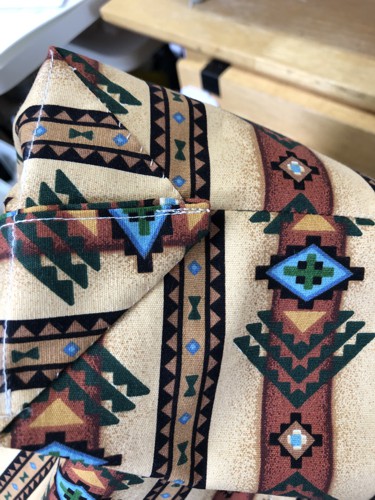
Do not cut away the stabilizer. Press, if needed, the stitch-outs. Align the similar stitch-outs on 2 pieces. Sew them together. Please note that you are trying to align the embroidery, not the fabric edges!
You'll get 2 panels - for the front and for the back. Open and press the seam. |
|
| Sewing the Outer Bag: |
| Note: For the outer bag we used a #18 sewing needle, upholstery thread, and seam allowance of 1/2". |
Trim the panels with embroidery, leaving about a 5" margin on the upper edge, 2 1/2" margins on each side and 3 1/2" on the bottom. The final size of the panels is 19 1/2" H x 20 1/2" W.
Fold the upper edge 1 1/2" back and press. |
| Cut the 2 1/2" squares at the bottom line of both panels. |
|
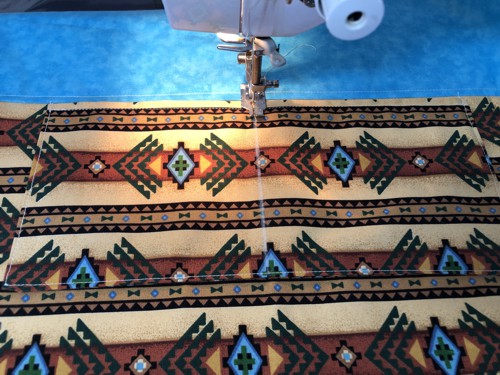
With right sides together, align the bottom edges. Sew together with seam allowance 1/2".
Press the seam open and topstitch 1/4" from the seam on both sides. |
|
|
| With right sides together, align the side edges. Stitch one side, seam allowance 1/2". Press the seam open and topstitch 1/4" on each side of the seam. Repeat for the other side. |
|
Fold the bottom of the bag so that the bottom and the side seams align. Pin.
Stitch. Seam allowance 1/2". Repeat for the other side. |

|
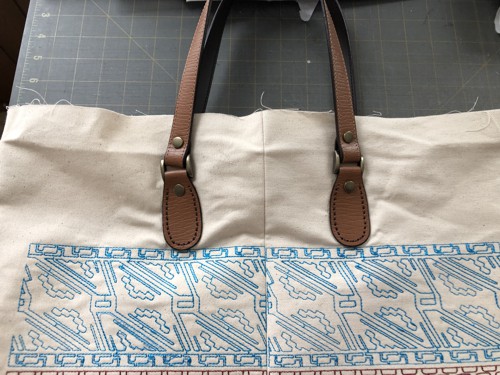
| Attach the handles to the front and back and set the working piece aside for the time being. |
|
Sewing the Lining:
|
| Note: For the lining, we used a #12 sewing needle, regular sewing thread, and seam allowance 1/4". |
Out of cotton fabric, cut
- 2 pieces measuring 18 12/" x 20 1/2" each;
- for the pockets, cut
- 1 piece measuring 8" x 13 1/2" and
- 1 piece measuring 6" x 24".
|
For the first pocket, fold the 8" x 13 1/2" piece widthwise in half, face to face. Sew the side seams together. Turn right side out. Tuck the raw edge 1/2" inside, press. Topstitch.
|
|
Place the finished pocket on one of the lining panels, pin.
|
|
Topstitch in place along the sides and bottom.
|
|
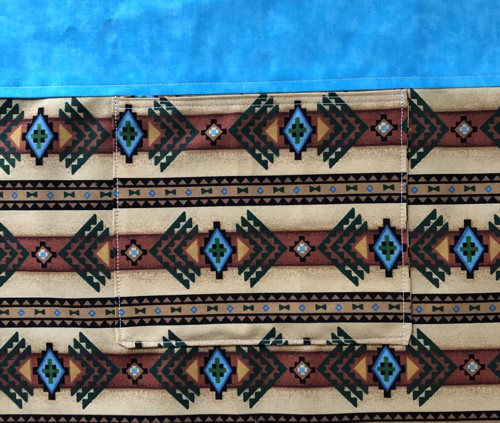
| For the second pocket, fold the 6" x 24" piece width wise in half, face to face. Sew the 2 sides together, leaving the third side open. Turn right side out. Tuck the raw edge 1/2" inside, press, topstitch closed the unsewn side. Topstitch one of the long sides, it will be the upper edge of the pocket.. |
| Pin the pocket to another lining panel. Topstitch along the sides and bottom. |

|
Divide the long pocket in half, draw a straight line. Topstitch along the line.
|
|
| Position the lining panels face to face, align the edges. Check that the pockets face in the right direction. Sew the sides together. Open and press the seams. |
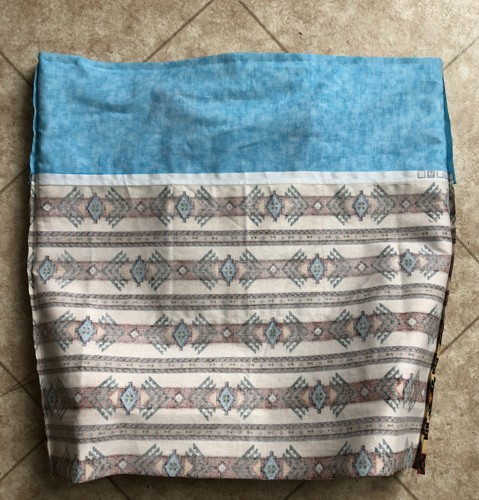
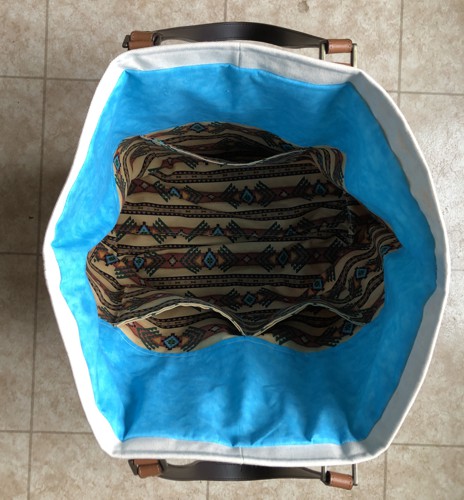
| With right sides together, put the lining over the bag. Align the side seams and the upper edges. Pin them together. |

|
| Stitch together, seam allowance 1/4". |
|
| Unfold the lining. Press the seam. |
|
| Tuck the bottom edge of the lining 1/2" inside. Press and topstitch. |
|
| To make box corners on the lining, separate the front and back sides at the corners. Center the seam on the side with the bottom seam. |
| Measure 2" along the seam from the corner. Draw a line perpendicular to the seam across the corner and machine-stitch it . |

|
| Fold the corner to the bottom seam and stitch it to the lining by hand. |
|
Tuck the lining inside.
Topstitch the outer bag along the upper creased line. |
|
| The tote bag is done! |
|
| Have fun! |
|
Back to Mexican Motif Set II.
|
Back to Projects Page
|


