|
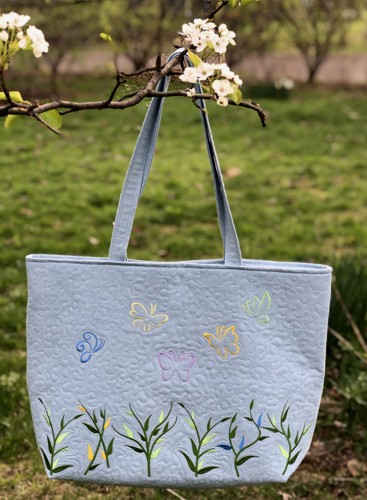
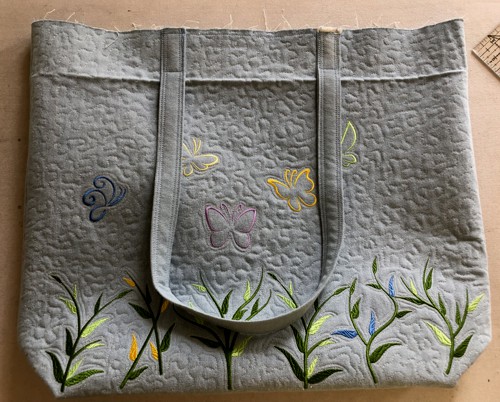
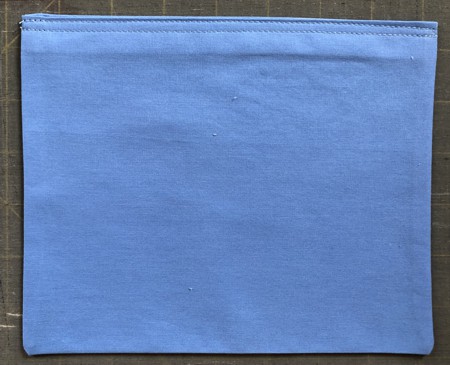
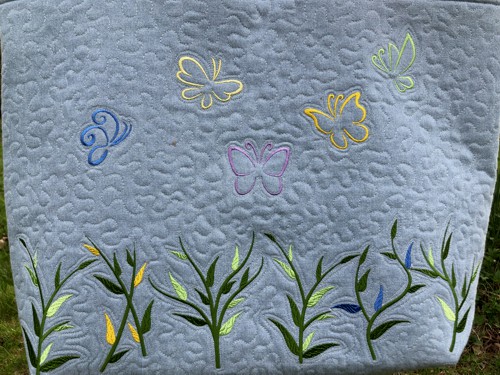
Welcome to our latest quilting project! This beautiful and spacious tote bag is made of light blue denim fabric, perfect for a sunny summer day. It is roomy enough to hold all your essentials, while the beautiful embroidery and quilting make it a one-of-a-kind piece. So grab your sewing machine and let's get started on this fun and creative quilting project!
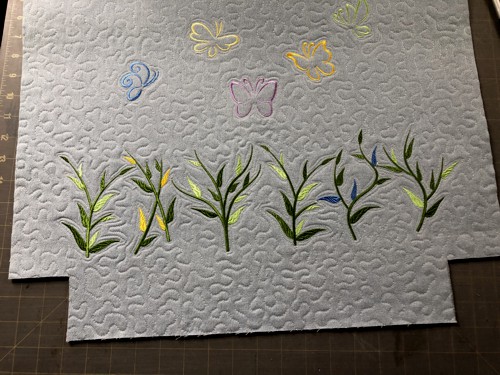
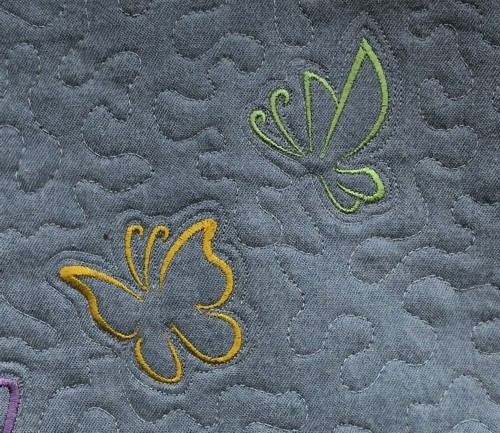
We used the designs from the Spring Grass Stalk Set and Butterfly Silhouette Set. The tote panels are free-motion quilted, adding texture and depth to the design.
The finished size of the bag is about 19"W x 13"H x 5"D. |
|
You will need :
- embroidery threads, you can follow our color cards or choose colors of your own,
- about 1 yard of medium-weight denim fabric of light blue shade for the outer,
- 1/2 yard of cotton fabric for the lining,
- medium-weight cut-away embroidery stabilizer,
- low-loft polyester batting,
|
You will also need:
|
- quilter's ruler,
- rotary cutter and/or scissors,
- tailor's chalk pencil,
- iron,
- #12-14 universal needle,
- quilting thread,
- extra strong thread for the bag,
- sew-on snap closure 1/2" large.
|
Cutting:
|
Out of the denim fabrics, cut
- 2 panels measuring 20" x 22" each,
- 2 strips measuring 4" x 32" each.
Out of backing, cut 2 pieces measuring 21" x 23 each.
Out of the fabric for the lining, cut
- 2 pieces measuring 16" x 21"
- 1-2 piece/s measuring 9" x 15" for the pocket/s.
|
Embroidery:
|
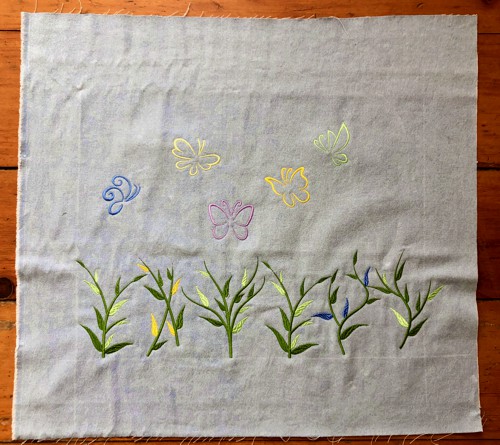
Upload the files from the Spring Grass Stalk Set and Butterfly Silhouette Set into the embroidery machine, select threads.
Mark the position of the embroidery on the fabric - we used a chalk pencil to mark the margins - 4" from the bottom and about 2" - 2 1/2" from the sides.
Stabilize the fabric with medium-weight cut-away stabilizer. Hoop the fabric tightly. Embroider the designs one by one. |
|
Quilting:
|
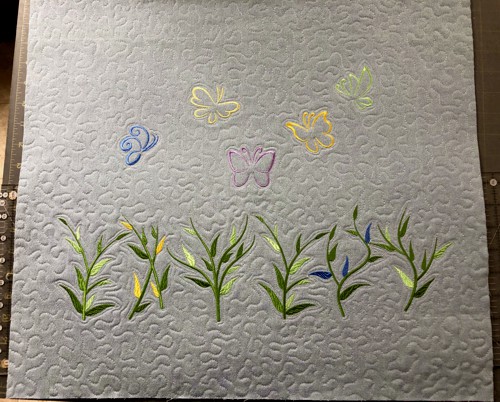
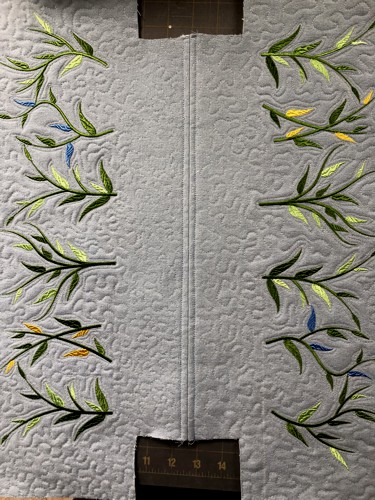
Place the embroidered panels on the backing. Pin them together. Quilt aroung the embroidery and all over the panels.
|
Press with heavy steam. Square and trim both panels to 19" x 21".
|
|
Sewing the Outer Bag:
|
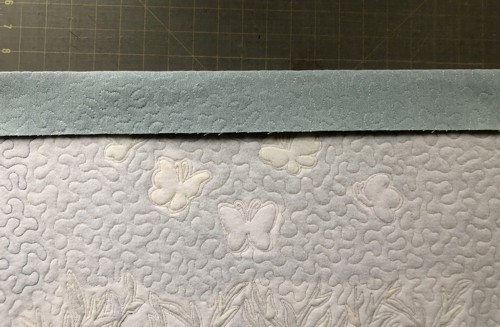
| Fold the upper edge of each panel 2 1/2" back and press with heavy steam. |
|
| On the lower edge of both panels, cut out 2 1/2" x 2 1/2" squares at the corners. |
|
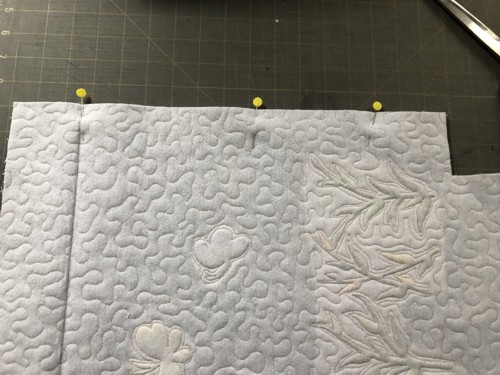
Position the panels face to face, align all edges. Pin the bottom. Stitch together with seam allowance 1/2".
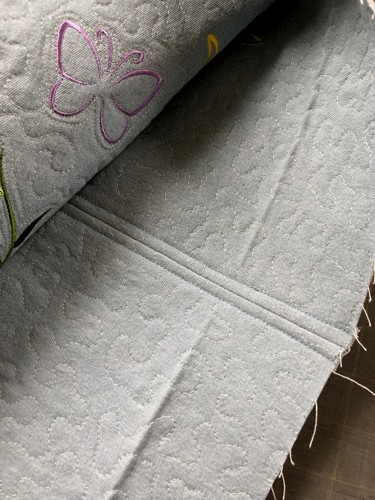
Press the seam allowance open. Topstitch 1/4" on both sides of the seam. |
|
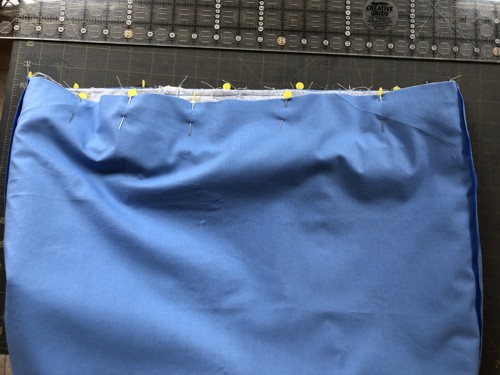
Fold the bag with right sides together, unfold the upper edges and align all edges. Stitch one of the sides, seam allowance 1/2".
|
|
Press the seam allowance open. Top-stitch 1/4" on both sides of the seam.
Repeat for the other side. |
|
|
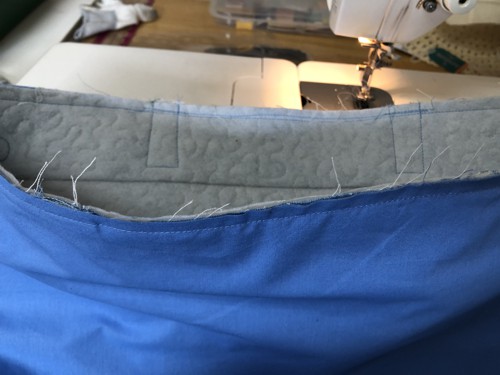
| Fold the bottom of the bag so that the bottom and the side seams align. Pin. |
|
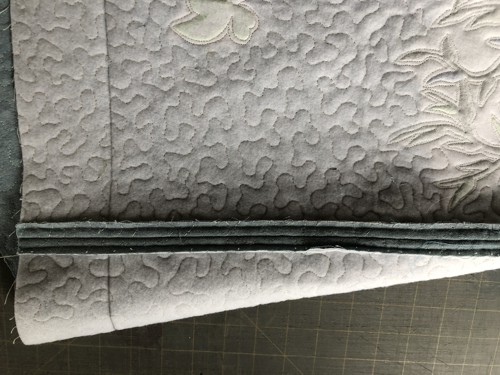
| Stitch. Seam allowance 1/2". Stitch several parallel lines. |
|
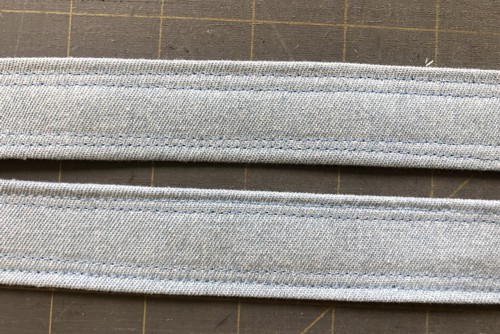
Handles
|
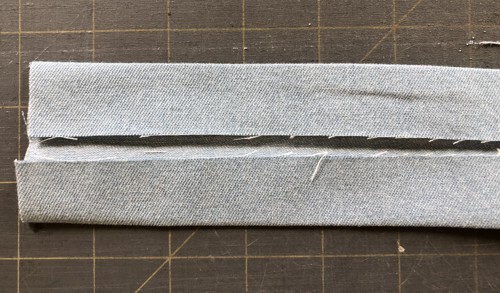
Prepare the 4" x 31-32" strips. Fold them lengthwise in half and press. Open.
Fold the unfinished long edges inside to the creased line and press.
|
|
Fold again by the firat line and topstitch 1/8" and 1/4" along the long edges.
|
|
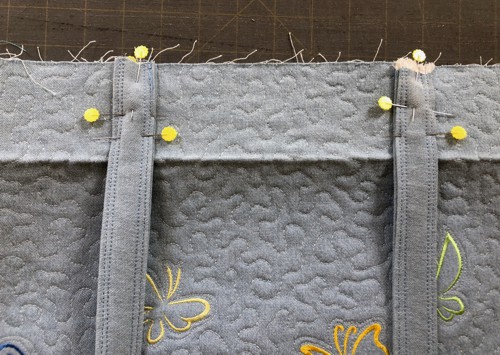
Pin the handles to the upper edge of the front and back panels, equal distance from the side seams.
|
|
| Topstitch the handle to the panel within the folded area. |
|
|
The Lining:
|
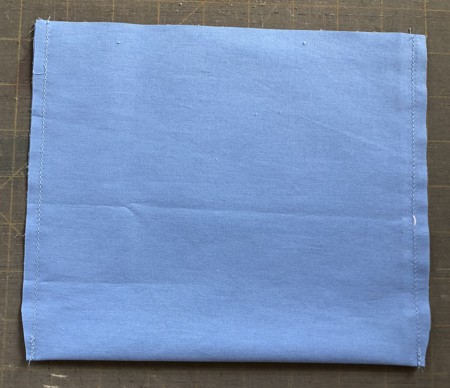
Fold the 9" x 15" piece widthwise in half, face inwards. Stitch along 2 sides, seam allowance 1/4". Trim the corners and turn right side out. Press.
|
|
| Tuck the unfinished raw edge 1/2" inside. Press. Topstitch it closed. |
|
| If you are making 2 inner pockets, repeat for the remaining piece. |
| Sew the pockets to the lining panels about 2" from the upper edge and equal distance from the sides. |
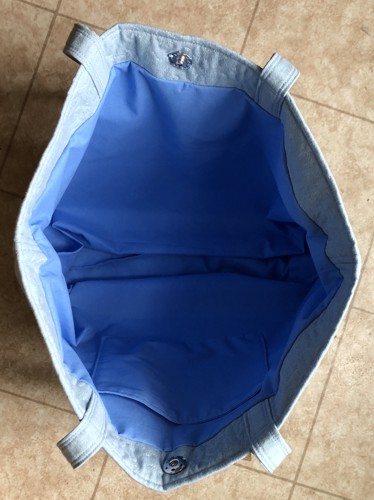
With right sides together, insert the outer bag into the lining. Line up the side seams and the upper edges. Pin together.
|
|
Stitch together, seam allowance 1/4".
|
|
Unfold the lining. Tuck bottom line of the lining 1/2" inside and press. Stitch it closed.
|
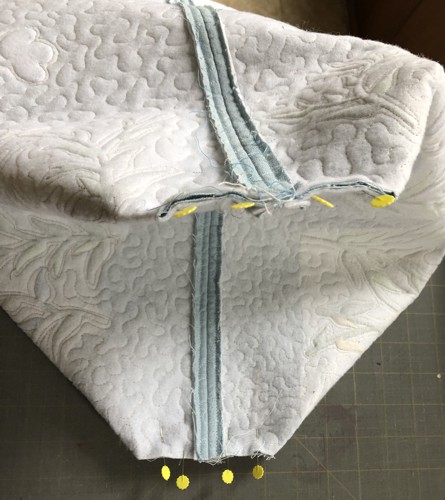
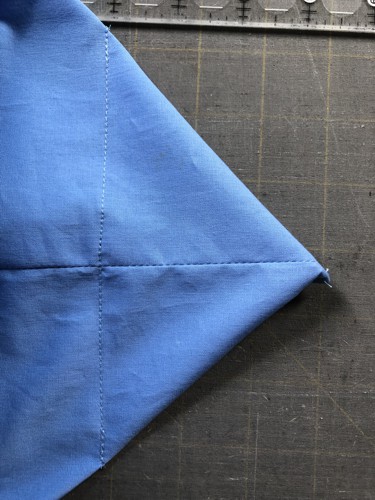
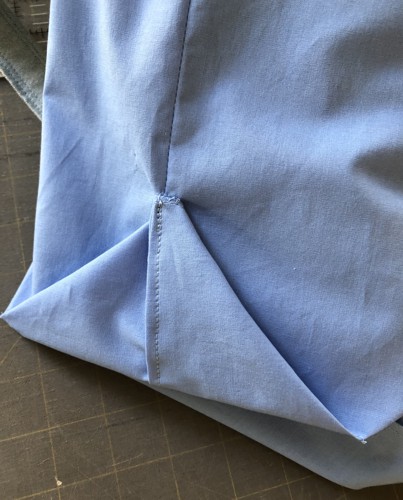
To make box corners, separate the front and back sides at the corners. Center the seam on the side with the bottom seam.
|
Measure 3" along the seam from the corner.
Draw a line perpendicular to the seam across the corner.
Stitch along the line. |
|
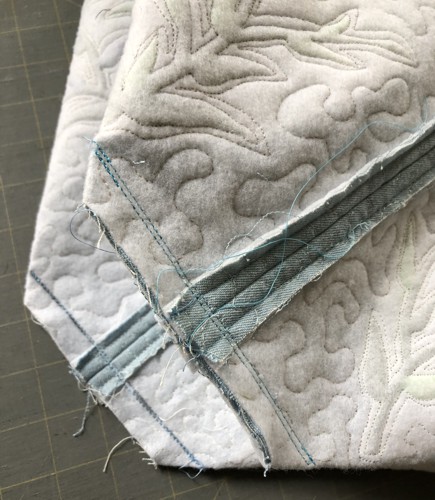
Turn the corners up onto the sides and stitch by hand to the side seams.
|
|
Turn the bag right side out.
With handle looking up, topstitch along the upper edge of the bag 1/4" from the edge.
|
Attach a sew-on snap.
|
|
| Have fun! |
|
|
|
Back to Spring Grass Stalk Set and Butterfly Silhouette Set.
|
Back to Projects Page
|


