|
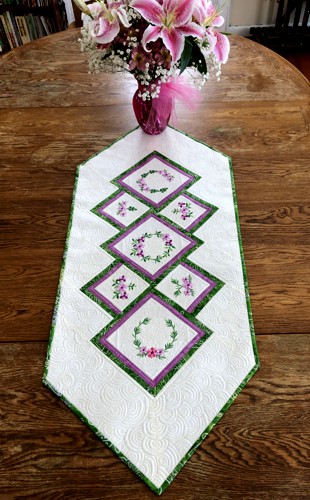
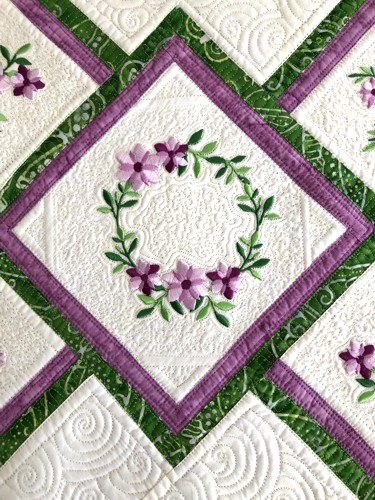
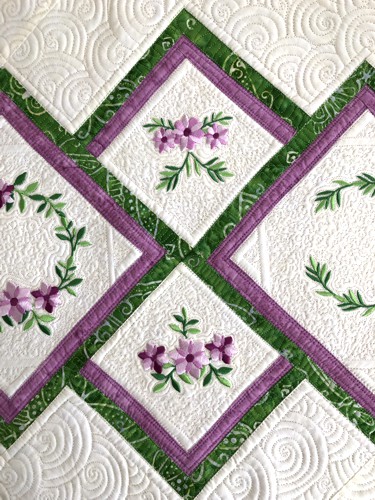
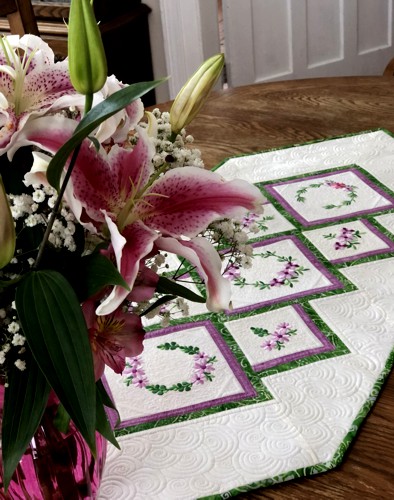
Welcome to our free quilting project, Quilted Table Runner with Flower Embroidery! This project is perfect for anyone looking to add a touch of spring to their home decor. The table runner features beautiful flower wreath embroidery that can be customized with your choice of colors to match the style of your home.
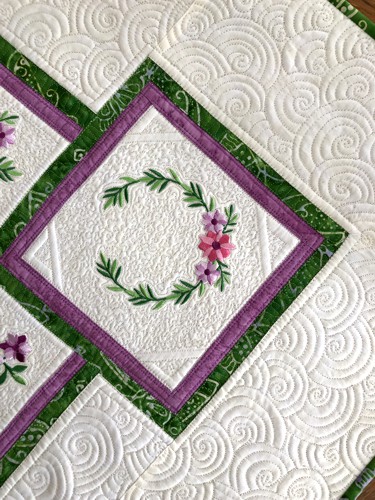
In this project, we will guide you through step-by-step instructions on how to sew, embroider, and quilt the table runner. Whether you're a beginner or an experienced quilter, you'll find this project to be both enjoyable and rewarding. We used the design from Summer Wreath Set. These designs can be embroidered in different colors, hence you can choose the fabric colors to your taste.
The finished size of the runner is 18 1/2" x 45". |
|
You will need :
- embroidery threads either polyester or rayon - choose hues to your taste;
- about 1 yard of light fabric (we used pale yellow batik);
- small amount of bright-colored fabric for the blocks (we used dark lilac and green, the same green we used for the binding);
- light-weight cut-away embroidery stabilizer;
- batting;
- fabric for the backing;
- quilter's ruler;
- rotary cutter;
- iron;
- #12 universal needle;
- quilting threads to match the colors of the fabrics you use;
- #12-#14 quilting needle.
|
Cutting:
|
Out of light fabric, cut
- 3 squares measuring 6 1/2" x 6 1/2",
- 4 squares measuring about 4 1/2" x 4 1/2",
- 4 strips measuring 4 1/2"" x 20";
- 4 strips measuring 5 1/2" x 8 1/2";
- 4 strips measuring 3 1/2" x 8 1/2".
Out of lilac fabric, cut
- 6 strips measuring 1" x 6 1/2".,
- 6 strips measuring 1" x 7 1/2",
- 4 strips measuring 1" x 4 1/2",
- 4 strips measuring 1" x 5".
Out of green fabric, cut
- 6 strips measuring 1" x 7 1/2",
- 6 strips measuring 1" x 8 1/2",
- 4 strips measuring 1" x 5 1/2",
- 4 strips measuring 1" x 5".
Use the remaining colored fabric for the binding.
|
Blocks:
|
| Note: seam allowance is 1/4", press the seam immediately after you make it. |
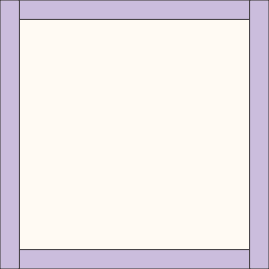
Sew the lilac 1" x 6 1/2" strips to the upper and lower edges of the 6 1/2" x 6 1/2" squares.
Sew the lilac 1" x 7 1/2" strips to the left and right edges of the these squares. |
|
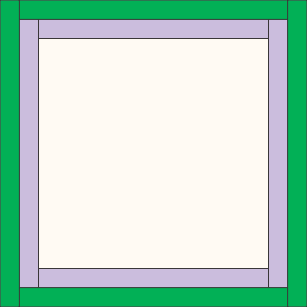
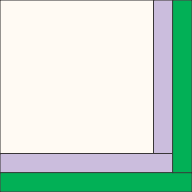
| Sew the green 1" x 7 1/2" strips to the upper and lower edges of the blocks, sew the green 1" x 8 1/2" strips to the left and right edges of the blocks. |
|
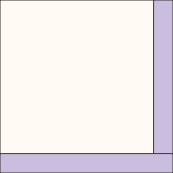
Sew the lilac 1" x 4 1/2" strips to the right edges of the 4 1/2" x 4 1/2" squares.
Sew the 1" x 5" strips to the bottom edges of the squares. |
|
| Sew the green 1" x 5" strips to the right edges of the squares, sew the green 1" x 5 1/2" strips to the bottom of the squares. |
|
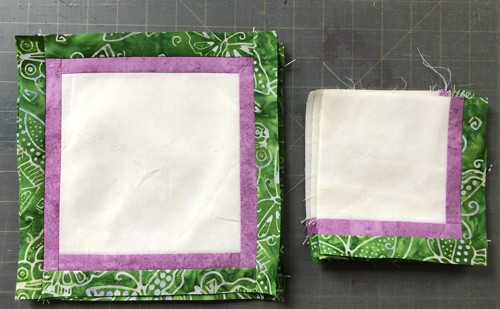
| You will get 3 large and 4 small blocks. |
|
| Assembly: |
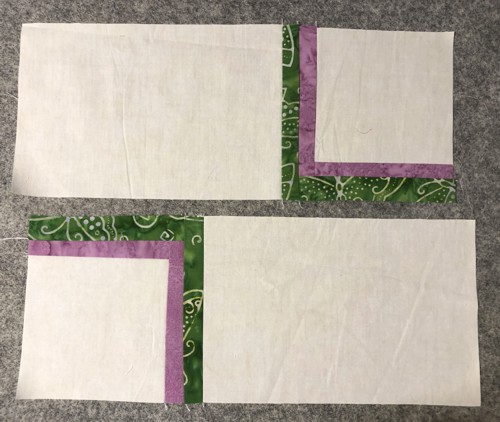
Turn the small blocks so that the green corner points down and to the left. Sew the light-colored 5 1/2" x 8" strips to the left edges of the small blocks. You will get a total of 4 strips.
|
|
Embroidery:
|
Sew the light-colored 3 1/2" x 8" strips to the bottoms of the new strips. This strip is shorter than the new strip. Align the right edge of the strip with the right edge of the block.
|

|
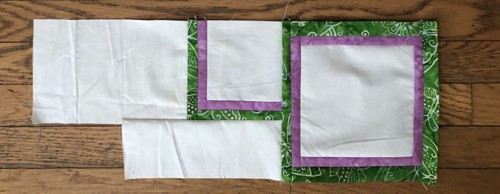
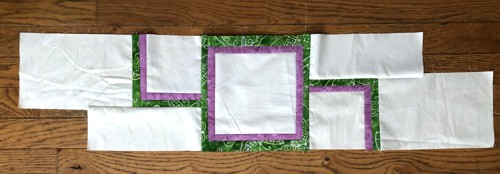
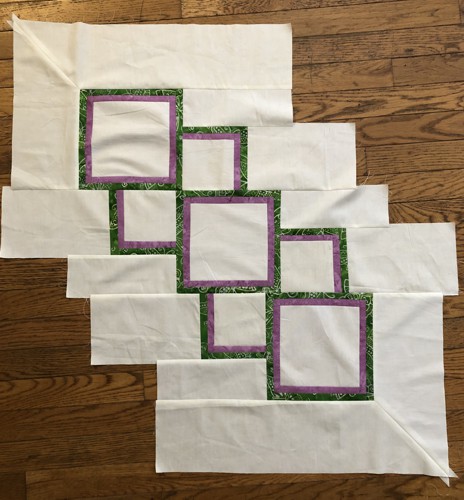
Sew one each of these units to the edge of two large block as shown on the picture below.
|
|

|
| Sew the remaining 2 units to the remaining large block as shown on the picture below. |
|
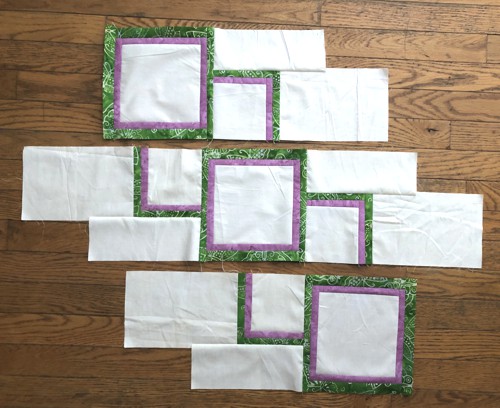
| You will get 3 rows of the future tablerunner. |
|
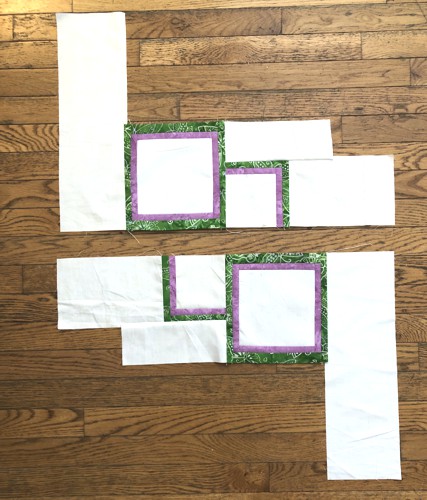
| Working with the first and third rows, sew the 4 1/2" x 20" strips to the edges of the large blocks as shown below. Stop stitching 1/4" before the outer corner of the large blocks. |
|
| Sew the remaining 4 1/2" x 20" strips to the edges of the rows as shown on the picture below. Stop stitching 1/4" before the outer corner of the large blocks. |
|
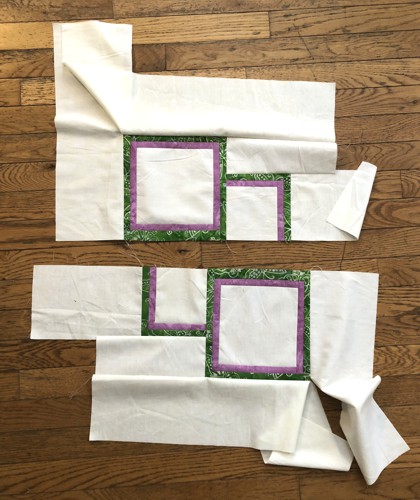
| Mitered Corners: |
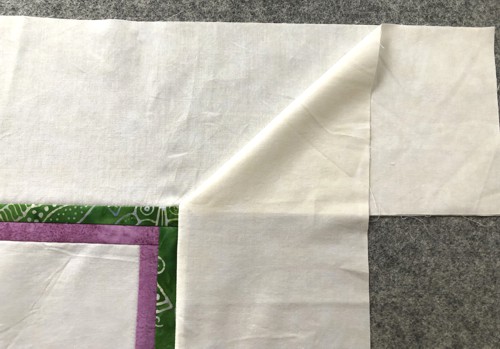
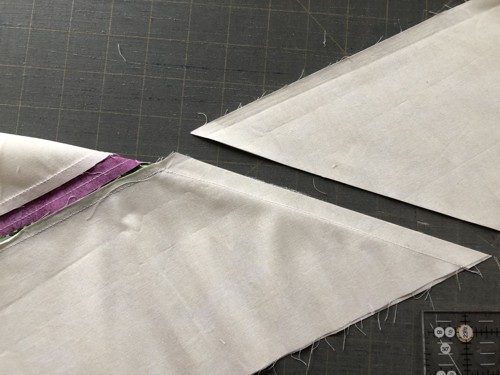
| To make mittered corners, fold one of the free ends over the other to make an angle, align the corners. |
|
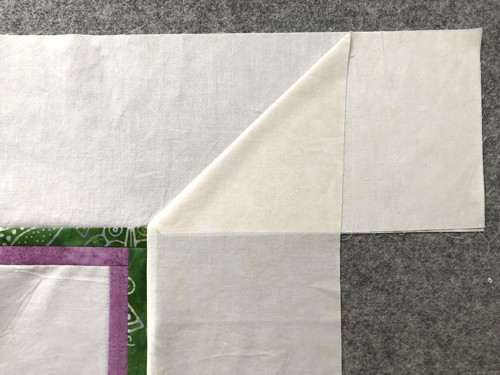
| When the miter looks right to you, press the line. |
|
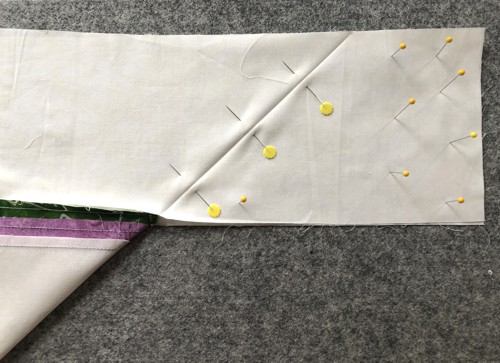
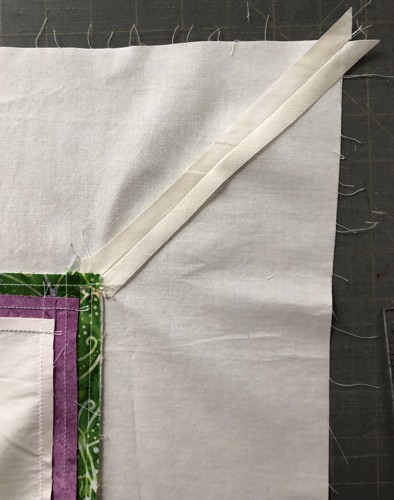
| Carefully fold the working piece and pin the strips together. Please note that the edges of both strips should be aligned. |
|
| Stitch over the creased line. |
|
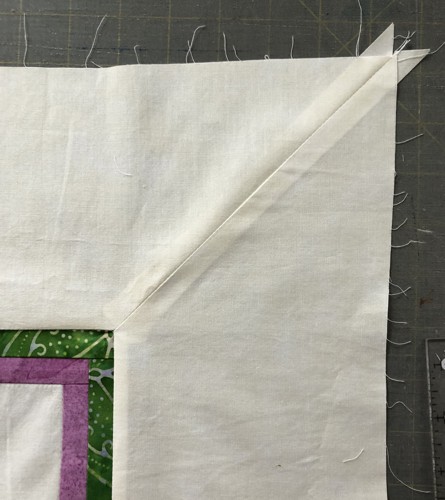
| Unfold and check that the mitered corner looks correct. |

|
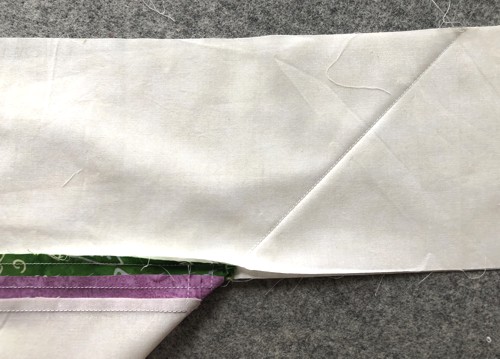
| Trim the seam to 1/2". |
|
| Press the seam open. |
|
|
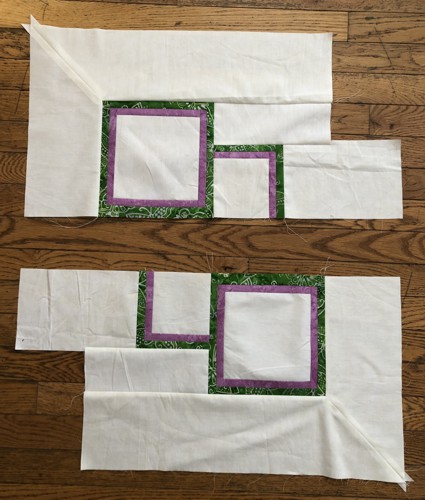
| The first and the third rows of the tablerunner with mitered corners. |
|
| Sew all three rows together aligning them by the corners of the large blocks. |
|
| Embroidery: |
Select threads to match your fabrics. Upload the files from the Summer Wreath Set into your machine.
It's a good idea to make a test stitch-out before you embroider the design on the finished top.
Mark the position of the embroidery approximately in the center of the each block.
Stabilize the chosen area. Hoop the fabric tightly and embroider the designs one by one. |
| Quilting and Finishing: |
Now place the backing on a flat surface (table) face down. Cover with batting. Spread your working piece over it.
Pin all layers together.
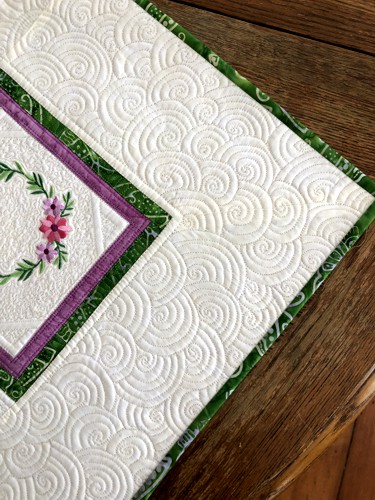
We quilted in a free-motion style all over the tablerunner. |
|
Press with heavy steam and trim the sides.
Finish the raw edges with the binding. |
|
|
|
| Have fun! |
|
|
Back to Summer Wreath Set
|
Back to Projects Page
|


