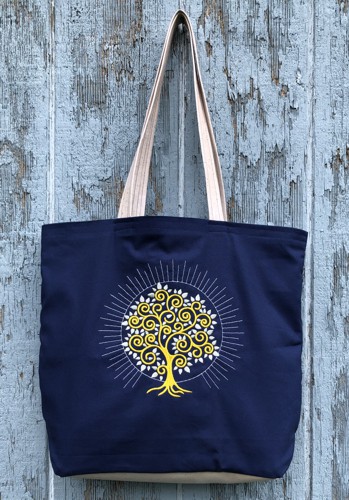
Dive into the artful world of sewing and embroidery with our project that melds elegance with practicality. This tote bag, crafted from sturdy canvas and accented with a cork bottom, showcases the Celtic-inspired Radiant Tree design, making it a perfect blend of style and durability. Ideal for both seasoned crafters and beginners, this piece promises not just a functional accessory but also a rewarding creative experience. Let's begin this delightful crafting journey!
The finished size of the bag is about 17"W x 14"H x 4"D.
|
|
You will need :
- embroidery threads, according to our color card;
- about 1/2 yard of canvas fabric, dark blue or black, for the outer bag;
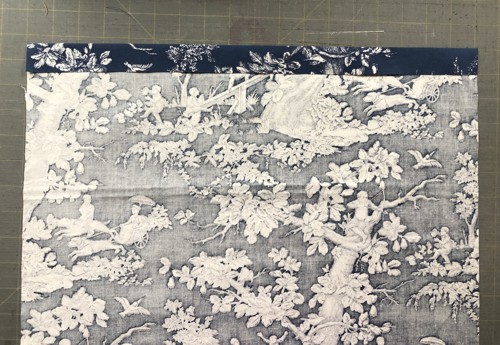
- about 1/2 yard of cotton fabric for the lining;
- a piece of cork fabric or a piece of faux leather, about 9" x 27";
- medium-weight cut-away embroidery stabilizer.
|
You will also need:
|
- quilter's ruler;
- rotary cutter and/or scissors;
- tailor's chalk pencil;
- iron;
- #12 and #14 universal needle, and sewing thread;
- dual duty sewing thread;
- a sew-on snap closure 1/2" large (optional).
|
|
Cutting:
|
Out of the canvas fabric, cut,
- 1 piece measuring 19" x 17", and
- 1 piece measuring 18" x 16".
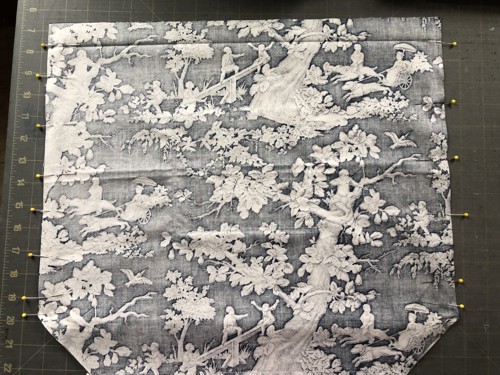
Out of the fabric for the lining, cut
- 2 pieces measuring 18" x 16" each
- 1 piece measuring 5" x 18" (for the bottom), and
- 1-2 pieces measuring 7" x 12 1/2" (for the inner pocket/s).
Out of the faux cork fabric, cut 1 piece measuring 5" x 28" for the bottom, and 2 pieces measuring 2" x 27" each for the handles.
|
Embroidery:
|
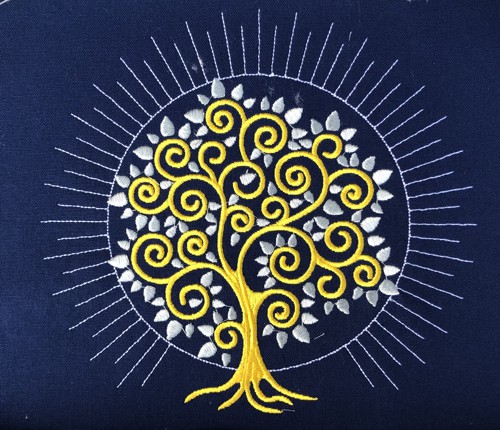
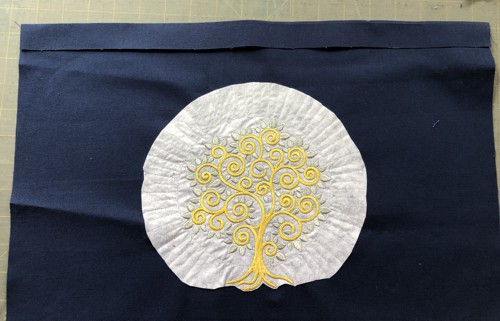
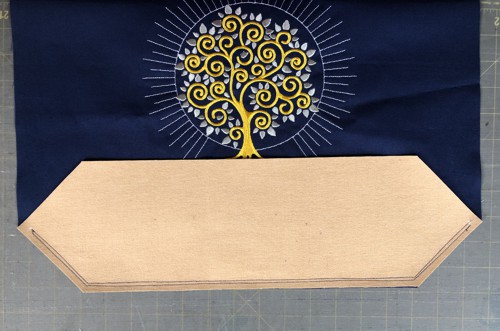
Open the color card, select threads. Stabilize the center of the 19" x 17" piece of canvas fabric with medium-weight cut-away stabilizer. Hoop the fabric tightly.
Upload the Radiant Tree file into your machine and embroider it. |
|
The Panels:
|
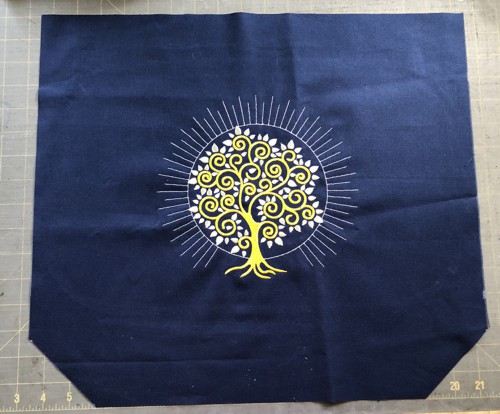
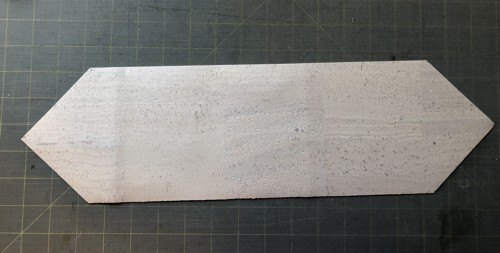
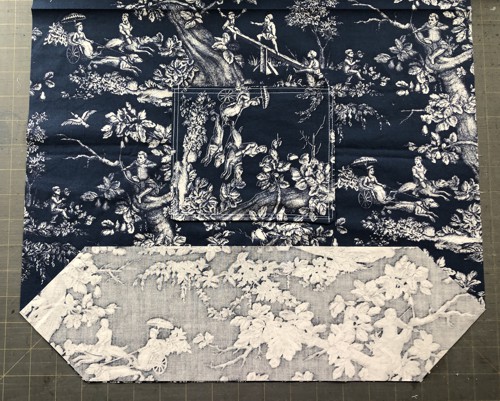
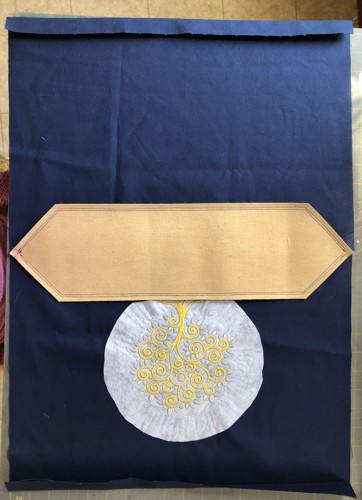
Trim the embroidered piece to 18" wide x 16" high. The embroidery should be in the center of the piece.
|
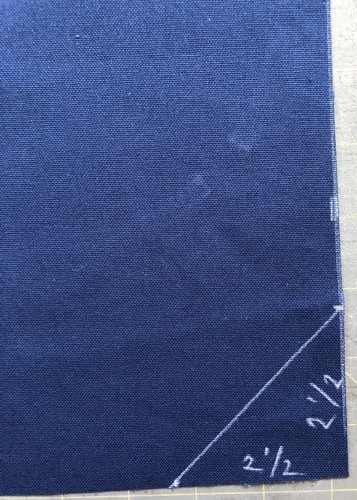
Measure 2 1/2" in both directions in a lower corner. Draw a diagonal.
Repeat for the other lower corner.
|
|
Cut along the diagonals.
|
|
| Using this panel as a template, cut the back outer panel and 2 panels of the lining. |
| Bottom: |
| On the cork 5" x 18" piece, measure 2 1/2" in each direction of all 4 corners. Place marks. Draw diagonals. Cut the corners. |
|
| Using the cork bottom as a template, cut the bottom of the lining out of the 5" x 18" lining fabric piece. |
Handles
|
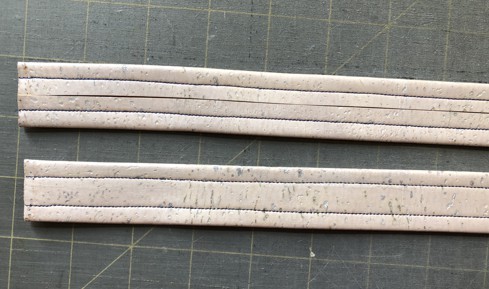
Prepare the 2" x 27" cork strips.
On the wrong side of each strip, draw a central line from one short end to another.
Working with one strip at a time, fold one long edge to the central line and topstitch about 1/4" from the edge. Repeat for the other long side.
|
|
| Inner Pockets: |
Fold the 7" x 12 1/2" piece widthwise in half, face inwards. Stitch along 2 sides, seam allowance 1/4". Turn right side out. Press.
Tuck the unfinished raw edge 1/2" inside. Press. Topstitch it closed.
Pin the pockets 3" from the folded edge of the lining panels and equal distance from the sides.
Topstitch the pockets in place. |
Assembly:
|
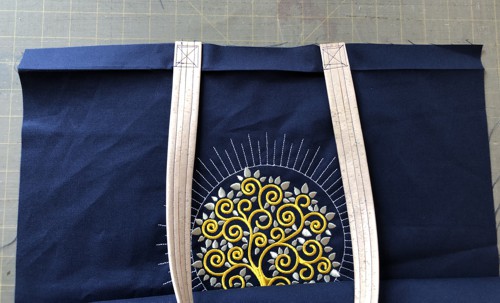
On the wrong side, with a chalk pencil draw a line 1" from the top edge of both panels.
Turn the upper edges of both panels 1" back and press. Unfold.
Repeat for the lining panels.
|
|
|
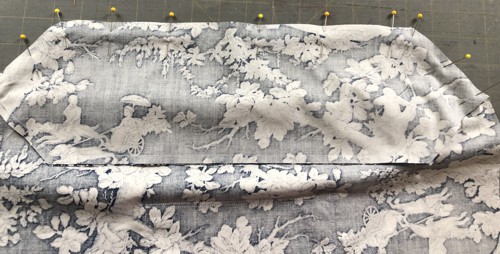
With right sides together, position the bottom piece on the front panel, align the edges.
Stitch together twice, leaving unstitched about 3/4" in the beginning and in the end. Seam allowance 1/4 and 3/4". |
|
| Repeat for the lining. |
|
| In the same way, attach the back panel to the bottom. |
|
|
Pin one handle to the upper edge of the front panel, equal distance from the side edges.
|
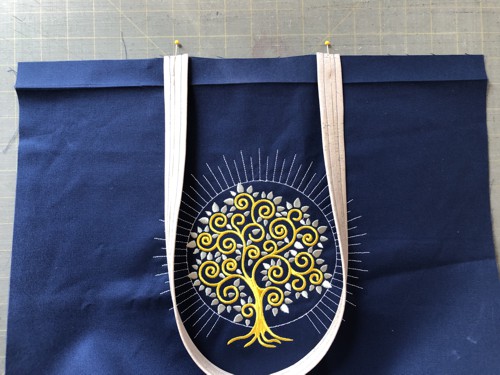
|
Topstitch the handle to the panel within the folded area.
Attach the handle to the back panel in the same way. |
|
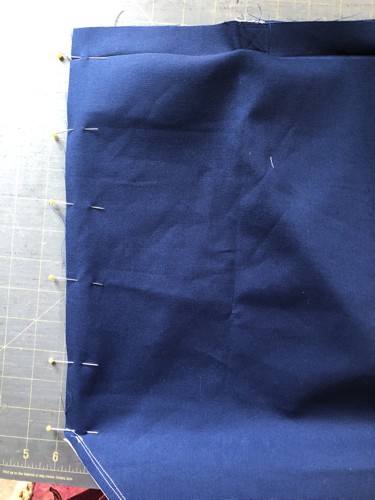
Position the panels face to face, align all edges. Stitch together with seam allowance 1/2".
|
|
| Repeat for the lining. |
|
| Open and press the seams. |
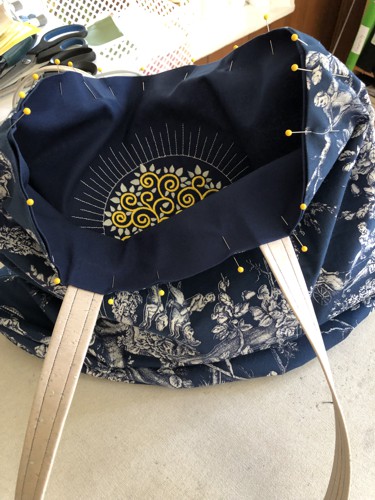
Turn the bag wrong side out, insert it into the lining. Line up the side seams.
Pin the folded upper edge of the lining to the upper folded edge of the outer bag, about 1/8" lower than the outer bag edge.
|
|
| Topstitch along the upper edge of the outer bag with seam allowance 1/4" and 1/2". |
Sew on the snap, if you use any.
|
| Have fun! |

|
|
|
Back to Radiant Tree.
|
Back to Projects Page
|


