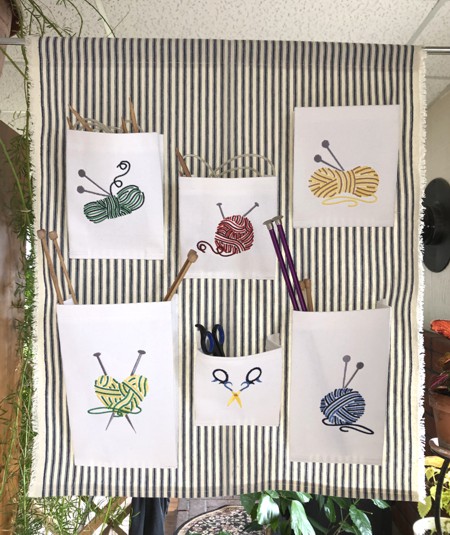
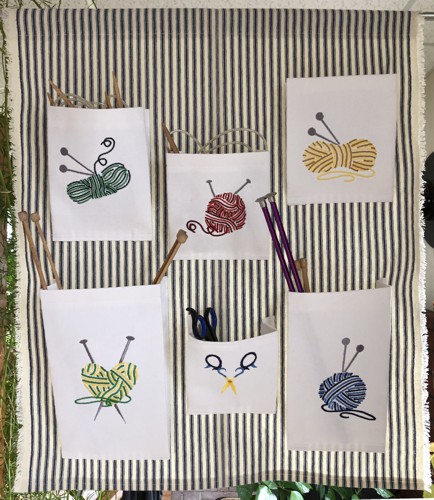
Using some stiff canvas fabric, we made this easy, but cute organizer for knitting or sewing supplies.
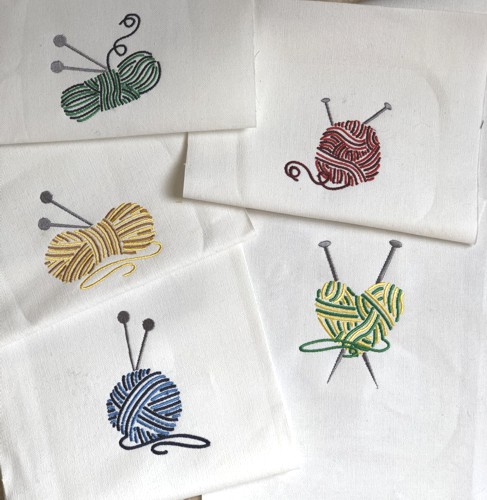
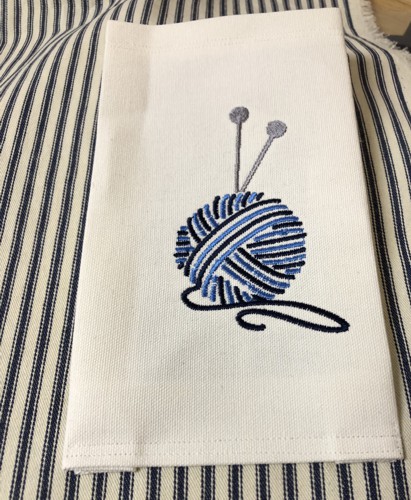
We used the designs from the Balls of Yarn and Craft Scissors sets.
The finished size of the organizer is about 21" x 25", but you can make it bigger or smaller according to your needs. |
|
You will need :
- embroidery threads, either polyester or rayon,
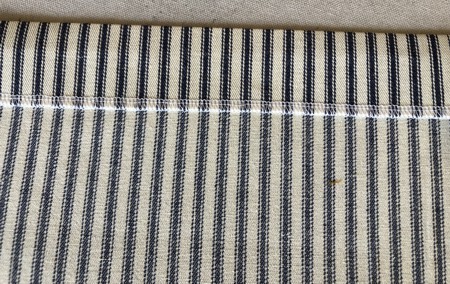
- a piece of duck cloth canvas of any color (the size depends on the size of the organizer you are making);
- a piece of duck cloth canvas of white or any light color for the pockets with embroidery (the size depends on the size and number of pockets you wish),
- medium-weight cut-away embroidery stabilizer,
- quilter's ruler,
- rotary cutter,
- iron,
- #14 universal needle,
- wooden or plastic rods:
- 1/2" in diameter for the top edge and
- (optional, but recommended) 1/8" in diameter for the lower edge.
|
Cutting:
|
Out of the fabric for the panel, cut a piece of the desired size plus seam allowance. For example, our finished panel is 21" x 25", and we aren't finishing the side edges. We cut a piece measuring 21" x 28". If you need to finish the side edges, add 1" for seam allowances to the width of your piece.
|
The next step is to decide the size and number of the pockets. We recommend to cut templates out of paper and arrange them on the background fabric.
Add 1" to the height of every pocket and 4" to the width of every pocket. For example, the finished size of our large pockets is 9" H and 6" W, so we cut the fabric to 10" x 10". The finished size of the small pockets is 6" H and 5" W, so we cut pieces measuring 7" x 9". |
Embroidery:
|
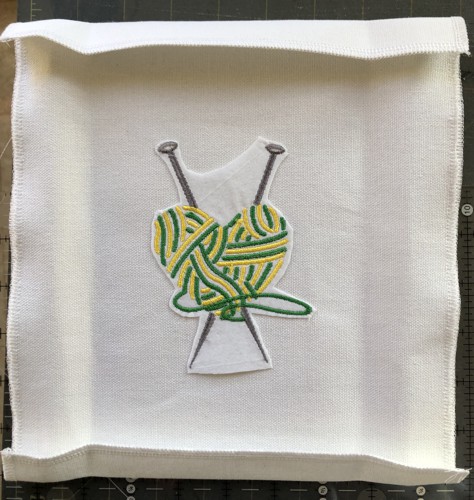
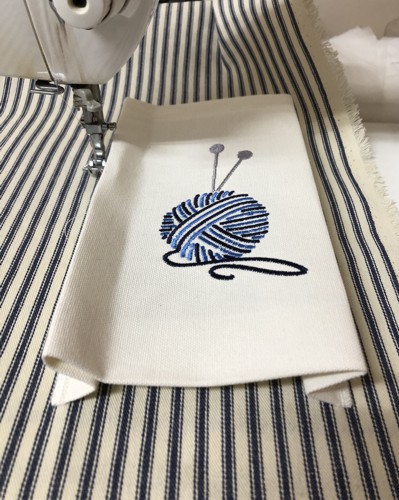
Stabilize the fabric for the pockets with medium-weight cut-away stabilizer. Hoop tightly. Upload the embroidery files into your embroidery machine and embroider the designs one by one.
|
|
| Cut away the excess stabilizer. |
Assembly:
|
Finish the raw edges of the main working piece with zig-zag or a serger. Fold the sides 1/2" back, press. Topstitch in place.
|
Fold the upper edge of the working piece 2" back, press. Stitch with seam allowance 1/4" from the finished edge to get a casing for the upper rod.
|
|
| Fold the lower edge of the working piece 1" back, press. Stitch with seam allowance 1/4" from the finished edge to get a sleeve for the lower rod. |
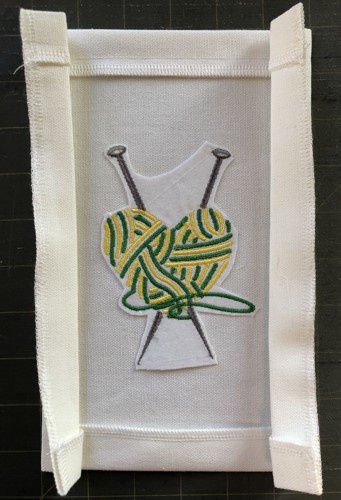
Zig-zag or serge the edges of the pocket pieces. Fold the upper and lower edges 1/2" back press. Topstitch the upper edge in place.
|
|
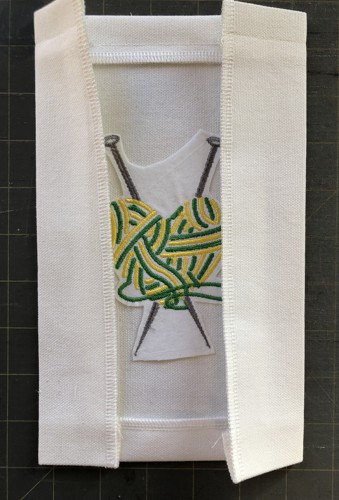
Fold the side edges 2" back and press.
|
|
| To achieve bellows-style pockets, fold the folded side edges back out 1" and press. |
|
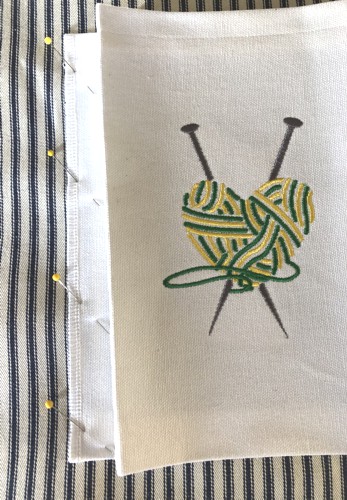
| Position the pocket on the the canvas, unfold one of the side edges and pin it to the main working piece. |
|
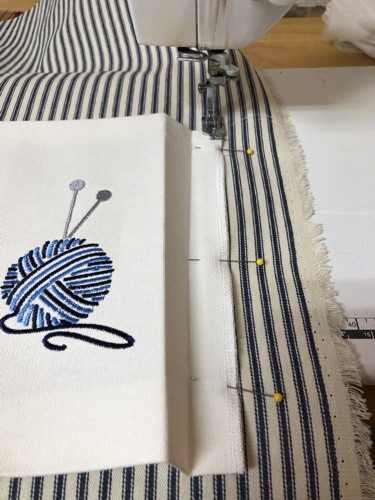
| Topstitch in place. |
|
| Re-fold the edges, then repeat for the other side of the pocket. On the picture below, both side edges are stitched in place. |
|
| Now topstitch the lower edge of the pocket in place. |
|
Repeat for all pockets.
Insert the rods into the sleeves and you are done! |
|
| Have fun! |
|
Back to Balls of Yarn Set and Craft Scissors Set
|
Back to Projects Page
|


