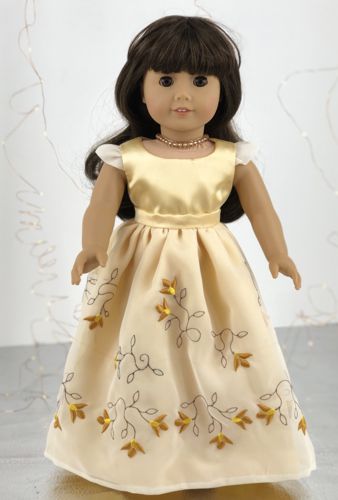
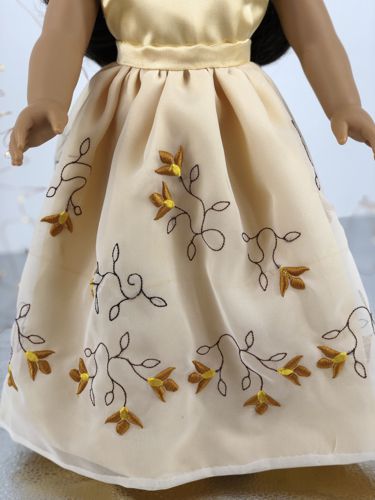
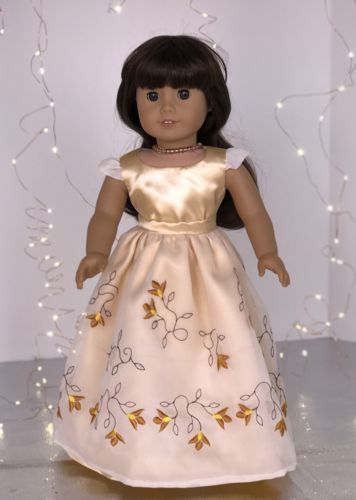
Create a stunning festive outfit for your 18-inch doll with this sewing and embroidery tutorial. You'll learn how to make a skirt with an embroidered overlay and a matching top. This project combines basic sewing techniques with simple machine embroidery to craft an elegant ensemble, perfect for holiday celebrations or special occasions.
These skirt and top are designed to fit 18-inch dolls with a soft body, such as American Girl, Our Generation, My Life As and similar dolls.
We used embroidery designs from the Curlicue Flower Set.
|
|
For the skirt and top, besides and embroidery and sewing machines, you will need :
- embroidery thread, either polyester or rayon (choose colors you like);
- light-weight sheer fabric for the overlay and top's sleeves;
- solid-colored light-weight fabric, such as light-weight cotton, cotton-polyester blend, polyester satien, etc. both for the skirt and top;
- wash-away mesh embroidery stabilizer,
|
You will also need:
- sew-on snaps (1 for the skirt, 4-5 for the top);
- small rotary cutter or scissors;
- sewing pins;
- iron;
- #12 universal needle;
- sewing needle for manual stitching and threads of colors matching your fabrics;
- printer and paper.
|
| Embroidery: |
For the embroidered overlay, prepare a piece of sheer fabric measureing about 14"-15" wide 40-42" long.
.
Fold the the piece lengwise in half, align all edges, pin the edges together.
Lightly press the along the folded line.
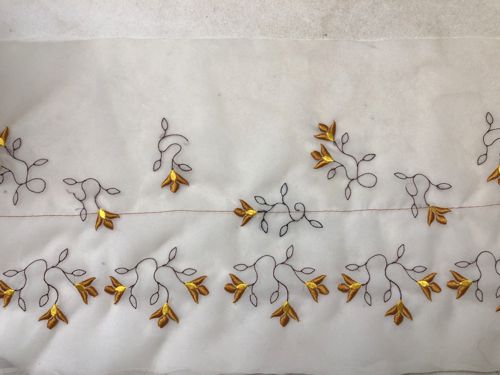
On your sewing machine, using the longest stitch, stitch along the creased line with a contrast thread. This line will help you to align the designs, which should be situated within 4" on both sides of the line. You can use the largest hoop you have and embroider several designs in it. In this case the line should always go through the center of the embroidery hoop. |
Mark the position of the embroidery on both sides of the line. If you have embroidery software, print-outs of the designs can be helpful. If you do not, you can cut out rectangles of the same size as the designs and arrange them on the fabric to determine the position of the embroidery.
Stabilize the fasbric with wash-away mesh stabilizer. Embroider the files one by one. |
| Cut away all excess stabilizer and wash away the remainder in lukewarm water. You may need to leave it in a tub for a couple of hours. Leave to dry, remove the basting stitch, press. |
|
| Trim the piece to 11" x 36" rectangle. |
| The Skirt: |
Fold the short edges of the embroidered piece a scant 1/4" to the wrong side. Press. Fold again 1/4" and press. Pin or baste to keep in place.
Finish the seams by hand. |
To make the hem, fold one of the long edges 1/4" to the wrong side, press. Fold again 1/4" and press. Pin or baste to keep in place.
|
Out of the solid fabric, cut a piece measuring 11" x 36". Finish the short edges and one of the long edges with zig-zag or on overlock.
Fold and press the short sides 1/2" to the wrong side. Unfold.
Fold the finished long edge 3/4" onto the wrong side and press. Unfold. |
| Check that the solid fabric piece with the side folded is of the same size as the overlay piece with the hem folded. |
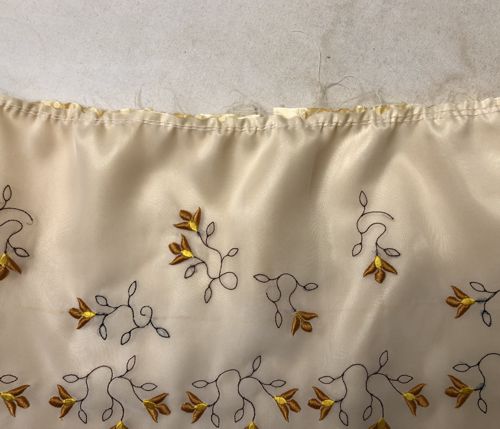
| Place the solid fabric piece on the table face up. Cover with the embroidered piece, face up. Pin them together along the upper edge. |
| Sew 2 rows of gathering stitches along the upper edge of both layers, starting and finishing 1" from the short edges (or 1/2" from the folded short edges. |
|
| Fold the working piece right side inside. Align and pin the short edges of the solid fabric skirt together. Starting 2" from the upper edge, stitch the skirt sides together, seam allowance 1/2". Press the seam open. |
| Align and pin the short edges of the overlay together. Starting 2" from the upper edge, stitch the sides together, seam allowance 1/4". Press the seam open. |
Measure the waist of your doll. Out of the solid fabric cut the waistband - a strip measuring 2" x the length of the doll's waist +1".
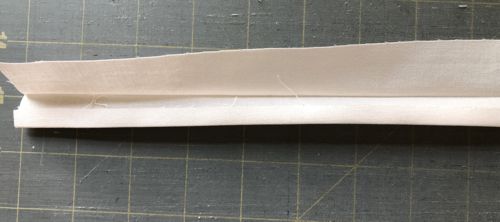
Fold in half lengthwise, wrong side inwards, and press.
Fold one of the long edges 1/4" towards the folded line and press. |
|
| With right sides together, match the center of the waistband's unfolded edge with the center of the skirt, pin. |
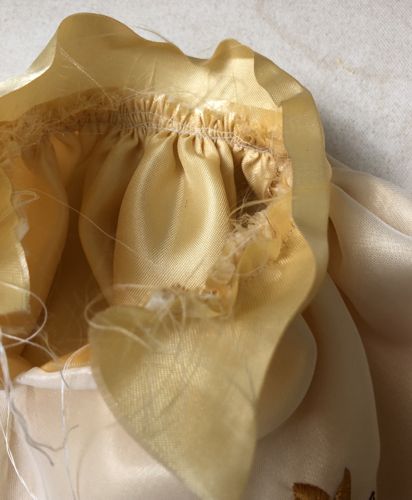
Pull the gathering threads on the skirt. Adjust the fullness evenly, leaving 1/4" on the right side and 3/4" on the left side of the waistband. Pin.
Stitch the waistband to the skirt. Press the seam allowance toward the waistband. |
|
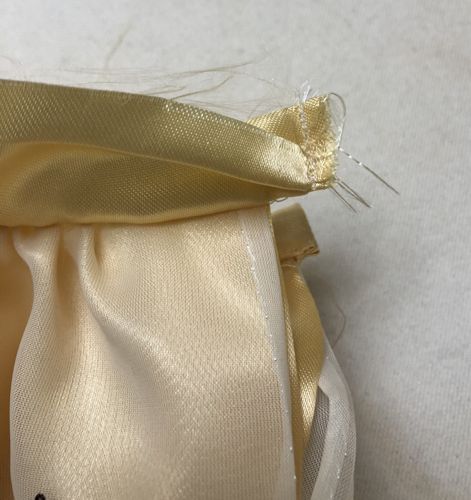
| Fold the waistband along the creased line, but with right sides inside. Stitch, seam allowance 1/4". |
|
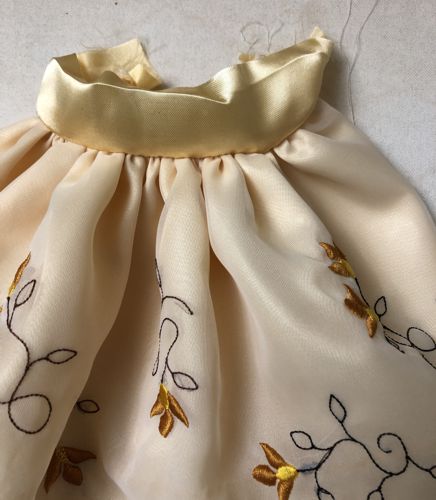
| Turn the waistband right side out. |
|
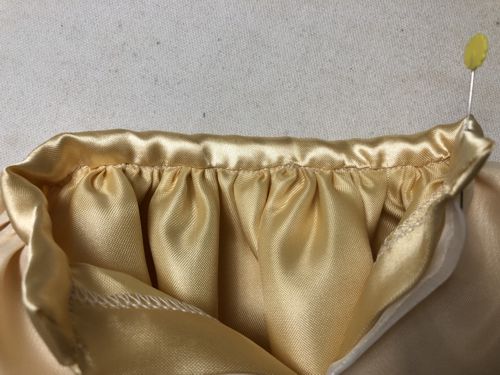
| Fold the waistband onto the seam allowance of the skirt and handstitch in place. |
|
| Put the skirt on the doll and mark the position of the snap's part. Sew the snap in place. |
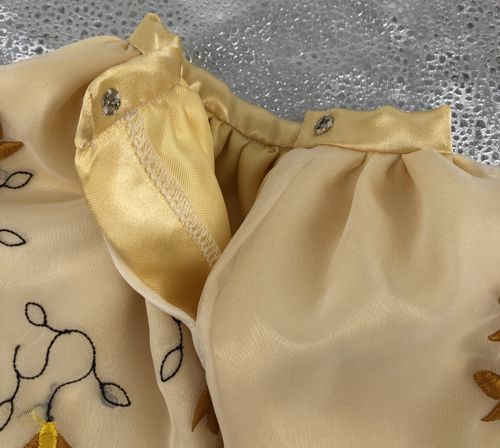
|
| Finish both hems - of the overlay and the skirt - by hand. |
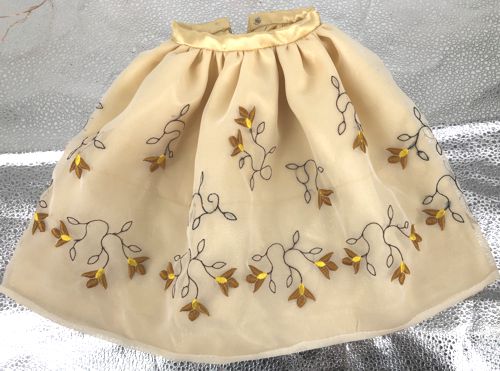
|
| The Top: |
Patterns:
|
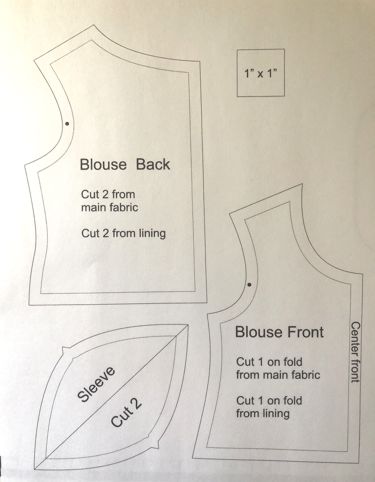
Download the template for the top. To open and print the template, which is a PDF file, you will need Adobe Reader or a similar program. Adobe Reader is free to download and install.
Template Download (PDF file)
|
Print out the templates and cut them out.
Note: Seam allowance of 1/4" is included in the templates.
|
|
The Top:
|
Cutting:
|
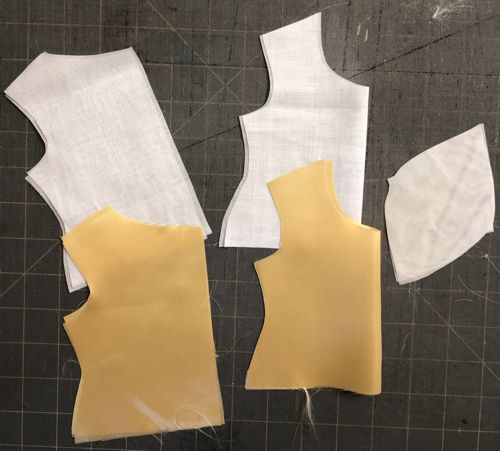
Use the paper templates to cut out all parts of the top: the front and back out the solid fabric and the lining, the sleeves out of the sheer fabric.
Cut out.
|
|
Assembly:
|
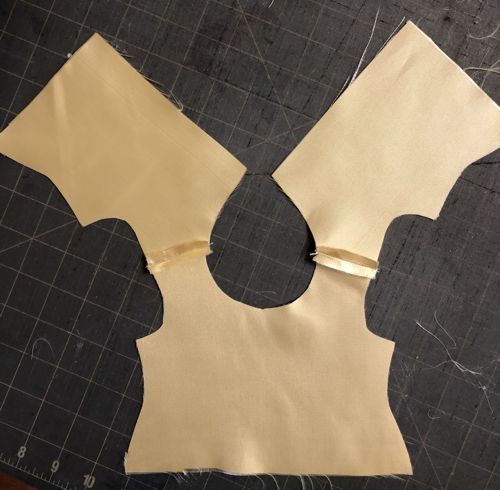
With face sides together, pin and sew the shoulder seams. Repeat for the lining. Press the seams open.
|
|
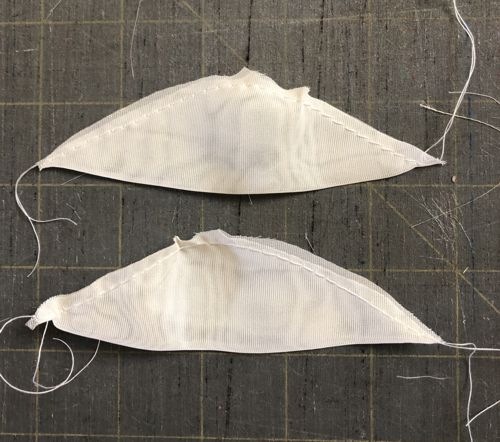
| Fold the sleeves in half, baste together along the raw edges, seam allowance 1/8". |
|
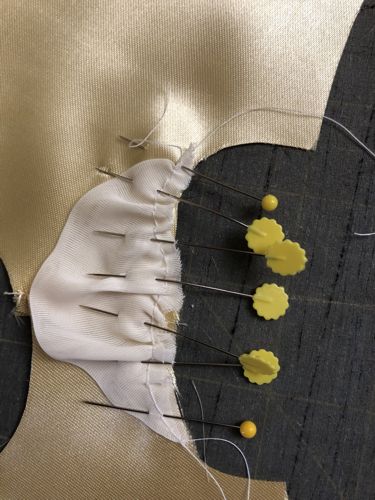
| Pull the gathering thread, distribute evenly, align the top of the sleeve with the shoulder seam. |
|
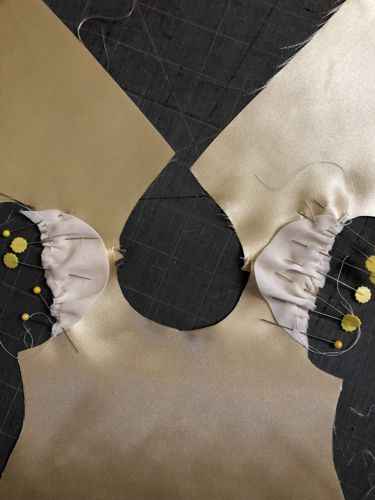
Align the ends of the sleeves with the places marked on the templates with the dots. Pin.
Stitch in place with seam allowance scant 1/4". |
|
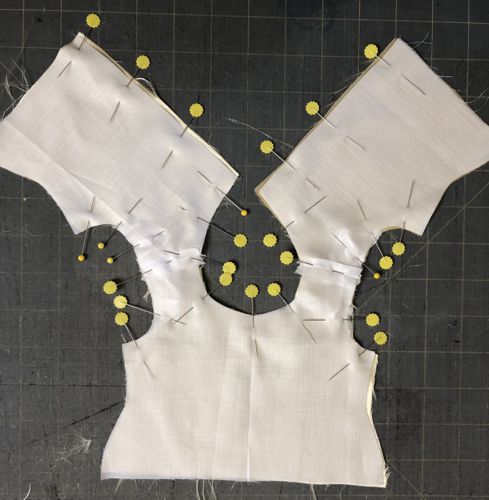
Fold the outer edges of the sleeves slightly back and pin, so that are not caught by the stitches in the next step.
With face sides together, pin the top's lining to the top along the neck, back opening and armholes.
|
|
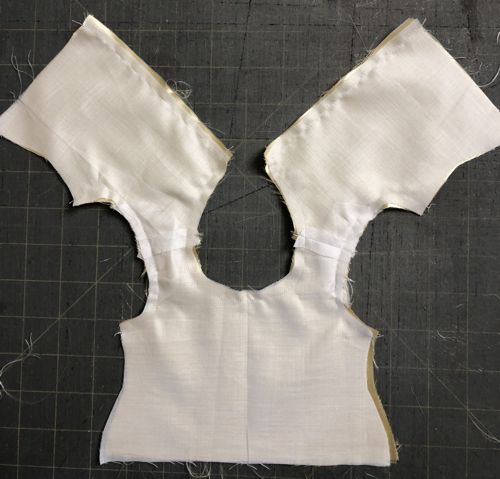
Stitch along the edges: back opening, neckline, armholes.
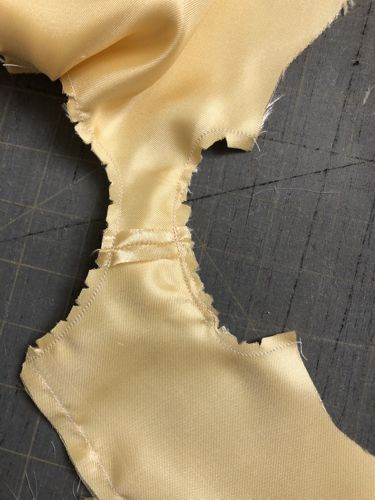
Cut the corners and clip the curves, being careful not to cut through the stitching.
Trim the seams to 1/8".
|
|
Cut the corners and clip the curves, being careful not to cut through the stitching.
Trim the seams to 1/8". |
|
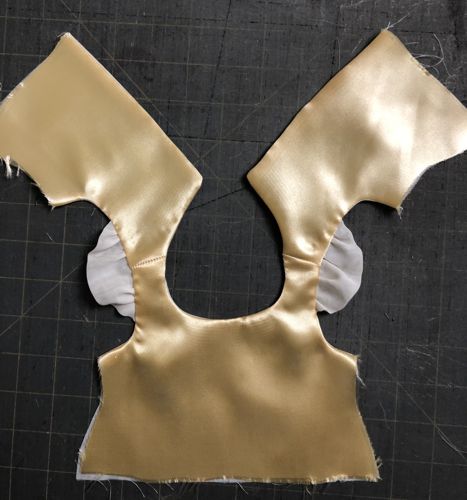
| Turn the working piece right side out. Take your time to straighten all corners and lines. Press. |
|
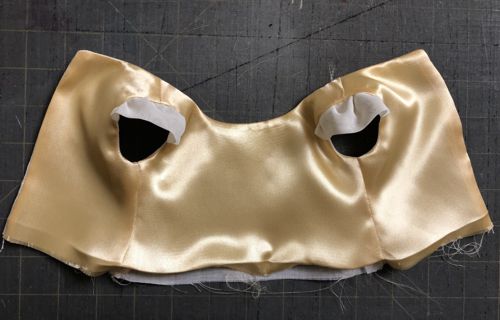
With right sides together, fold the top and lining to align the sides. Pin. Stitch. Repeat on other side. Press the seams open.
|
| Fold the hem of the top and lining 1/4" to the wrong side, press. |
|
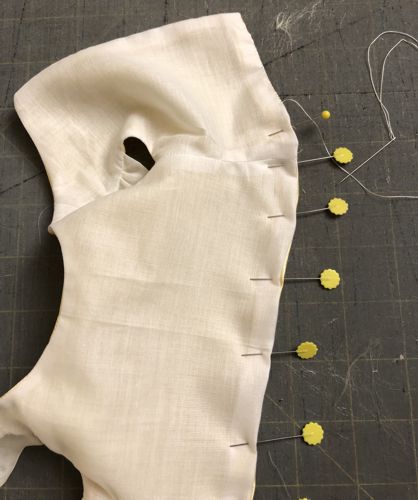
| Pin the folded hem and finish by hand. |
|
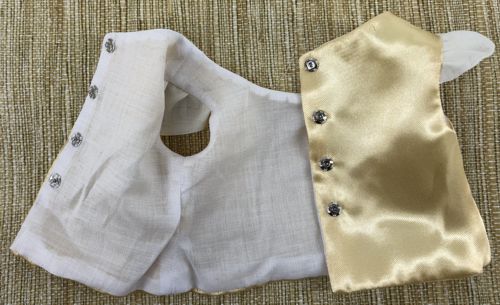
| Put the top on the doll and mark the position of the snaps. Sew them in place. |
|
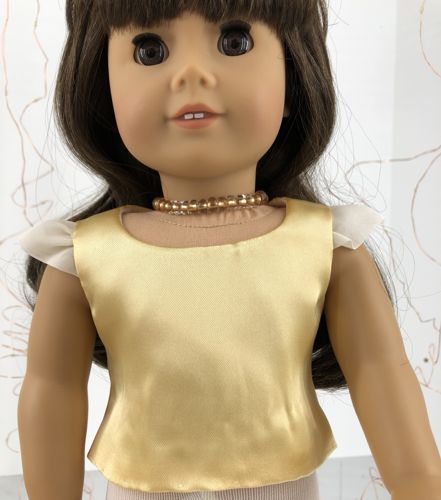
| Put the blouse on the doll. |
|
| Then put on the skirt. |
|
| You doll is ready for a holiday party! |

|
| Have fun! |
|
|
Back to Curlicue Flower Set
|
Back to Projects Page
|
