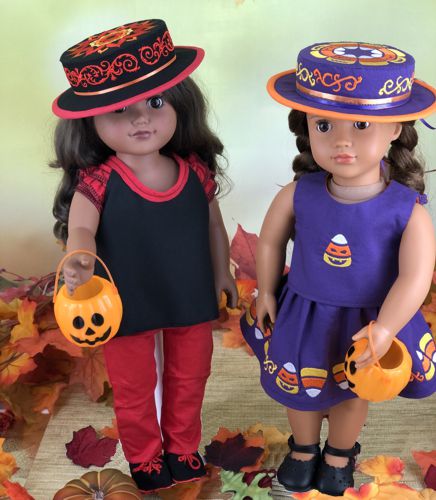
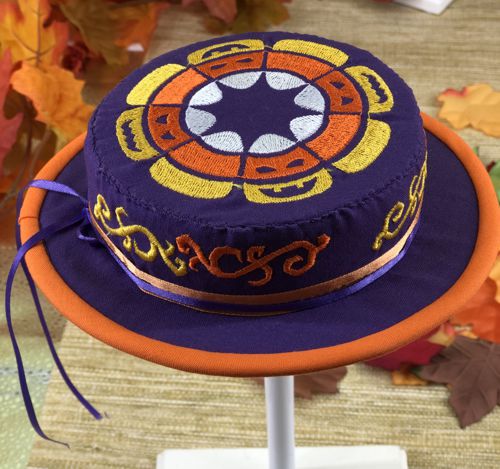
In this tutorial, you'll learn how to sew and embellish a stylish Canotier or Boater Hat for an 18-inch doll. The project involves creating a classic boater hat design, featuring a large round embroidery on the top and a narrow side border. Two examples will be shown: one in purple featuring a Candy Corn design, and another in black with a stylized floral pattern. This is a fun way to add a unique accessory to your doll’s wardrobe.
This project comes with a free downloadable pattern to make this project a cinch!
This hat is designed to fit 18- and 19-inch dolls with a head diameter of 12"-12 1/2".
We used embroidery designs from the Halloween Candy Corn Border Set, Thai Style Motif Set and Vine Border Set. |
|
Besides embroidery and sewing machines, you will need (for 1 hat) :
- embroidery thread, either polyester or rayon, (you choose the colors),
- Solid-colored light-weight fabric, such as light-weight cotton, or cotton-polyester blend:
- 1 fat quarter for the outer hat
- 1 fat quater for the lining
- these can be the same or contrasting colors!
- 20" long piece of a ribbon (optional);
- light-weight embroidery stabilizer;
- medium- to heavy-weight fusible interfacing, such as Pellon 71F Peltex One-Sided Fusible Interfacing, or a similar product (we used Stitch N Shape stabilizer by Floriani);
- bias tape in a color matching the embroidery;
- chalk and graph pencils;
- small rotary cutter or scissors,
- sewing pins,
- sewing needle;
- iron,
- #12 universal needle,
- printer and paper.
|
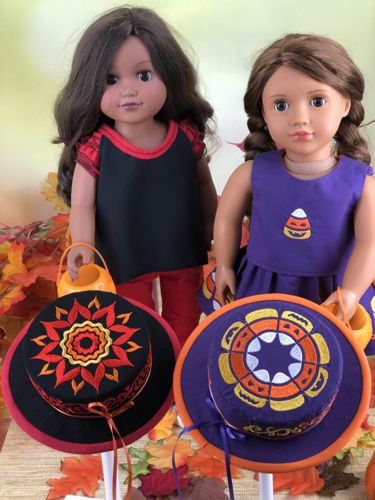
On the pictures below:
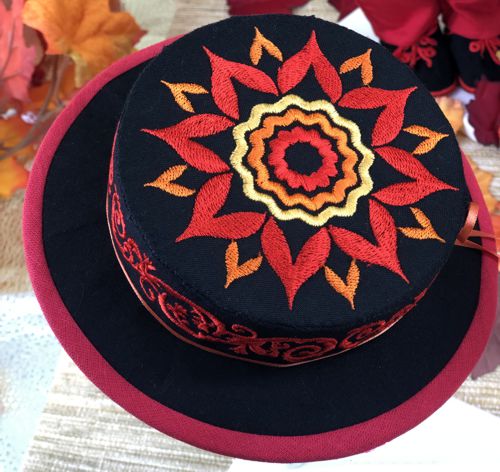
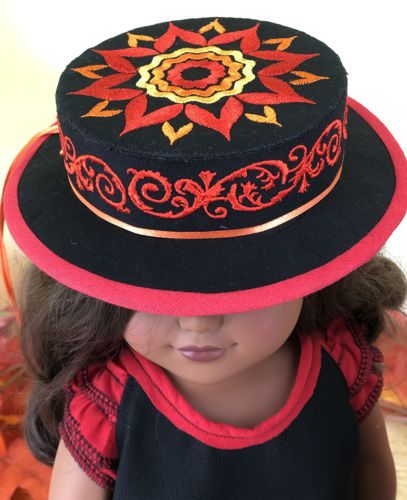
The black hat features designs from the Thai Style Motif Set and Vine Border Set.
The purple hat features designs from the Halloween Candy Corn Border Set.
|
|
Patterns:
|
Download the template file for the hat. To open and print the template, which is a PDF file, you will need Adobe Reader or a similar program. Adobe Reader is free to download and install.
Template Download (PDF file)
|
Print out the templates and cut them out.
Note: Seam allowance of 1/4" and 1/2" are included in the templates.
|
|
Embroidery:
|
Choose the embroidery designs, select fabric and threads . Upload the files into the embroidery machine. Stabilize the fabric with light-weight embroidery stabilizer. Hoop tightly and embroider the designs of your choice for the Hat Top and for the Hat Side. For the side of the black hat we embroidered one design twice on 2 pieces of fabric, which were then stitched together. For the purple hat, we embroidered the same design several times on one piece of fabric, re-hooping and aligning so that they fit into one strip.
|
Cutting:
|
Out of sewing interfacing, cut the Crown/Top, Hat Side, Hat Brim.
Out of the main fabric, cut the Hat Brim. |
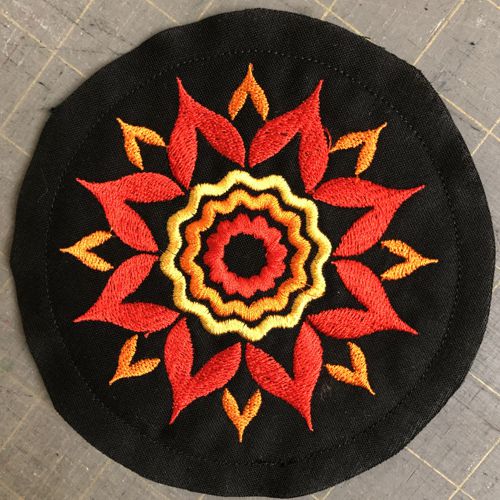
| Position the paper template of the Hat Crown/Top on the stitch-out of the embroidery design that's going on top. Trace the template and cut out. |
|
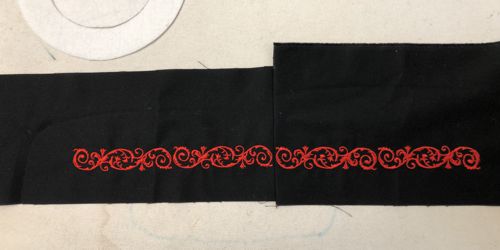
Sew the stitch-outs for the hat side into one strip. Position the Hat Side template over the stitch-out, trace and cut out.
|
|
| Out of the fabric for the lining, cut Top, Side and Brim. |
| Assembly: |
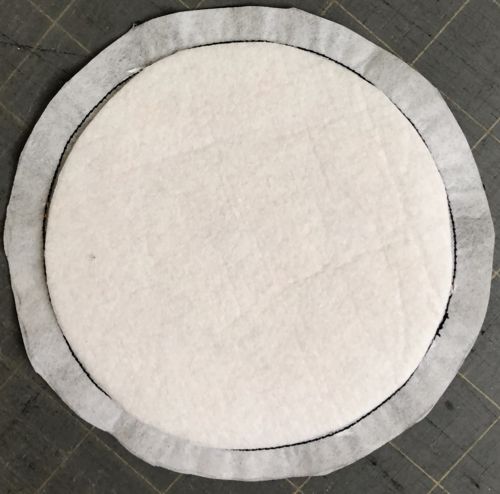
Position the interfacing Top, with fusible side up, over the back side of the embroidered Hat Top.
Staystitch close to the outside edge of the interfacing.
|
|
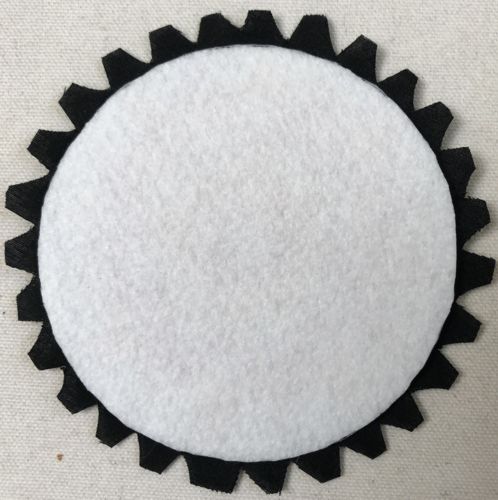
Notch the fabric close to the stitching, but take care not to cut through the stitches.
|
|
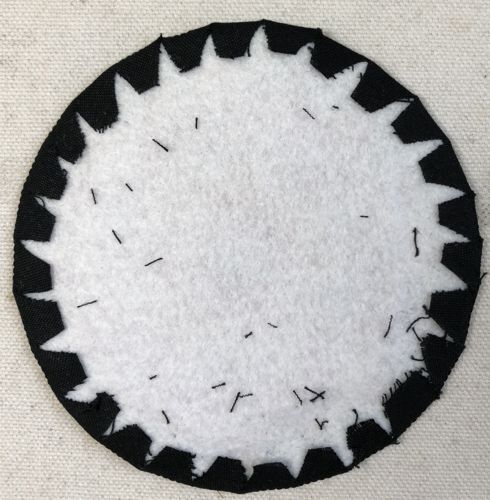
Press fabric tabs along the staystitching over the interfacing. Press to fuse. If you are not using fusible interfacing, glue the tabs in place with fabric glue or fusible web.
|
|
Position the interfacing Hat Side, with fusible side up, over the wrong side of the embroidered Hat Side leaving margins on all edges. Staystitch along the long edges of the interfacing, but not through it.
Fold left short end and long edges of fabric over the interfacing and fuse in place. Do not fold the right short edge. |

|
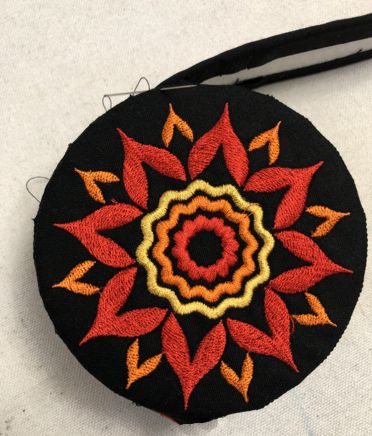
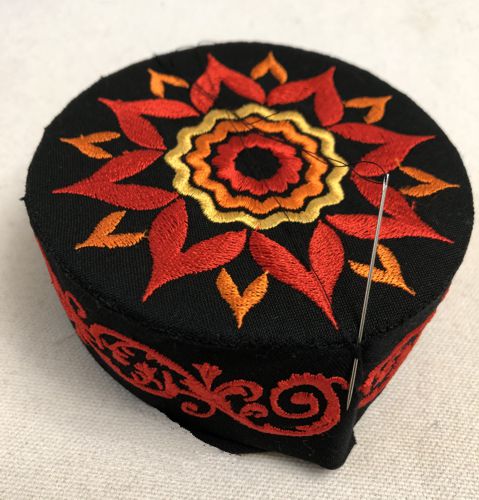
| Starting with short folded edge, hand-stitch the Hat Side to the edge of Hat Top, using the staystitches as guidelines. |
|
When you reach the beginning, the short folded edge, tuck the unfinished short edge of the Hat Side under it. DO not stitch down yet.
Set this piece, the Hat Crown, aside for the time being.
|
|
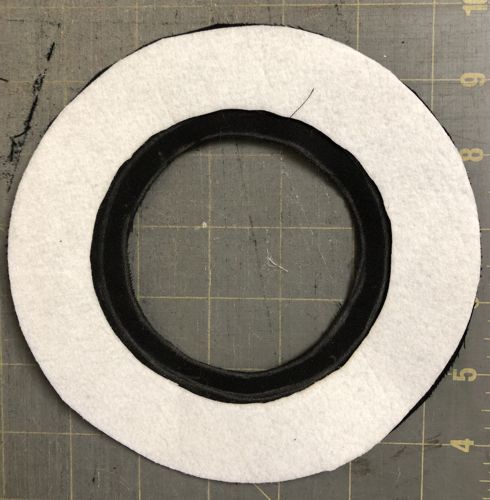
| Position the interfacing Hat Brim, with fusible side up, over the back side of the main fabric Hat Brim. |
|
Cover with the Hat Brim Lining, with its back side down. Fuse in place.
|
|
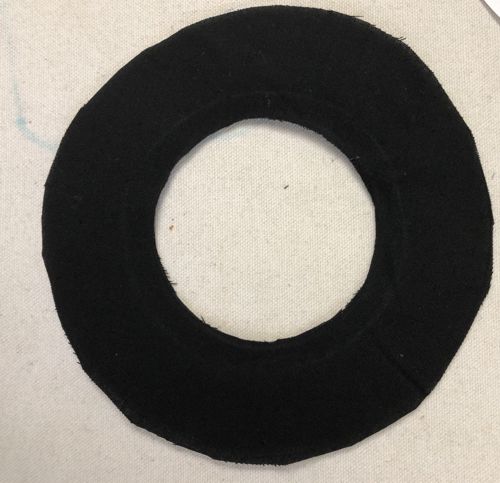
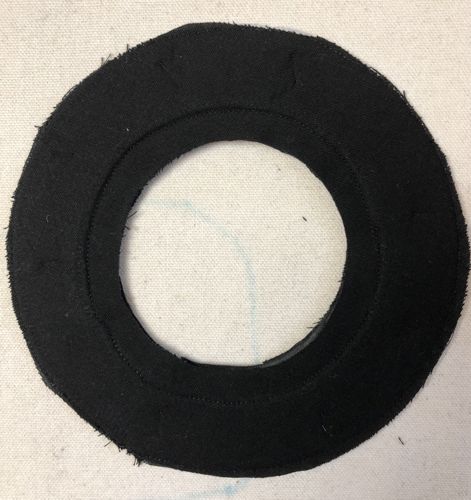
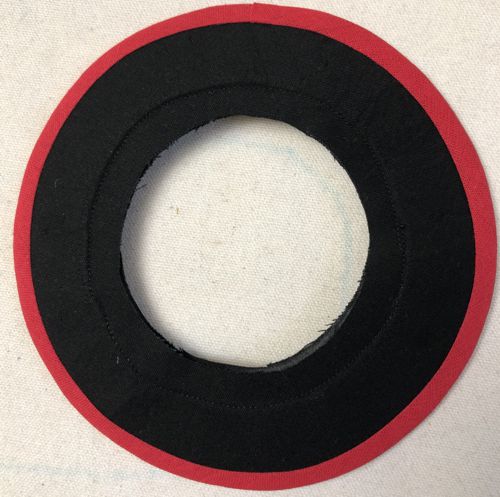
| Staystitch around the central opening close to the central opening of the interfacing. Staystitch along the outer edge with seam allowance 1/8". |
|
Finish the outer edge of the brim with the bias tape.
|
|
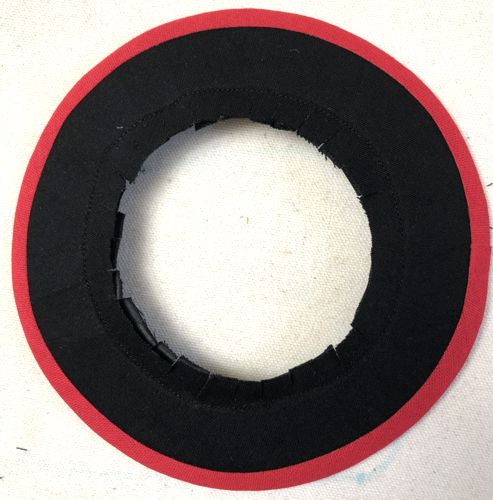
| Clip the fabric close to, but not through, staystitching along the inside opening. |
|
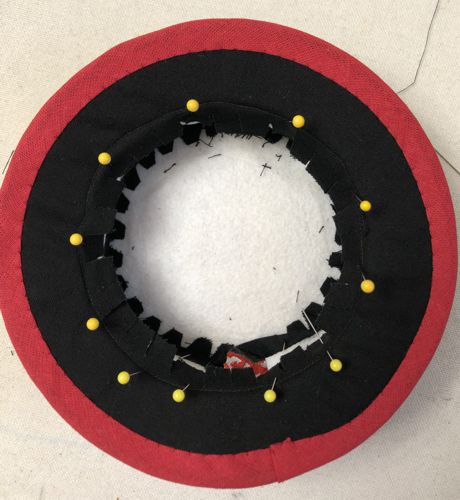
Insert the Hat Crown into the Brim. Pin in place, adjusting the Crown to the inner opening of the Brim.
|
|
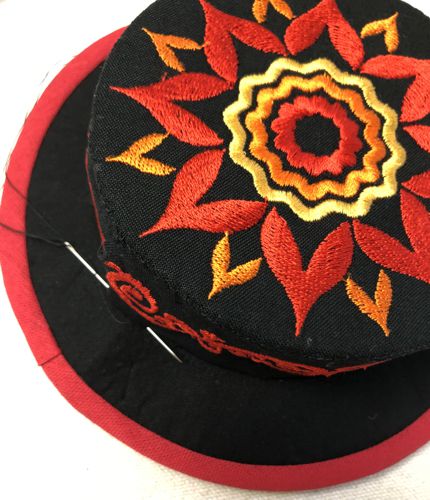
Starting from the folded edge of the Hat Side, handstitch the the Hat Crown to the Hat Brim, using the staystitches as a guide.
When you reach the starting point, adjust the bottom edge of the Hat Side to fit, if necessary. \
Handstitch the overlap on the Hat Side. |
 |
Lining:
|
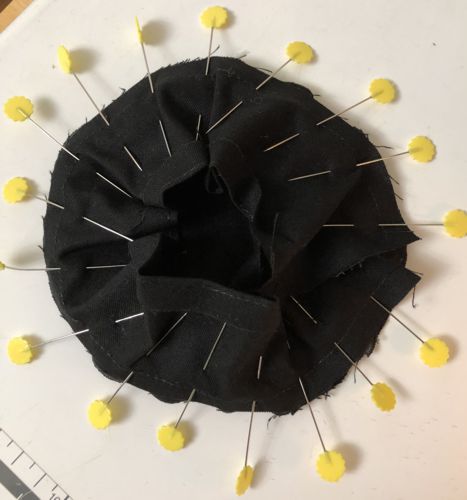
Staystitch 1/4" from the Lining Top.
Fold one of the long edges of the Lining Side about 3/4" to the wrong side and press.
Starting 1/4" from the Lining Side short edge, pin it to the Lining Top, using the staystitching as a guideline.
Stitch together, seam allowance 1/4". |
|
Stitch the short edges together. Press the seam open
|
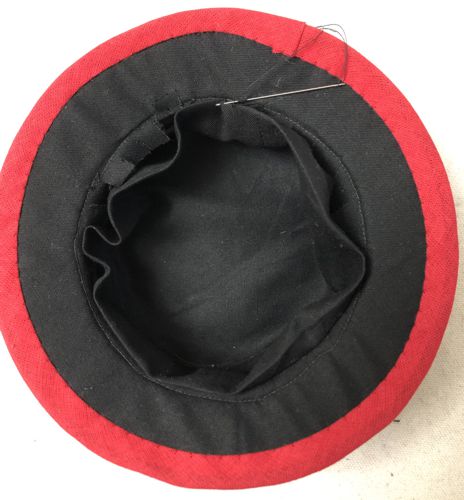
Insert the Lining into the hat. If the the Lining Side is too narrow or too wide, press the crease open, adjust the width and press again.
Handstitch in place.
|
|
Tie a silk ribbon - it will add some decoration and hide the stitches between the crown and brim.
|
|
| Have fun! |
|
|
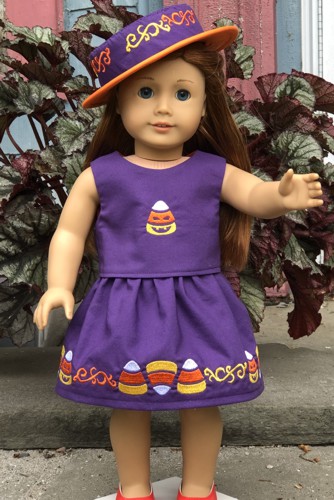
You can read about how to sew these top and skirt on the project page. |
|
Back to Halloween Candy Corn Border Set, Thai Style Motif Set, or Vine Border Set.
|
Back to Projects Page
|
