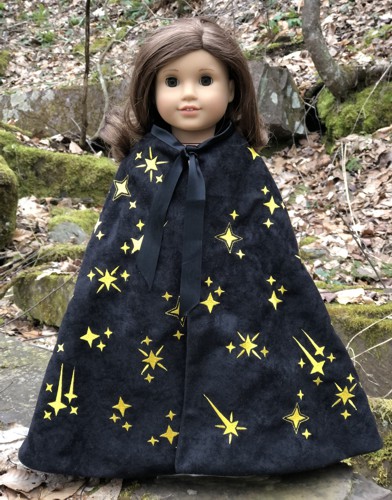
Welcome to our sewing and embroidery tutorial for crafting a Wizard's Cape designed specifically for 18-inch dolls. In this tutorial, we will guide you through the process of creating a captivating cape for your doll using simple sewing techniques and machine embroidery. Whether you're a beginner or seasoned crafter, follow along as we unveil the secrets to conjuring up a magical accessory for your doll's wardrobe. Let's dive in and bring enchantment to your doll's world!
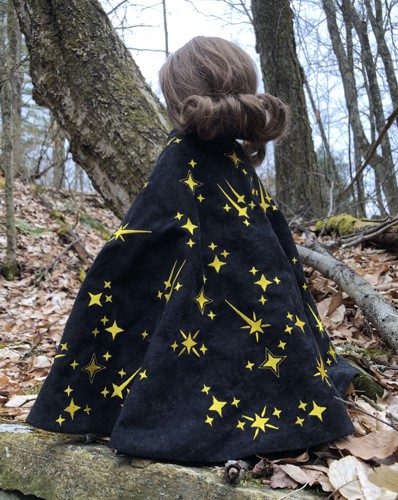
This cape is designed to fit 18-inch dolls with a soft body, such as American Girl, Our Generation, My Life As and similar dolls.
We used the designs from the Small Star Set. |
|
For this project you will need:
- embroidery threads, either polyester or rayon (you choose the colors),
- about 1/2 yard of solid-colored light- to medium-weight fabric, we used medium-weight polyester suede;
- light-weight fabric for the lining;
- light-weight cut-away or tear-away embroidery stabilizer;
- satin or cotton bias tape in a color matching either the fabric or the embroidery threads;
- chalk and graph pencils;
- 4 pieces of A-size paper and scotch tape;
- measuring tape and scissors,
- sewing pins, sewing needle, sewing threads;
- iron,
- #12 universal needle;
- fray check glue.
|
|
Pattern:
|
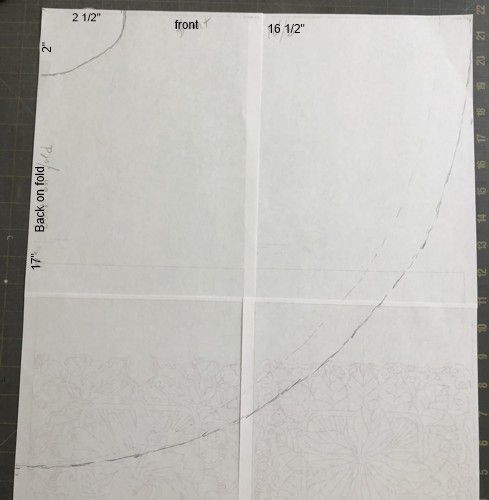
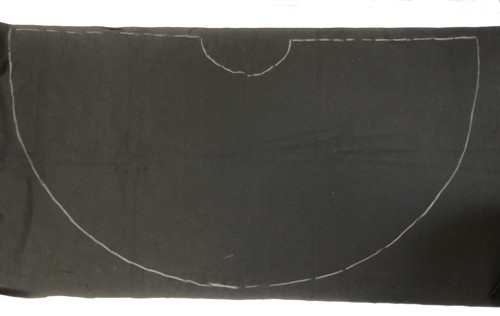
Connect 4 pieces of Letter-size paper with scotch tape.
Starting from the upper left corner measure and mark a spot 2 1/2" along the upper edge, and another 16 1/2" along the upper edge.
Then from the same corner, measure and mark a sport 2" along the left edge, and another at 17".
Connect the 2" and 2 1/2" marks with a curved line.
Connect 17" and 16 1/2" marks with a curved line. |
|
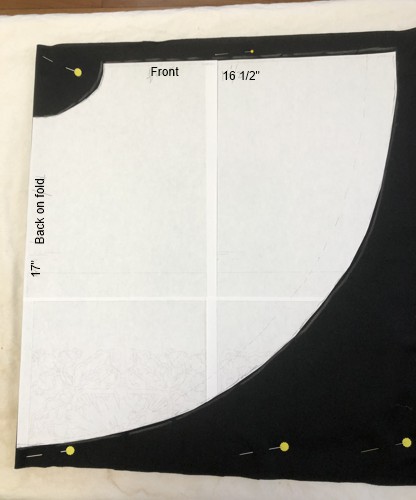
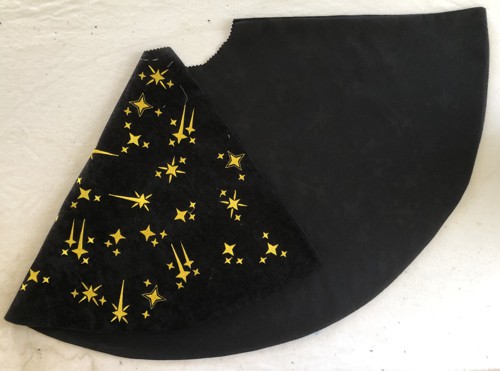
| Cut out the paper template, place it on the folded fabric and trace with a chalk pencil. |
|
| Open the fold, flip the template to the other side and trace the pattern again. Do not cut out. |
|
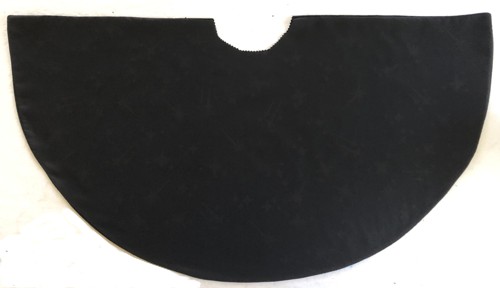
| Using the paper template cut out the lining. |
| Embroidery: |
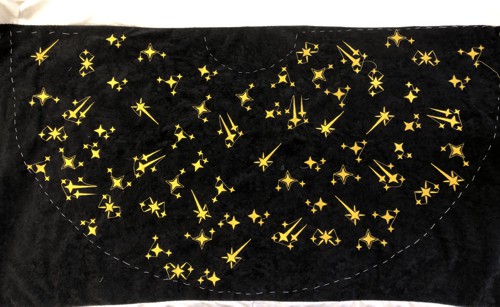
| Stabilize the fabric of the cape and embroider the stars from the Small Star Set all over the cape. |
|
| Neatly remove the excess stabilizer. |
| Sewing: |
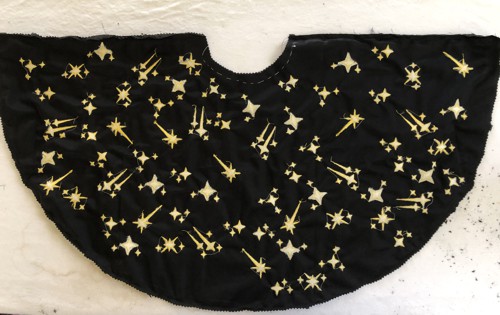
| Cut out the pattern. |
|
Position the cape and the lining face to face, align and pin all edges.
Stitch together along the front and hem, seam allowance 1/4", leaving the neck edges open. |
|
| Notch the curves. Turn the cape right side out through the opening and press. |
|
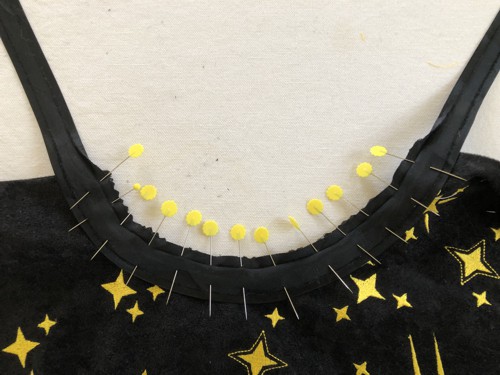
Cut a piece of bias tape about 30" long, fold in half and mark the center with a pin.
Fold the cape in half and mark the center of the neckline with a pin.
Align the pin on the neckline with the pin on the bias tape, pin one edge of the bias tape to the neckline, leaving the ends loose. |
|
| Stitch the bias to the neckline. Clip the curves. Fold the bias over the raw edge and sew in place by hand. Leave the loose ends untrimmed. |
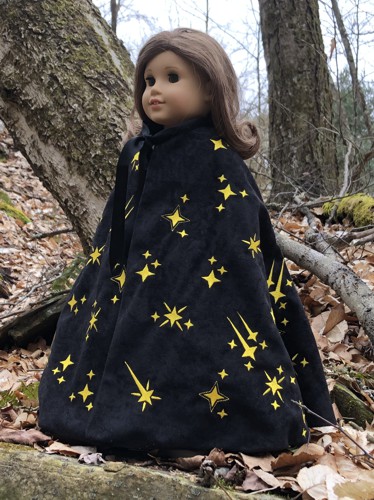
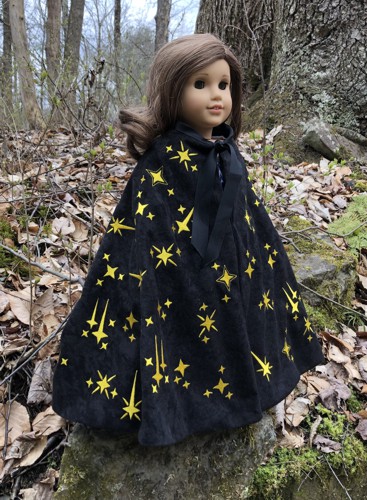
| Put the cape on the doll and tie the ends. |
|
| Have fun! |
|
|
Back to Small Star Set
|
|
|


