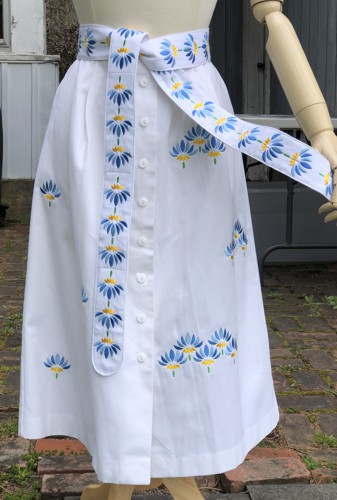
Welcome to our Summer Skirt Makeover with Embroidered Sash tutorial! Transform your old skirt into a fresh, stylish piece with the magic of machine embroidery. Learn how to add vibrant flower embroidery to your skirt and craft a matching sash for a coordinated look that breathes new life into your wardrobe. Let's dive in and elevate your summer style effortlessly!
We used the designs from the Field of Flowers Set. There are 7 designs in the set, you can use all of them or select ones you like most.
|
|
You will need :
- embroidery threads, either polyester or rayon, the choice of colors is up to you;
- a light-colored summer skirt (ours is made of white linen/polyester blend fabric);
- about 1/2 yard of matching fabric for the sash (we used white linen);
- light-weight cut-away embroidery stabilizer;
- rotary cutter and or scissors;
- tailor'a chalk or chalk pencil;
- iron;
- #12 universal needle.
|
| Embroidery: |
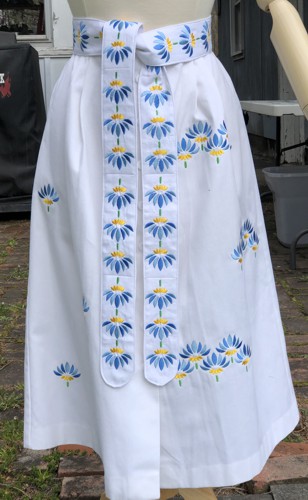
Select the embroidery files from the Field of Flowers Set. For our project we selected the designs "fieldflowers_single" and "fieldflowers_column1".
Upload them to the embroidery machine.
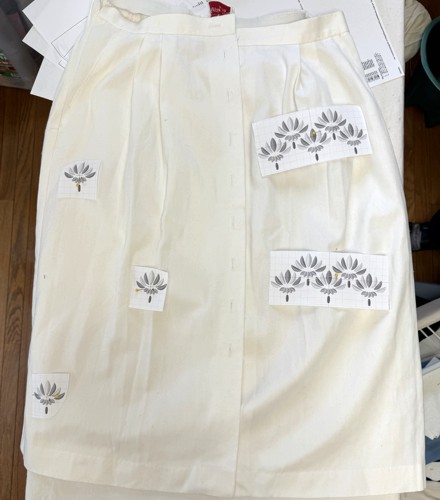
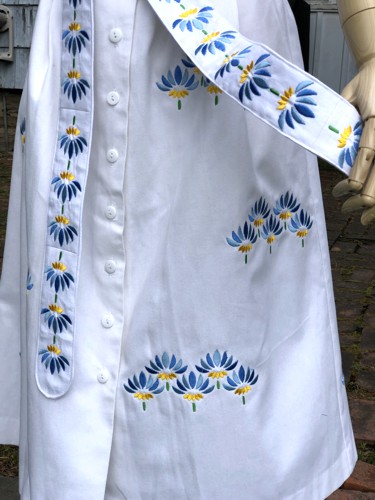
Mark the position of the embroidery on the skirt. If you have a printer and embroidery software, print-outs of the designs can be helpful. If you do not, you can cut out rectangles of the same size as the designs and arrange them on the skirt to determine the position of the embroidery.
Select threads. Working with one design at a time, stabilize the embroidery area.
Hoop the fabric tightly and embroider the designs one by one. |
|
| The back of the skirt: |
|
Sash/Waistband
|
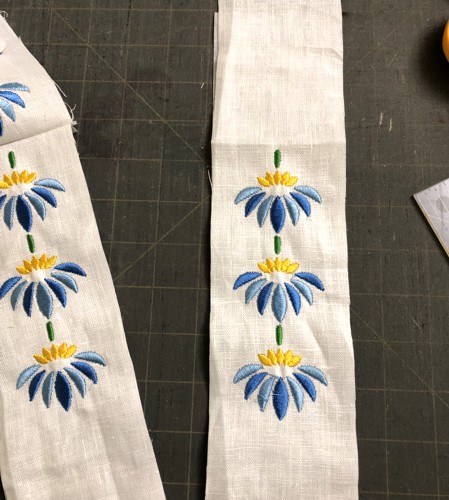
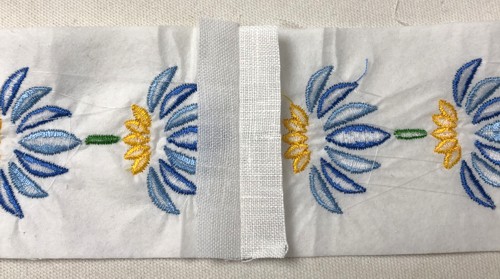
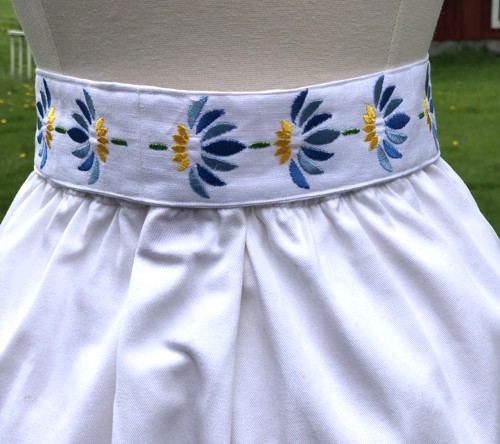
| For the sash, we used the design "fieldflowers_column1", which is 6" long. The length of our sash is 76", but you can make it of any length. |
Embroider the design as many times as you need. Trim the stitch-outs leaving 1/2" margins on all sides.
For the last 2 stitch-outs leave a margin of 2" on one of the short sides, these will be the ends of the sash.
|
|
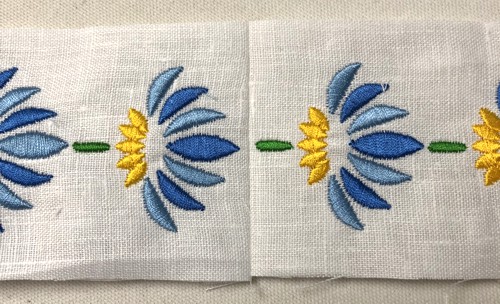
| Sew the stitch-outs together at the short edges with seam allowance slightly more than 1/4". Press the seam open. |
|
Stitch-outs sewn together, right side.
|
|
Measure the length of the sash. Out of remaining fabric, cut a strip of the same length for the lining, most probably you will need 2 or 3 strips. Sew them together at the short sides.
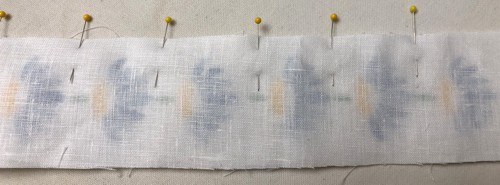
Position the embroidered strip and the lining strip face to face. Pin along the long sides. Stitch along the long sides, leaving about 5"-6" unstitched closer to the center of the sash. Seam allowance 1/4".
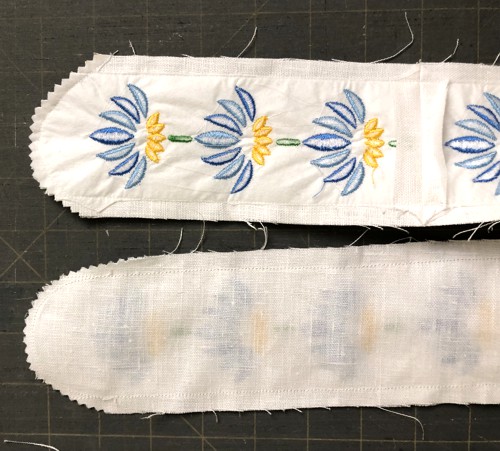
Draw a curve line to round the ends, stitch along the line. |
|
Notch the rounded ends.
|
|
Turn the sash right side out through the opening and press.
Topstitch along all edges very close to the edge. |

|
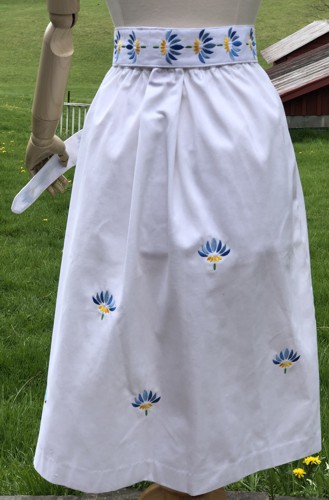
| Tie the sash at the waist. |
|
| Have fun! |
|
|
|
Back to Field of Flowers Set
|
Back to Projects Page
|


