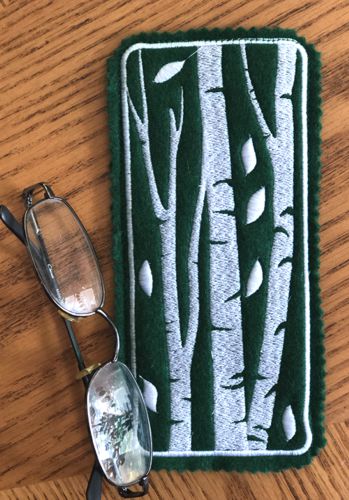
Welcome to the Birch Trees Glasscase tutorial, where you’ll learn to sew and embellish a practical glasscase. This guide walks you through using machine embroidery to add a birch tree design and assembling the case with basic sewing steps. The project is simple and can be completed in about an hour.
For this quick and easy project we used the designs from the Birch Tree Panel Set, the designs are for a large (5" x 7") hoop.
The finished size of the glasscase is 3 1/4" x 7 1/4".
You will need :
embroidery white threads either polyester or rayon;
a piece of felt enough for embroidering 2 panels (forest green, blue, or any othe color you like);
light-weight cut-away embroidery stabilizer;
#12 universal needle;
sewing thread of the color matching the felt;
sheers with zig-zag edges.
Embroidery
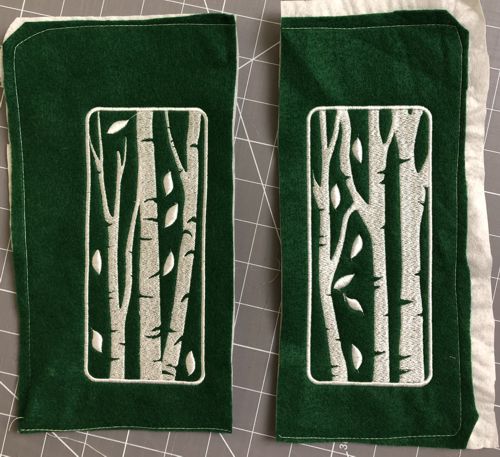
Upload 2 files of your choice from the Birch Tree Panel Set to the embroidery machine.
Stabilize the felt.
Hoop the fabric tightly and embroider the first design.
Remove the excess stabilizer.
In the same way embroider the second panel.
Assembly:
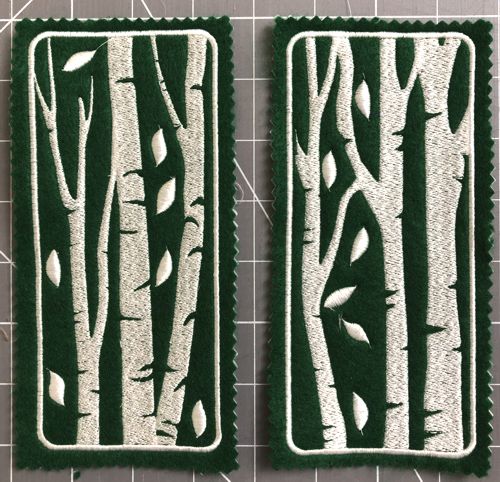
Cut out the stitch-outs with seam allowance 1/4".
Pin the panels together wrong side to wrong side. On the sewing machine topstitch the panels together along the outer edge of the embroidery on the sides and bottom, leaving the upper edge open.