|
Learn to create fun kids' sweatshirts with this simple embroidery tutorial. This guide shows you how to add colorful machine embroidery designs to plain sweatshirts. Follow these easy steps to make comfortable and stylish sweatshirts that kids will love to wear.
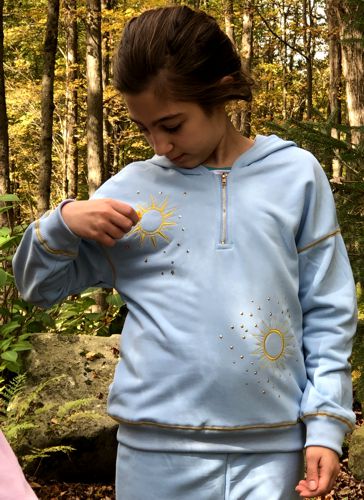
To decorate these children's sweatshirts, we used designs from the Sun Set and Geometric Knot Set.
|

|
|
You will need:
- Embroidery threads (polyester or rayon) in colors you like
- A sweatshirt
- Light-weight cut-away stabilizer
- Fabric matching the colors of the sweatshirt (for the kite design)
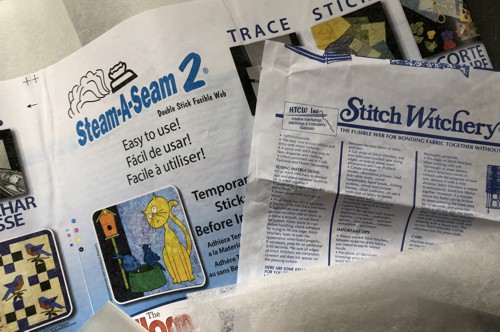
- Fusible netting such as Steam-A-Seam2, Stitch Witchery, or similar products (optional)
- Temporary fabric adhesive such as Sulky KK2000 and/or sewing pins
- Chalk pencil and ruler
- Scissors
- #12 universal needle and sewing threads in matching colors
- Iron and pressing cloth
- Hot-fix crystals (for the sun design)
- Ric-rac tape (for the kite design)
|
|
Blue Sweater Embroidery
|
For the sky blue sweater, we chose designs from the Sun Set.
Upload the files from the set into your embroidery machine. Determine where you want to place the embroidery on the sweater. Stabilize the fabric, hoop it, and embroider the designs one by one.
|
Carefully cut away the excess stabilizer and press the embroidery.
Place the crystals around the sun designs and hot-fix them in place.
|

|
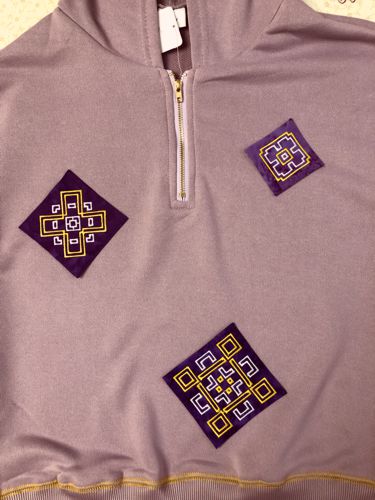
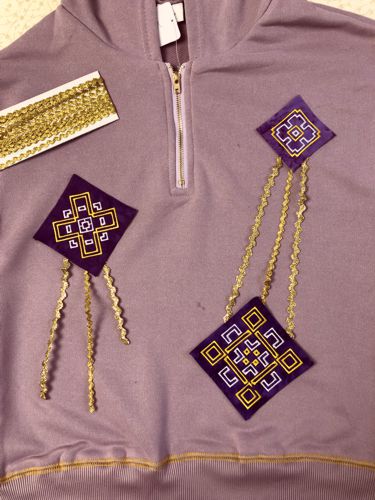
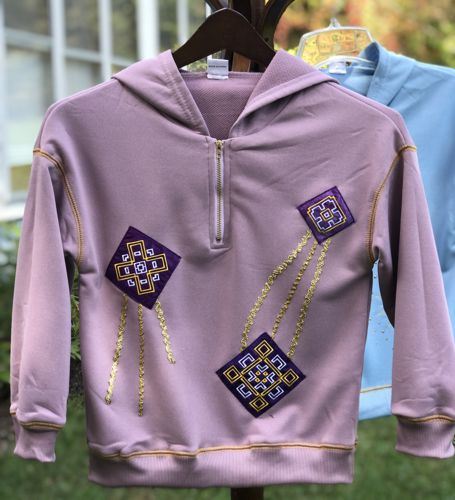
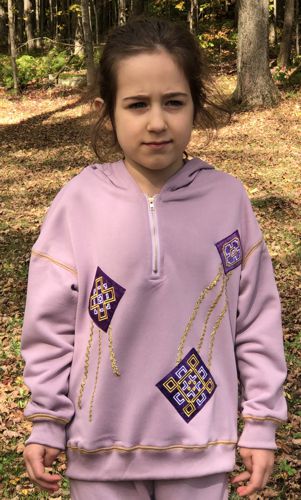
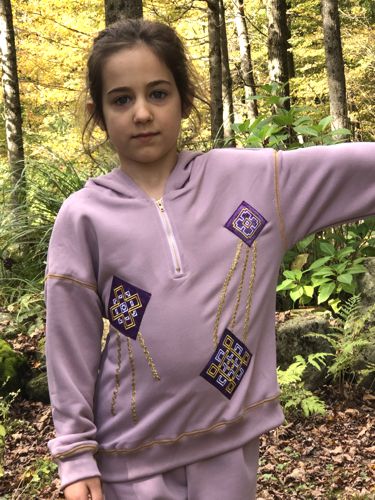
Lilac Sweater with the Kites
|
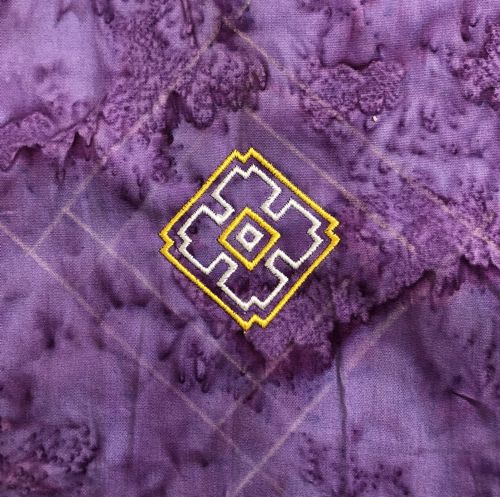
For this sweater, we used 3 designs of different sizes from the Geometric Knot Set.
Embroider the chosen designs on pieces of fabric. We used purple fabric and stitched the designs in gold and white thread colors. |
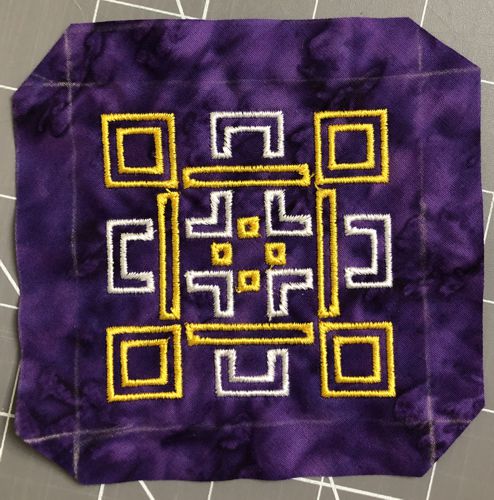
After the embroidery is done, cut away the excess stabilizer and press.
Using the chalk pencil, draw two margin lines around each embroidered piece: one at 1/4" and another at 3/4" from the edge of the embroidery.
|
|
| Cut out the embroidered pieces along the 3/4" margin line. |
|
Fold the fabric edges back along the 1/4" margin line and press.
|
If you use fusible netting, cut pieces slightly smaller than your embroidered pieces with folded edges and place them on the wrong side of the embroidered pieces.
If you don't have fusible netting or prefer not to use it, use pins or temporary adhesive instead.
Position the embroidered pieces on the front of the sweatshirt. Pin them in place or hand-press if using fusible netting.
|
|
Cut lengths of ric-rac tape for the kite tails. Pin them in place.
|
|
| Using your sewing machine, stitch the applique pieces along the edges with a 1/8" seam allowance. Stitch the ric-rac pieces in place. Press when finished. |
|
|
Have fun!
|
|
|
|
Back to Sun Set and Geometric Knot Set.
|
Back to Projects Page
|


