|
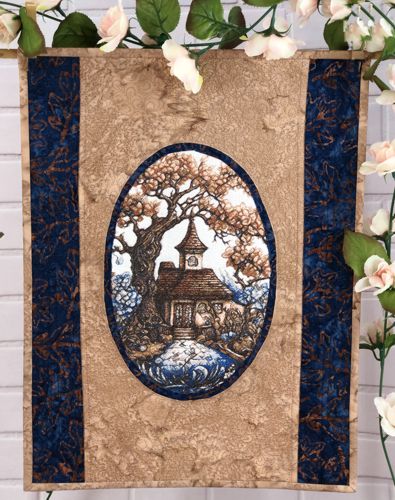
Discover how to make a Fairy Cottage Wall Quilt with this straightforward tutorial, ideal for adding a festive touch to your holiday decor. This guide walks you through sewing the quilt, adding machine embroidery for a charming design, and quilting to complete the piece. Follow the steps to create a delightful wall hanging for your home this season.
We used the design of the Fairy House. The design is for 8" x 12" hoops and uses the photo-stitch technique, but with proper stabilizing it embroiders without problems.
The finished size of the quilt is approximately 14 1/2" x 19".
|
|
|
You will need:
- Embroidery threads (either polyester or rayon)
- A fat quarter of white fabric for the embroidery
- Fabric matching the colors of the embroidery threads:
- about 1/2 yard of light beige for the border and binding
- blue fabric for the borders (we used batiks which always give additional interest to quilts compared to solid fabrics)
- Fabric for the backing
- Medium-weight cut-away embroidery stabilizer
- Batting
- Quilter's ruler
- Tracing paper and a graph pencil
- Rotary cutter
- Iron
- #12 universal needle
- Quilting threads of matching colors and invisible thread for quilting the embroidery
- #12-#14 quilting needle
|
Embroidery:
|
Upload the file of the Fairy House to the embroidery machine.
Select threads.
Stabilize the fat quarter.
Hoop the fabric tightly and embroider the design in the center.
Remove the excess stabilizer.
|
| Cutting: |
Out of blue fabric, cut
- 2 strips measuring 3" x 19" and
- a bias strip 1" wide and about 29"-30" long.
Using tracing paper and the graph pencil, trace the outline of the Fairy House stitch-out. Cut out the traced oval shape.
Trace this shape over the beige fabric. Cut out the oval shape with seam allowance of about 1/8".
|
Assembly:
|
| Note: Seam allowance is 1/4" unless otherwise recommended. Press the seam immediately after you make it. |
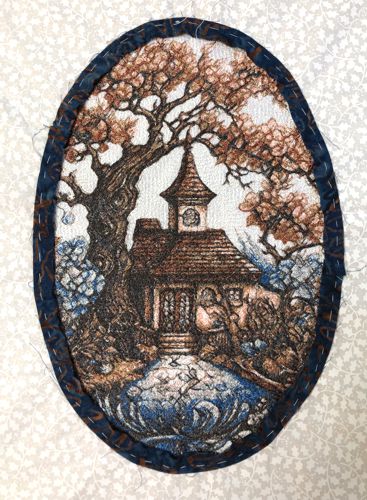
Fold the bias strip widthwise in half and press.
Baste the strip around the stitch-out with folded side to the embroidery and the raw edge outside. The bias strip should overlap the edges of the embroidery.
Topstitch the bias strip in place and remove the basting.
|
|
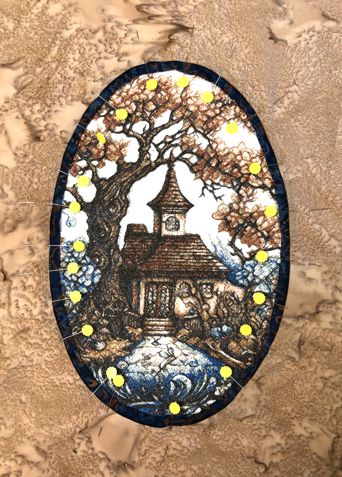
Fold the raw edges of the oval opening on the beige fabric 1/4" to the wrong side, making notches if needed. Press.
Position the fabric over the working piece. Pin along the opening.
|
|
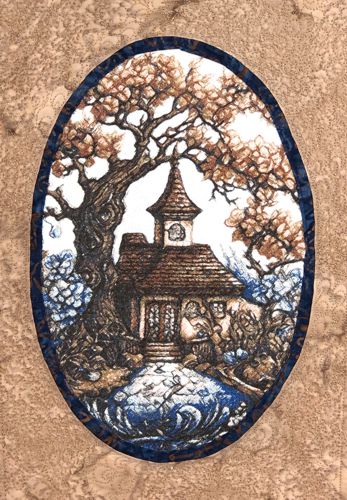
| Topstitch very close to the edge with matching thread. |
|
| Turn to the wrong side and cut away the excess fabric of the stitch-out. |
|
Trim the working piece to 10" x 19".
Sew the blue 3" x 19" strips to the left and right edges.
|
|
|
Quilting and Finishing
|
Place the backing on a flat surface (table) face down. Cover with batting. Spread your working piece over it.
Pin all layers together.
Quilt in a free-motion style all over the working piece. Start from the embroidery, and quilt the outlines of the trees and cottage with invisible thread.
Then proceed to the area around the embroidery. Quilt the blue borders last. Change threads as needed.
|
Press with heavy steam. Square the piece - all angles should be 90 degrees and opposite sides should be the same length.
Finish the raw edges with binding.
|
|
|
| Have fun! |
|
Back to Fairy House
|
Back to Projects Page
|


