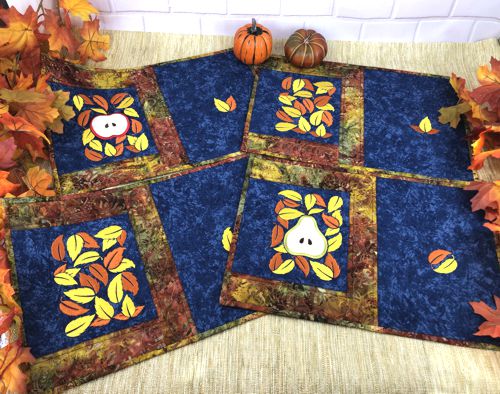
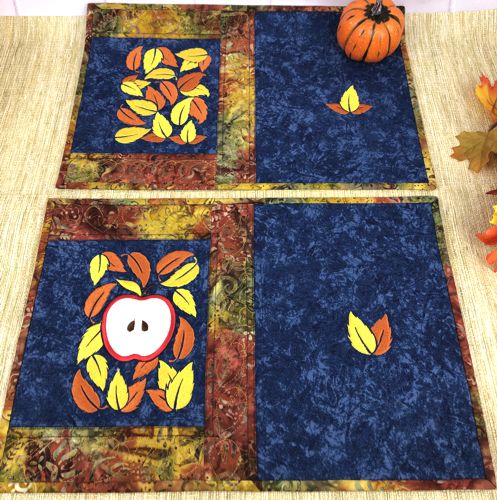
Create quilted harvest placemats with this clear tutorial, perfect for adding a fall touch to your table. This guide covers sewing the placemats, using machine embroidery to add harvest appliques, and finishing with quilting. Follow the steps to make cozy, seasonal placemats for your meals.
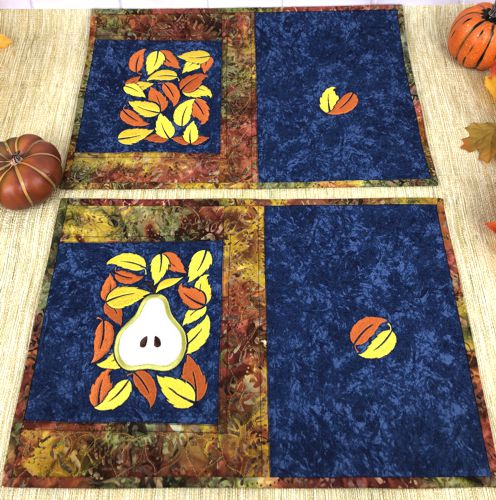
For this project we used the designs from the Fall Harvest Applique Set and Fall Leaves Set.
The finished size of each placemat is 12" x 18".
|
|
You will need:
- Embroidery threads, either polyester or rayon. You can use our color card or choose your own colors.
- 1 1/2 yards of blue fabric (enough for 4 tops and 4 backings).
- Scraps of fabrics for the applique.
- 3/4 yard of patterned autumn-themed fabric for the borders and binding.
- Light-weight cut-away embroidery stabilizer.
- Batting.
- Quilter's ruler.
- Rotary cutter.
- Iron.
- #12 universal needle for piecing.
- Quilting threads in matching colors.
- #12-#14 quilting needle.
|
| Cutting: |
Note: The amounts given are for 1 placemat. If you're making 4 placemats, multiply by 4. If making more, multiply by the number you need.
Out of blue fabric, cut:
- One 10" x 10" square.
- One 12 1/2" x 9" rectangle.
Out of patterned fabric, cut:
- Two 2 1/2" x 8 1/2" strips.
- One 2 1/2" x 12 1/2" strip.
Use the remaining patterned fabric for the binding. |
Embroidery:
|
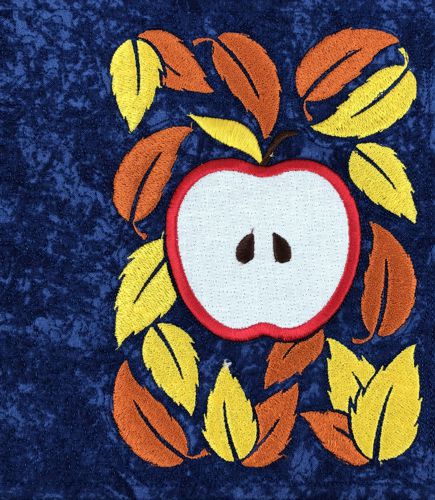
Upload the files from the Fall Harvest Applique Set to the embroidery machine.
Select threads.
Stabilize the 10" x 10" piece of blue fabric.
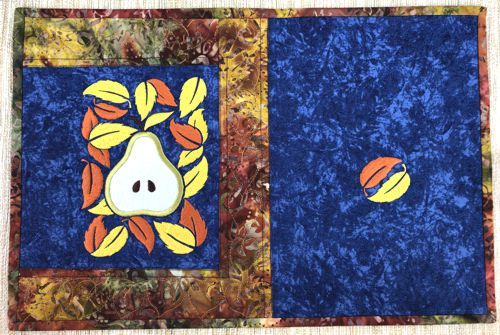
Hoop the fabric tightly and embroider any design from the set.
Remove the excess stabilizer. Press if needed.
Trim the stitch-out to an 8 1/2" x 8 1/2" square. |
|
Assembly:
|
| Note: Seam allowance is 1/4" unless otherwise recommended. Press the seam immediately after you make it. |
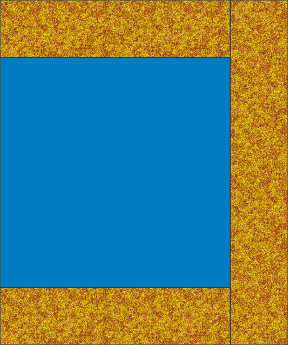
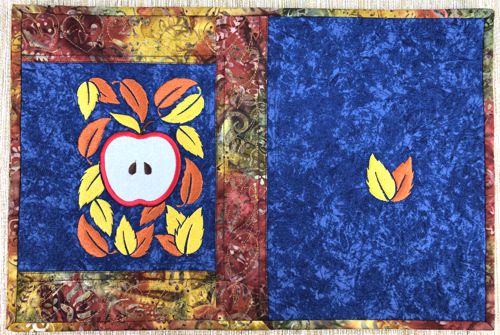
Sew the two patterned 2 1/2" x 8 1/2" strips to the upper and lower edges of the stitch-out.
Then sew the remaining patterned strip to the right edge of the stitch-out.
|
|
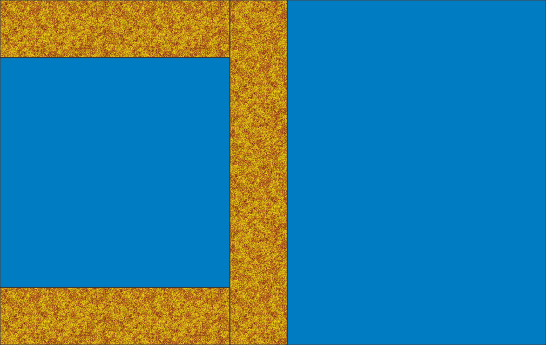
| Sew the 12 1/2" x 9" blue piece to the right edge of the working piece. |
|
| Embroidery |
Upload the files from the Fall Leaves Set to the embroidery machine.
Select threads.
Stabilize the right part of the working piece.
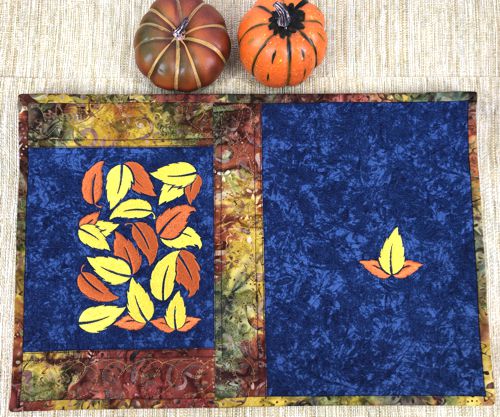
Hoop the fabric tightly and embroider the leaf designs anywhere on the right blue section.
Remove the excess stabilizer.
|
Quilting and Finishing
|
Place the backing on a flat surface (table) face down. Cover with batting. Spread your working piece over it.
Pin all layers together.
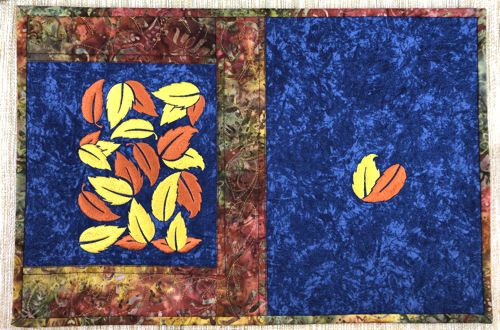
We quilted in a free-motion style all over the working piece. Start from the embroidered panel and echo-quilt all elements of the embroidery first with blue thread.
Then quilt the patterned borders with matching thread.
Quilt the right part of the mat last. |
|
Press with heavy steam. Trim to 12" x 18" or to a smaller size.
Square the piece. All angles should be 90 degrees and opposite sides should be the same length.
Finish the raw edges with the binding. |
|
| Have fun! |
|
|
Back to Fall Harvest Applique Set and Fall Leaves Set
|
|
|
|
Back to Projects Page
|


