|
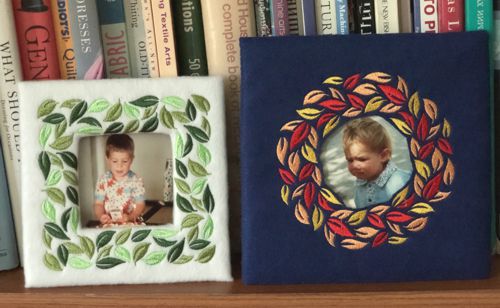
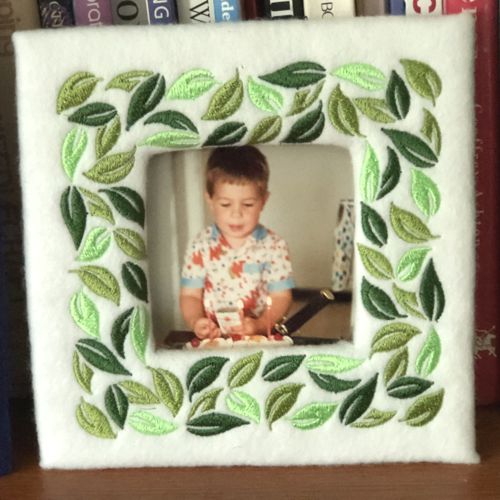
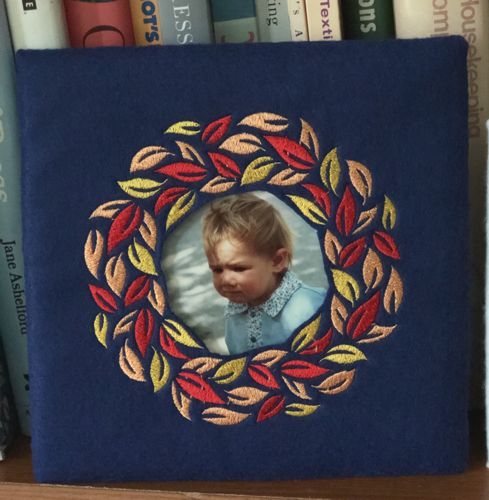
This tutorial guides you through creating Embroidered Felt Photo Frames using machine embroidery. You’ll learn how to design and stitch decorative felt frames to display your favorite pictures. The project combines sewing and machine embroidery techniques to craft unique, handmade frames. Follow the steps to make charming frames in various styles, like leafy borders or intricate knot patterns, ideal for gifting or home decor. We used the designs from the Summer Wreath Set and from the Celtic Frame Set.
|
|
You will need :
- embroidery threads either polyester or rayon;
- polyester craft felt, the choice of colors is up to you;
- light-weight cut-away embroidery stabilizer;
- sheets of corrugated cardboard (you can use cardboard cut from boxes);
- quilter's ruler;
- shears;
- iron;
- scotch tape;
- hand needle and thread;
- fabric glue (optional).
|

|
Embroidery:
|
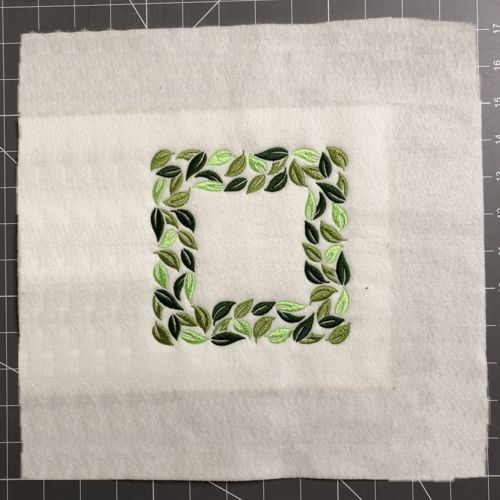
| Stabilize a piece of felt with cut-away stabilizer and embroider a design of your choice. You can use any other fabric, but felt is easiest to work with. The piece of fabric should be big enough to accomodate the embroidery and have broad margins of around 4 inches on each side. |
| Trim the stitch-out, leaving 3"-4" wide margins around the embroidery. |
|
Cutting and Assembly:
|
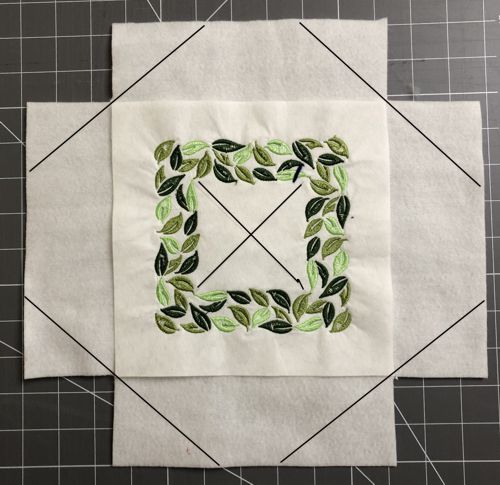
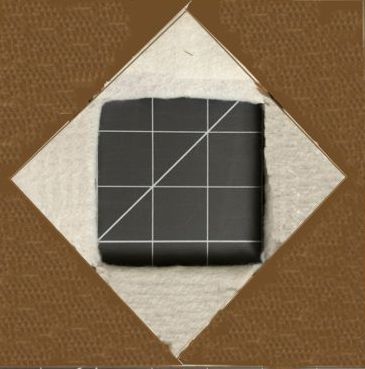
Working from the back of the stitch-out, mark it as shown on the picture below and cut along the lines.
|
|
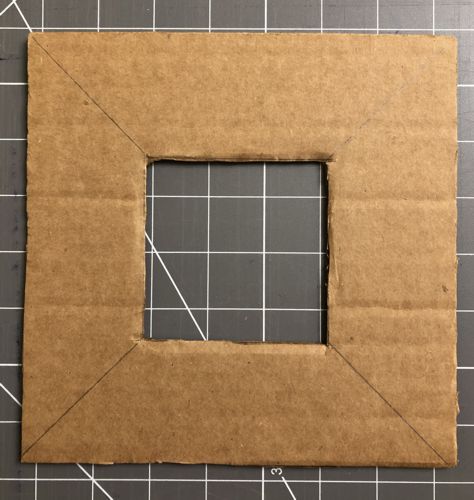
Out of cardboard, cut a 7 1/2" square. Measure the aperture of the embroidery, draw and cut out a window in the center of the square.
|
|
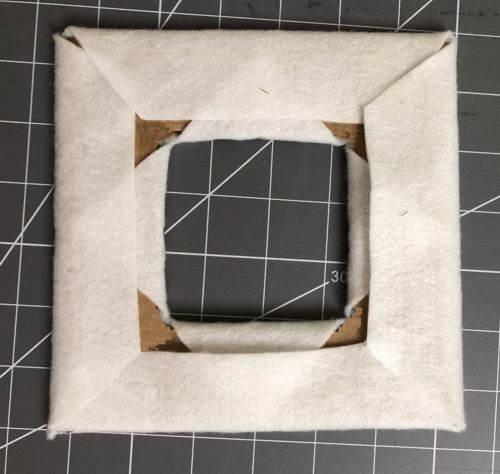
With the back of the embroidery facing up, place the cardboard frame over the stitch-out.
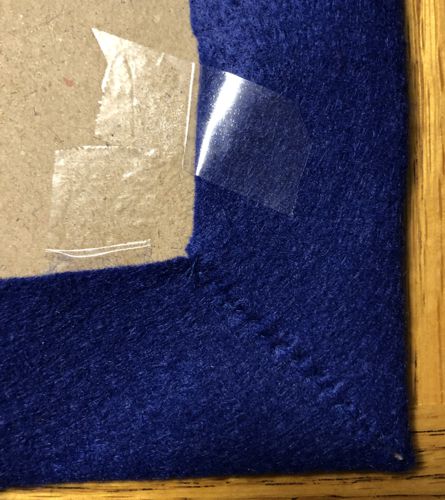
Fold the felt over the cardboard and secure with scotch tape. |
|
Fold the margins over the carboard and temporarily secure with scotch tape. By hand, sew the corners together.
|
|
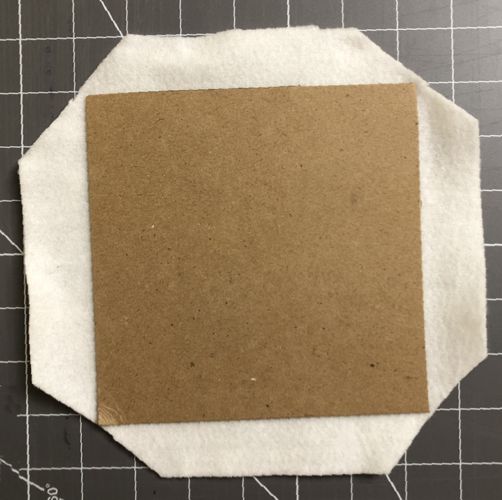
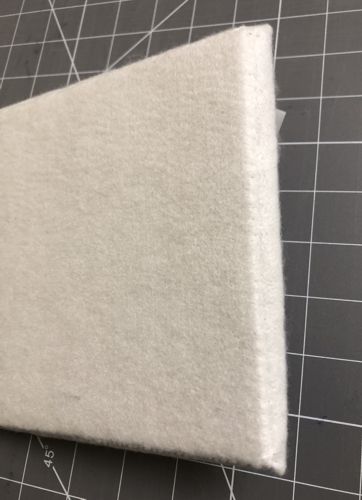
| To make the back cover, measure the frame. Out of another piece of cardboard, cut a square 1/2" less than your frame. Position it over a piece of felt. Cut the corners of the felt as shown. |
|
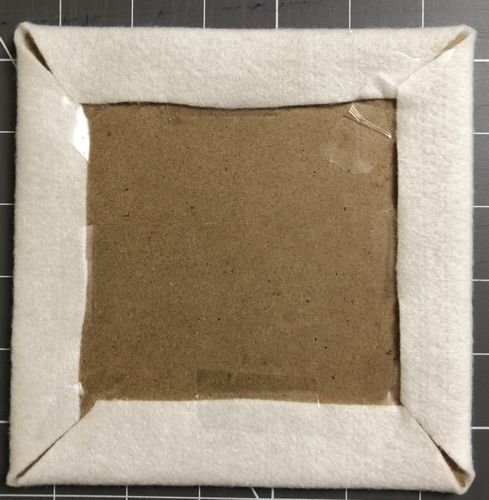
| Fold the margins over the carboard and temporarily secure with scotch tape. |
|
| By hand, sew the corners together. |
|
| With wrong sides facing, place a photo onto the frame opening. Place the back cover over the frame. Sew them together by hand. |
|
| Have fun! |
|
|
|
Back to Summer Wreath Set and Celtic Frame Set.
|
Back to Projects Page
|


