|
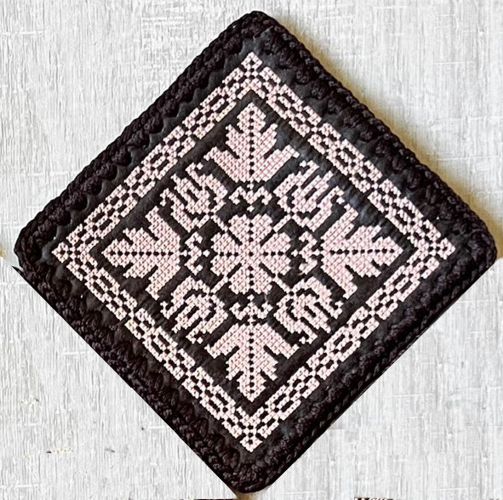
Welcome to the Folk Flower Block Purse tutorial, where you’ll learn to sew a sturdy purse from start to finish. This guide walks you through adding machine embroidery to create floral blocks and finish the edges with basic crochet. Follow the steps to craft a practical and decorative purse for everyday use. For this bag, we used the designs from the Folk Flower Block Set.
The designs are for the large hoop (5" x 5").
The finished size of the purse is about 13" x 13" excluding handles.
In this tutorial we use crocheting for connect the embroidered squares. If you prefer to sew, please follow our tutorial for Summer Flowers Purse.
|

|
You will need
- embroidery threads, either polyester or rayon; the choice of colors is up to you;
- faux leather;
- fabric for the lining (choose not easily fraying dense medium-weight type, thin polyester craft felt of matching color is a good choice);
- light- to medium-weight cut-away embroidery stabilizer;
- #14 embroidery needle;
- #16 sewing needle;
- sewing dual-duty thread of matching color;
- purse handles with rings on the ends (we used a pair from Amazon.com);
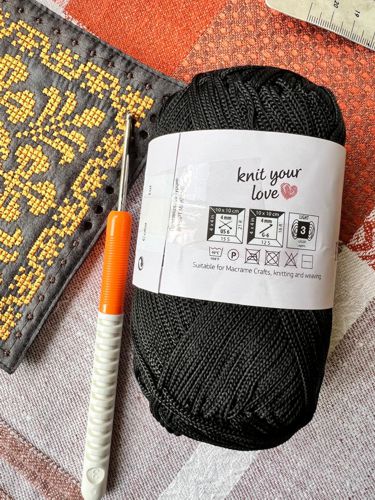
- 2 mm polyester cord for macrame/crochet/knitting of matching or contrat color, or any thick yarn;
- 3 mm crochet hook;
- hole puncher for leather;
- quilter's ruler and rotary cutter or scissors;
- chalk pencil.
|
Embroidery
|
Upload the files into your embroidery machine.
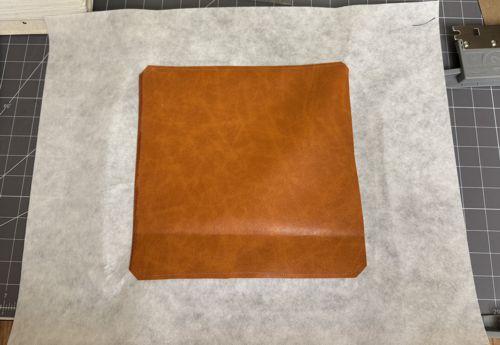
Cut a piece of the faux leather 6" x 6". Sew the the piece to the stabilizer along the perimeter.
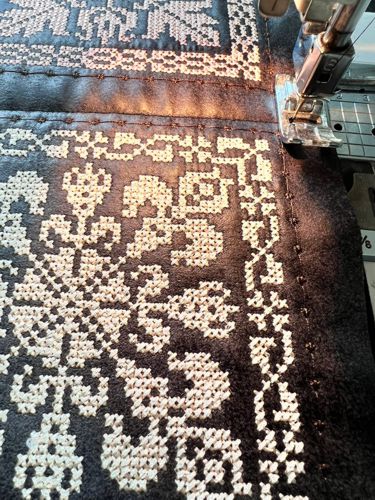
Hoop the stabilizer tightly and embroider the design.
For the bag, you'll need 13 squares, so you'll have to embroider 6 of them twice. You can make the doubles in the same colors or different ones. |
|
After the embroidery is done, trim the squares, leaving 1/2" margins around the embroidery.
|
| Preparing the Squares: |
Out of the material for the lining, cut 13 squares the same size as your embroidered squares.
Position the lining and the embroidered squares with wrong sides together.
On your sewing machine, stitch the lining to the squares along the edges, about 1/4" from the embroidery. |
|
| Trim the seam allowance to 1/8". |

|
| Using the hole puncher, punch the holes over the embroidered dots along the perimeter of each squares. You should make holes both through the embroidered part and the lining. |

|
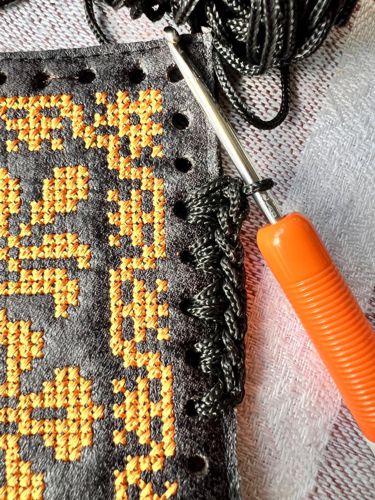
| Attach the cord in a hole in the center of any of the square edge. |
|
| Make 2 rows of single crochet around each square - 1-2 stitch in every hole, and in the corners - 3-4 stitches per hole. |
|
|
|
|
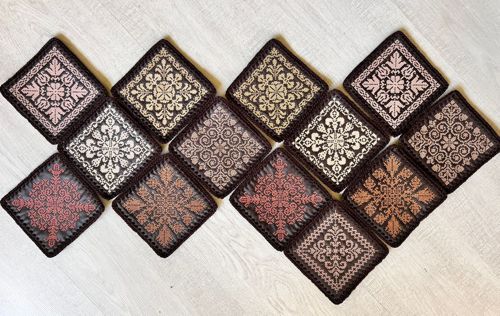
| Crochet the edges of all 13 squares. |
| Assembly: |
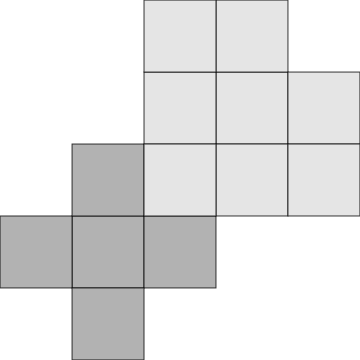
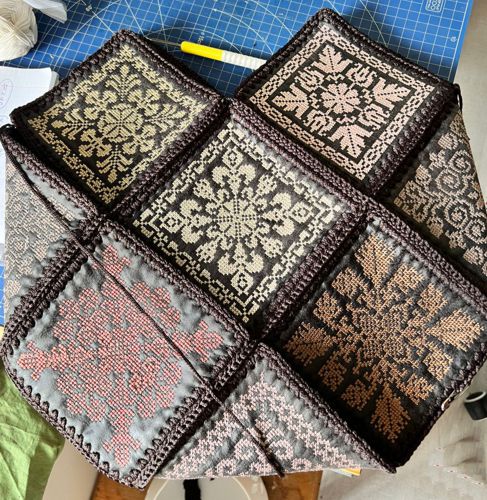
| Lay out the squares on a table as shown on the picture below: |
|
| Connect the adjacent squares with one row of single crochet. |
| The diagram below shows how the finished shape should look like. |
|
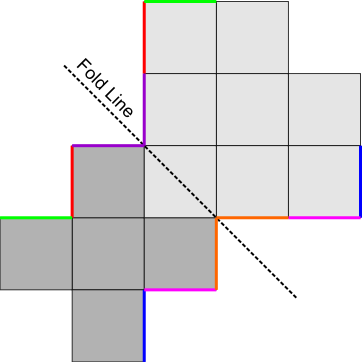
Fold the working piece in half, and pin together the edges color-coded in the diagram. Crochet the parts together.
|
|
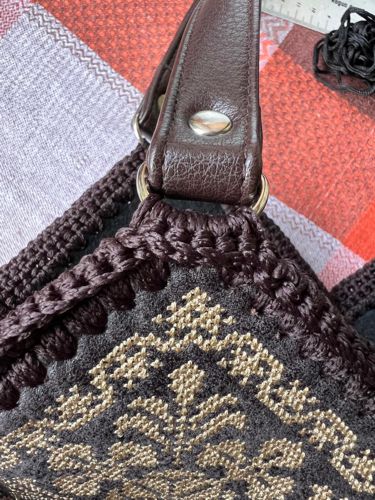
| The bag will look like the pictures below: |
|
Handles:
|
| Make a row of single crochet along the upper edge of the bag, at the same time attaching the handles to the protruding corners of the 4 squares by pulling the yarn through the rings. |
|
| Have fun! |
|
Back to Folk Flower Block Set.
|
Back to Projects Page
|


