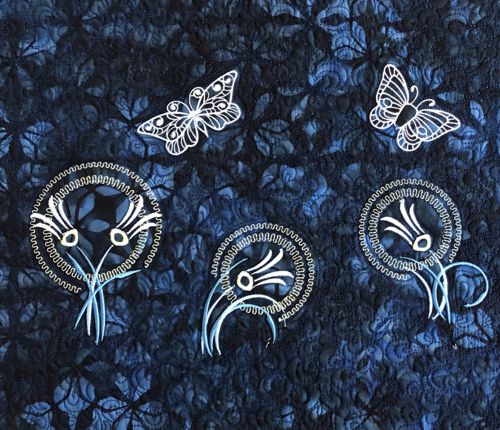
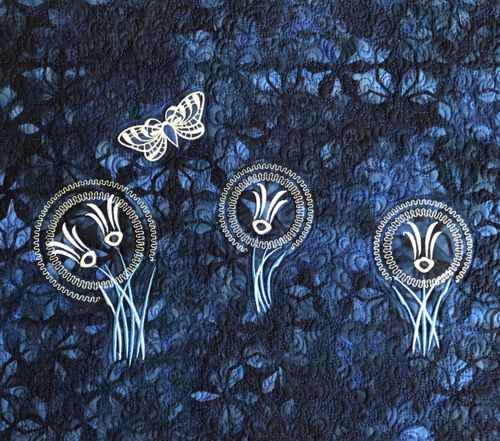
This wholecloth quilt is a weekend project suitable for beginners both in embroidery and quilting. The quilt requires no piecing, and the embroidery designs we used, Glowing Grass Set and One-Color Insect Set, are light-weight and easy to embroider.
The finished size of the quilt is about 13 1/2" x 34".
|
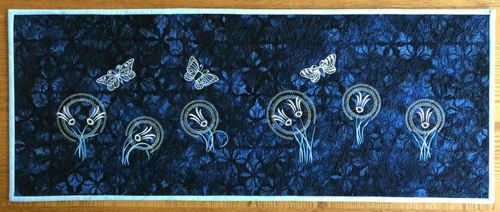
Click to enlarge
|
You will need :
- embroidery threads either polyester or rayon;
- about 1/2 yard of dark blue fabric with a light floral pattern, preferably batik;
- light-blue fabric for the binding;
- about 1/2 yard of fabric for the backing;
- light-weight cut-away embroidery stabilizer;
- batting;
- quilter's ruler;
- rotary cutter;
- iron;
- #12 universal needle;
- quilting threads of matching colors;
- #12-#14 quilting needle;
- printer and embroidery software are optional.
|
Cutting:
|
Out of the dark blue fabric, cut a piece measuring about 15" x 36".
Out of light blue fabric, cut 3 strips 2 1/2" and the length of the width of the fabric for the binding. |
| Embroidery |
Upload the files of the Glowing Grass Set to the embroidery machine.
Choose the designs you like from the One-Color Insect Set and upload the files to the embroidery machine.
Select threads.
Mark the position of the embroidery on the fabric. If you have a printer and embroidery software, print-outs of the designs can be helpful. (You can also use test stitch-outs for this purpose.) If you do not have a printer, you can cut out rectangles of the same size as the designs and arrange them on the fabric to determine the position of the embroidery.
Working with one design at a time, stabilize the area. Hoop the fabric tightly and embroider the designs one by one.
Remove the excess stabilizer.
|
Quilting and Finishing
|
Now place the backing on a flat surface (table) face down. Cover with batting. Spread your working piece over it.
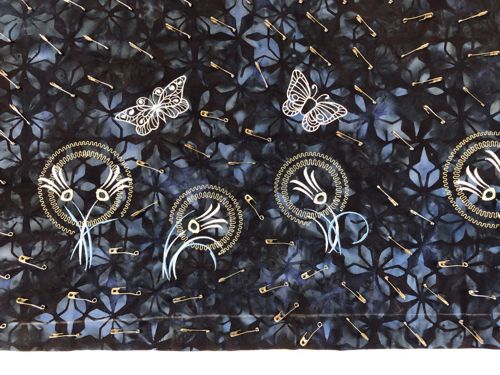
Pin all layers together.
|
|
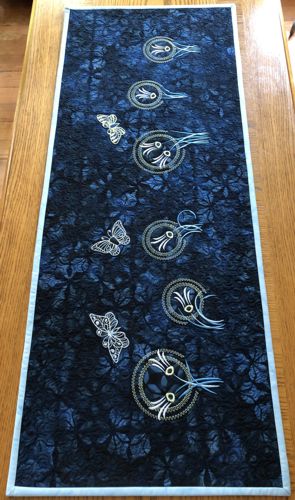
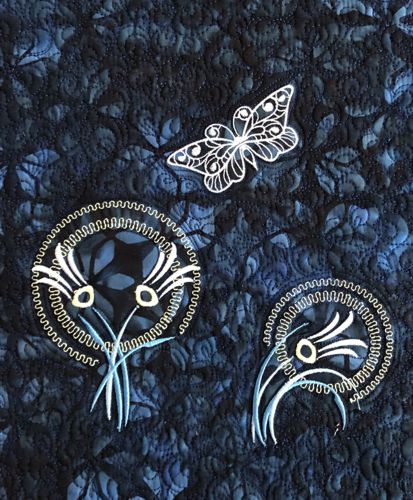
We quilted in a free-motion style all over the working piece. Start from the center, and echo-quilt the first stitch-out. Then quilt the area around it. Proceed to the next stitch-out and repeat the procedure.
When all areas around the embroidery are filled, proceed to the outer areas. |
Press with heavy steam. Square the piece - all angles should be 90 degrees and opposite sides of the same length.
Finish the raw edges with the binding. |
|
|
|
|
| Have fun! |
|
Back to Glowing Grass Set and One-Color Insect Set
|
Back to Projects Page
|


